Christmas Village Display Ideas: 12 Stunning Ways to Build a Magical Miniature Town That Wows Every Guest
There is something quietly magical about a miniature town glowing in a living room, and the best christmas village display ideas all start the same way: pick one clear theme, give it depth for houses at different heights, and light it so the windows glow after dark. You do not need a huge collection. A handful of well-chosen houses, a snowy base, and a few trees will look far more convincing than a crowded shelf.
A good display feels like a real place in miniature, not a row of ornaments lined up like soldiers. Leave breathing room between buildings, let a path or pond break up the snow, and place the tallest pieces at the back. If your mantel already carries stockings and garland, your village can sit in the middle of it all — a glowing Christmas fireplace decor ideas setup works beautifully as its backdrop.
Key Takeaways
What makes a village display look realistic? Vary the heights, leave gaps between houses, and add snow, a path, and trees.
Where is the best place to display a Christmas village? A mantel, a console table, or the floor beneath the tree all work, near a power outlet with room for two rows.
How many houses do you need to start? Five to seven houses are plenty. Add one church, one shop, and a few trees, and the scene will already feel complete.
How do you light a village without visible cords? Run one power strip behind the back row, hide cords under the snow blanket, and use battery lights for houses far from an outlet.
Can a village work in a small home? Yes. A single tray, a windowsill, or one shelf with three or four houses and fairy lights makes a charming scene that takes up almost no room.
1. How Do You Build a Classic Snowy Town on the Mantel?
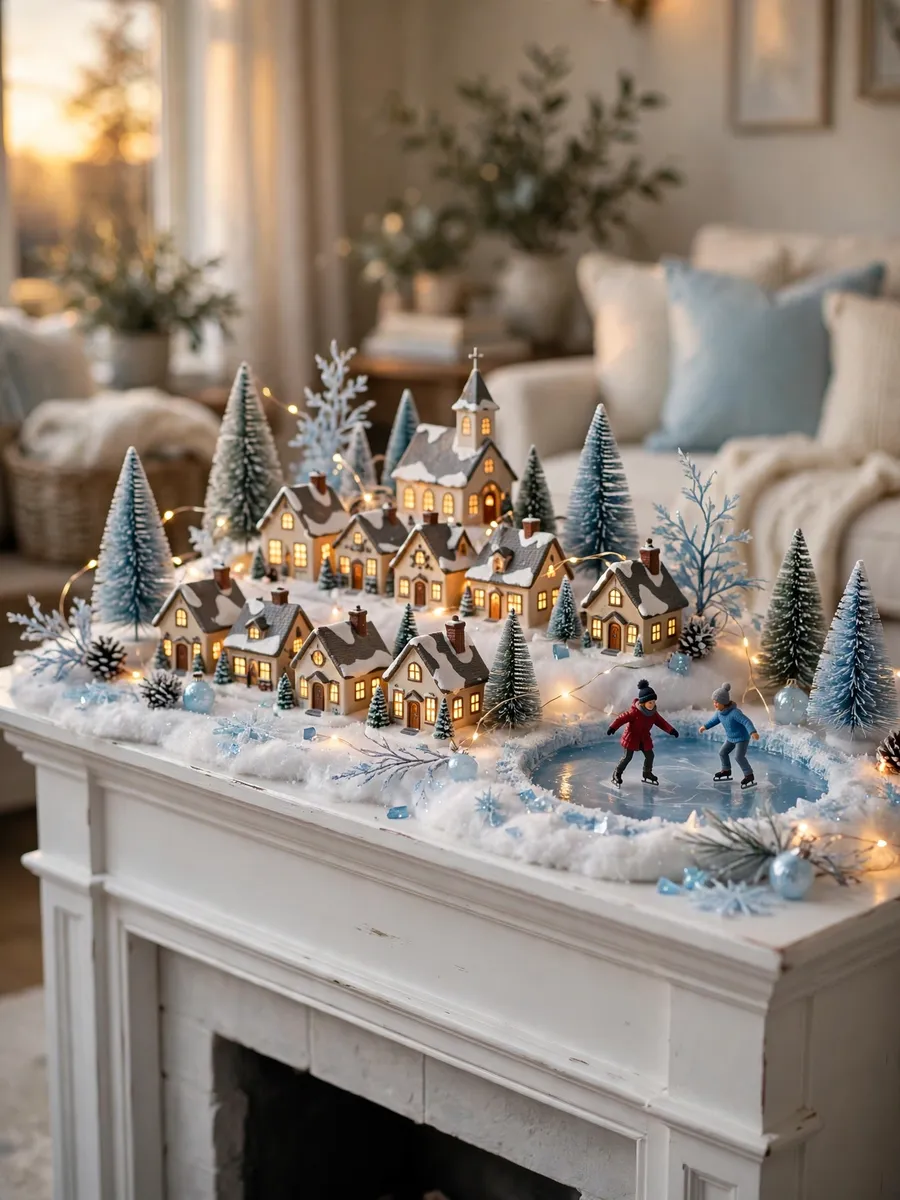
A classic snowy town works best with houses in two staggered rows, the tallest buildings at the back and the smallest cottages near the front edge.
Cover the mantel with a white snow blanket, draped slightly over the front edge, then place your largest house slightly off-centre at the back. Fill the middle row with shops and cottages, tuck bottle-brush trees between them, and weave warm fairy lights through the trees.
For example, a seven-piece set — a church, a bakery, a toy shop, and four cottages — leaves room for a frozen pond made from a round mirror and miniature skaters.
Quick tips:
- Keep the tallest piece at the back, a hand’s width from the centre.
- Use a snow blanket, not loose fake snow, so nothing drifts onto the floor.
- Leave one clear gap in the front row so the eye travels into the scene.
2. How Do You Style an Alpine Village on a Console Table?
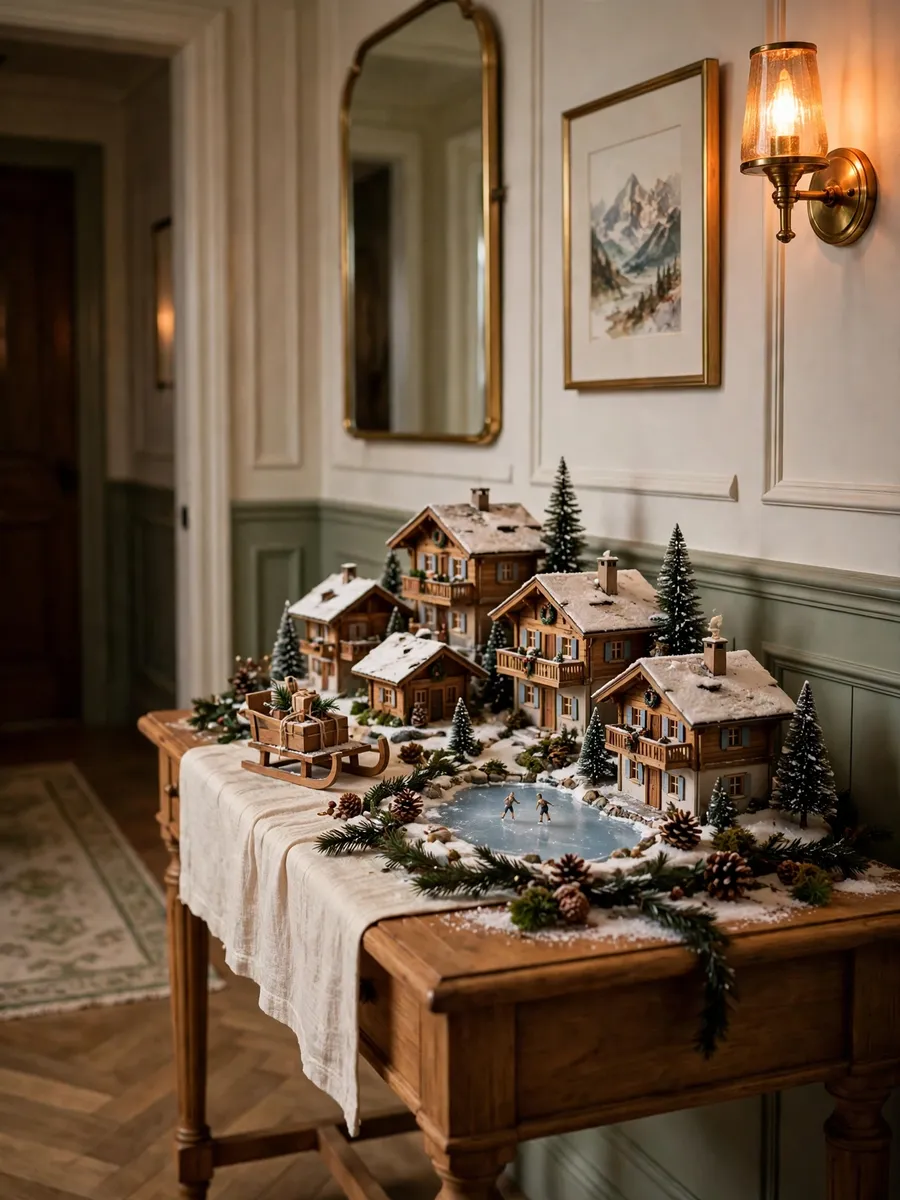
An alpine village looks best with wooden chalets, pine trees, and warm amber light, arranged on a console table with a faux-fur or linen runner underneath.
Choose chalets with steep roofs, balconies, and shutters. Use the console’s depth: lift the rear chalets on a low wooden riser and run dark green garland along the back edge. A few pinecones and a wooden sleigh complete the mood.
For example, five wooden chalets around a tiny skating pond, with two miniature pines and a hand-painted “Alpine Lodge” sign, turn a hallway console into a scene guests stop to admire.
Quick tips:
- Mix two wood tones at most so the chalets look like one village.
- Use warm white lights only — cool white makes wood look grey.
- Add one red accent, like a tiny sled, for a focal point.
3. How Do You Create a North Pole Village Full of Whimsy?
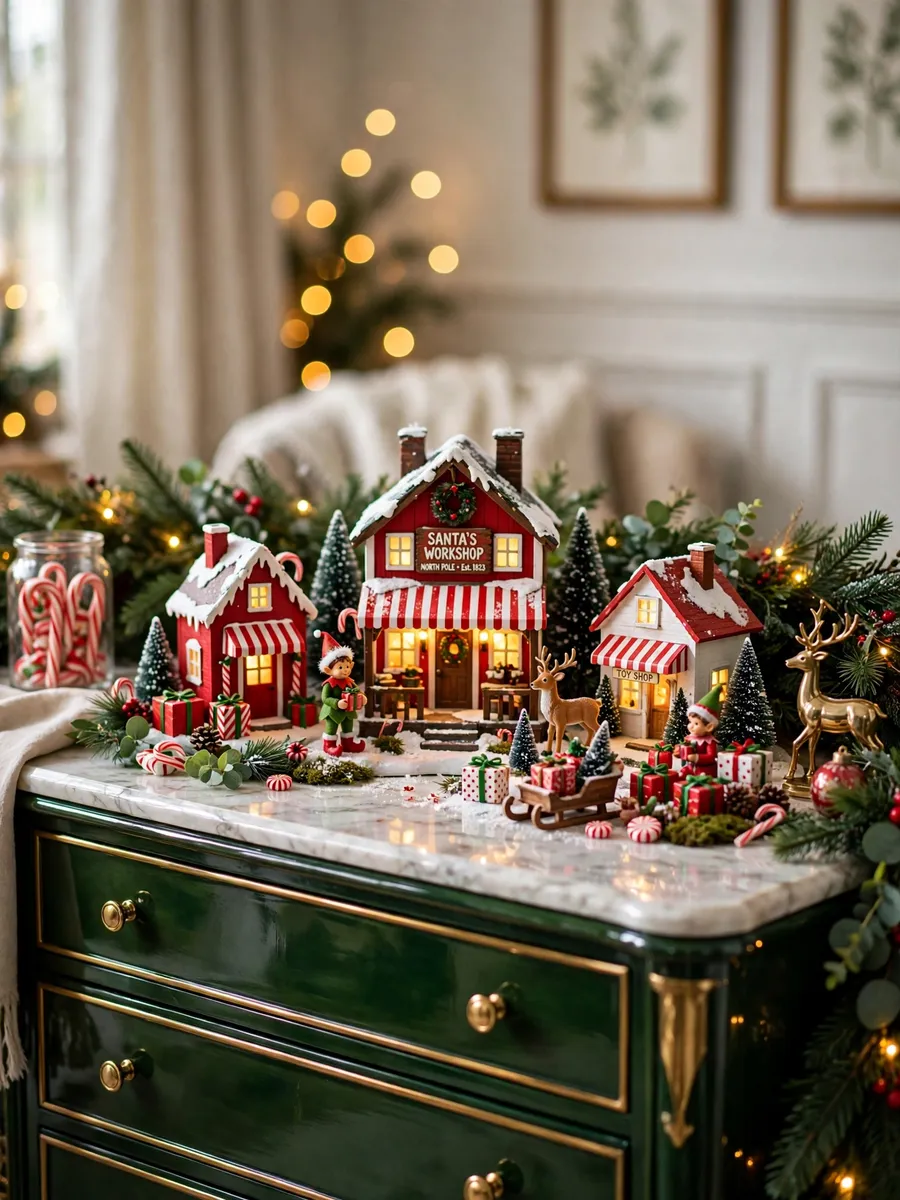
A North Pole village comes alive with bright red and white houses, a Santa’s workshop, candy-cane details, and playful figures like elves and reindeer.
Choose this theme when children will see the display, because it invites storytelling. Give Santa’s workshop the tallest, brightest spot in the centre, flanked by a toy shop, a candy store, and a reindeer stable. Striped awnings, candy canes, and gift boxes make it feel busy in a joyful way.
For example, a workshop with a blinking red light, an elf carrying a gift, and a reindeer pulling a sleigh creates a tiny narrative children revisit every evening.
Quick tips:
- Limit the palette to red, white, and one green.
- Place one playful figure per house at most.
- Use battery multicolour lights for a festive, toy-like glow.
4. How Do You Display a Vintage Village with Nostalgic Charm?
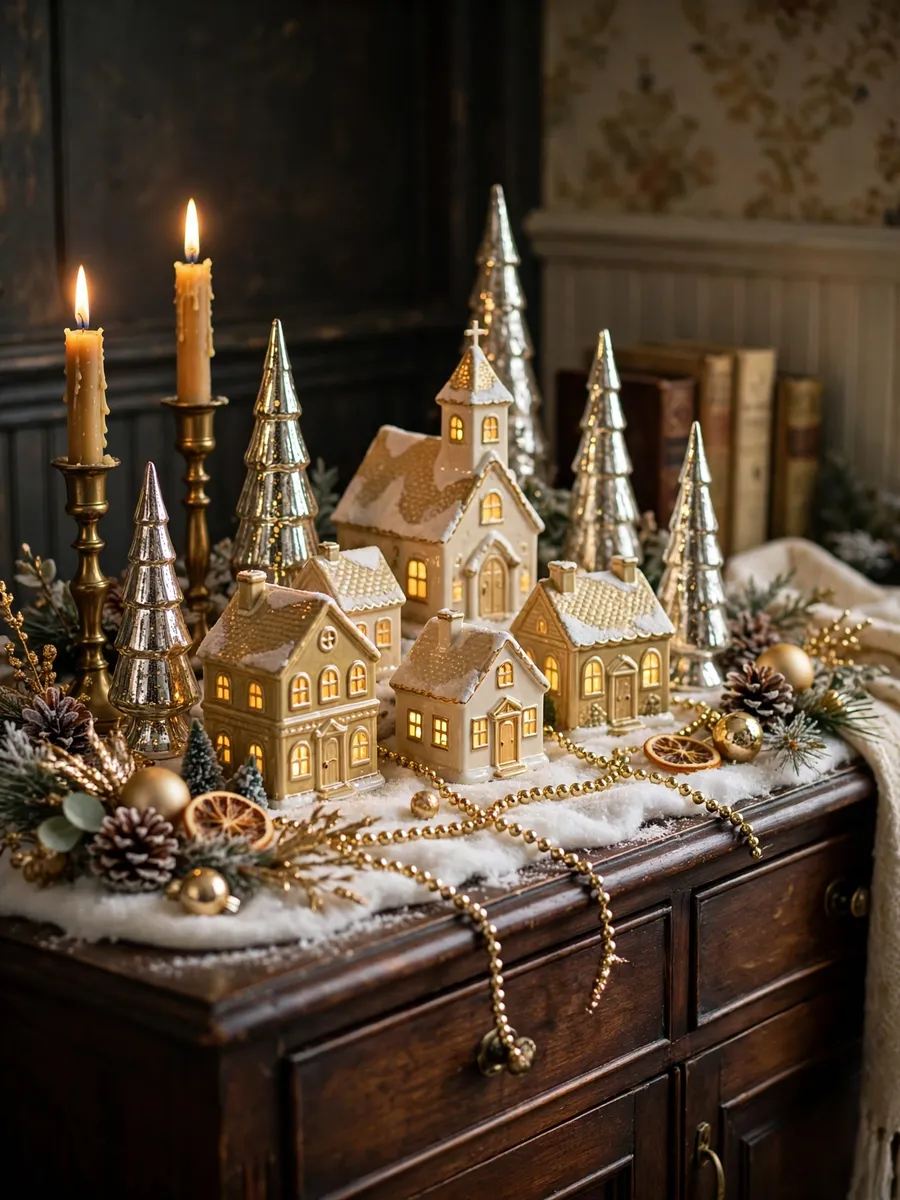
A vintage village relies on soft gold and cream houses, mercury-glass trees, and warm candlelight tones to recreate the Christmas displays of decades past.
Older ceramic houses have a softer, hand-painted glow, so let that be the star. A cream snow base suits the aged feel better than bright white. Add muted green and gold bottle-brush trees, brass candlesticks, and gold bead garland behind the back row.
For example, six cream and gold houses on a sideboard, with a mercury-glass tree at each end, look like a scene from an old Christmas card.
Quick tips:
- Group vintage pieces by colour, not by size.
- Use warm amber bulbs to deepen old ceramic glazes.
- Hide modern black cords behind a folded cream runner.
5. How Do You Arrange a Village Under the Christmas Tree?
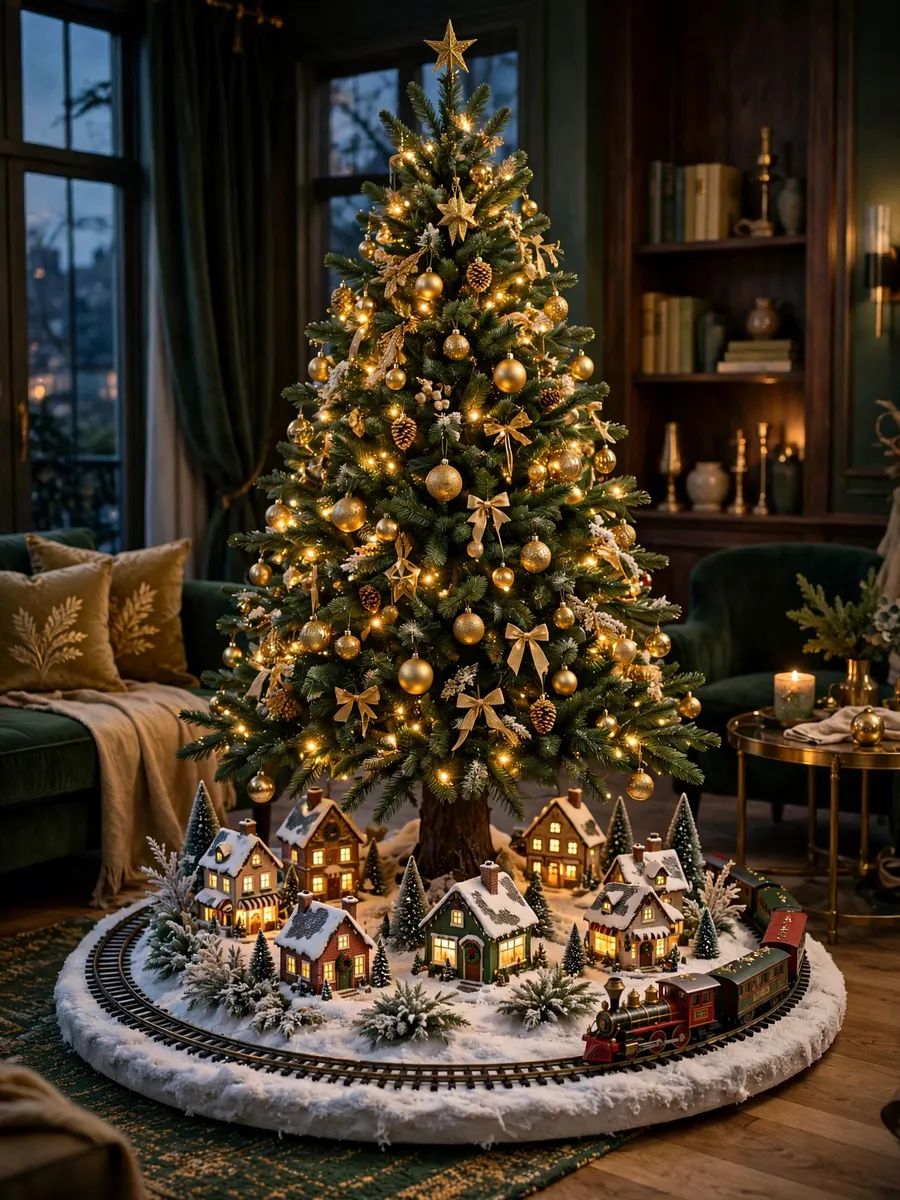
A village under the tree works best on a low, wide platform circling the trunk, with houses facing outward so they can be seen from every side of the room.
The floor beneath a tree suits larger collections. Build a circular platform from plywood or foam board, cover it with a snow blanket, and arrange the houses in a ring with the tallest nearest the trunk. A miniature train track circling the edge adds movement.
For example, a twelve-house village on a four-foot round platform, with a small train looping past a church and cottages, turns the space under the tree into a display that rivals the tree itself.
Quick tips:
- Use a platform with a raised edge so pieces cannot be knocked off.
- Face every house outward and test the view from the sofa.
- Keep the train track on the outer ring, within easy reach.
6. How Do You Add Depth and Levels to a Village Display?
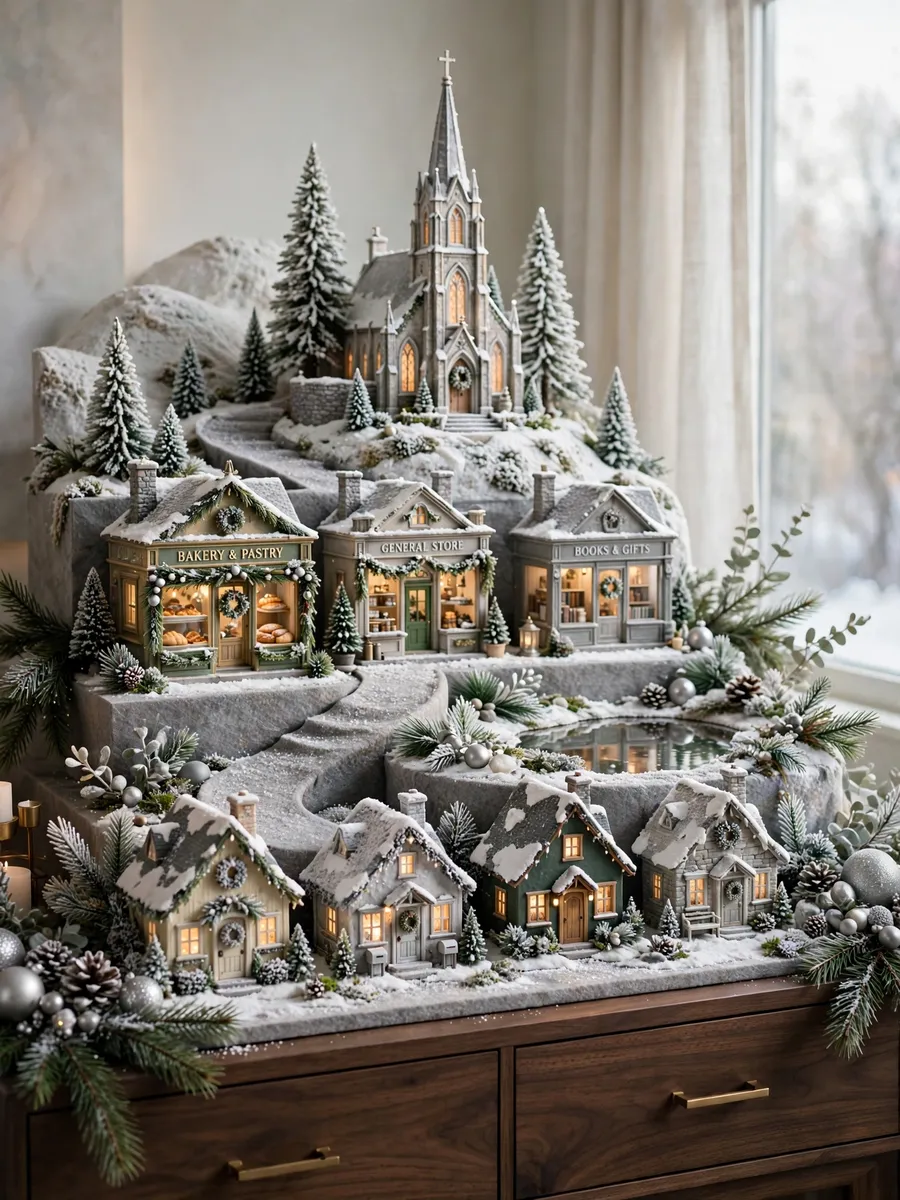
Depth comes from raising the back row on hidden risers, so every rooftop stays visible, and from layering the ground with hills, paths, and a frozen pond.
A flat display disappoints because the front houses hide everything behind them. Stack books or foam blocks under the back row, then cover them with the snow blanket so the lift looks like a natural hill. Add a smaller lift for the middle row. A winding path of grey felt leads the eye in.
For example, a three-level display — cottages at the front, shops on a two-inch lift, and a church on a four-inch lift — reads as a real hillside town. This layered approach is the single most effective of all christmas village display ideas for making a small collection look much bigger.
Quick tips:
- Raise the back row at least two inches above the front row.
- Cover every riser completely — a visible box edge ruins the illusion.
- Put the pond or path opposite the tallest house to balance the scene.
7. How Do You Light a Village So It Glows After Dark?
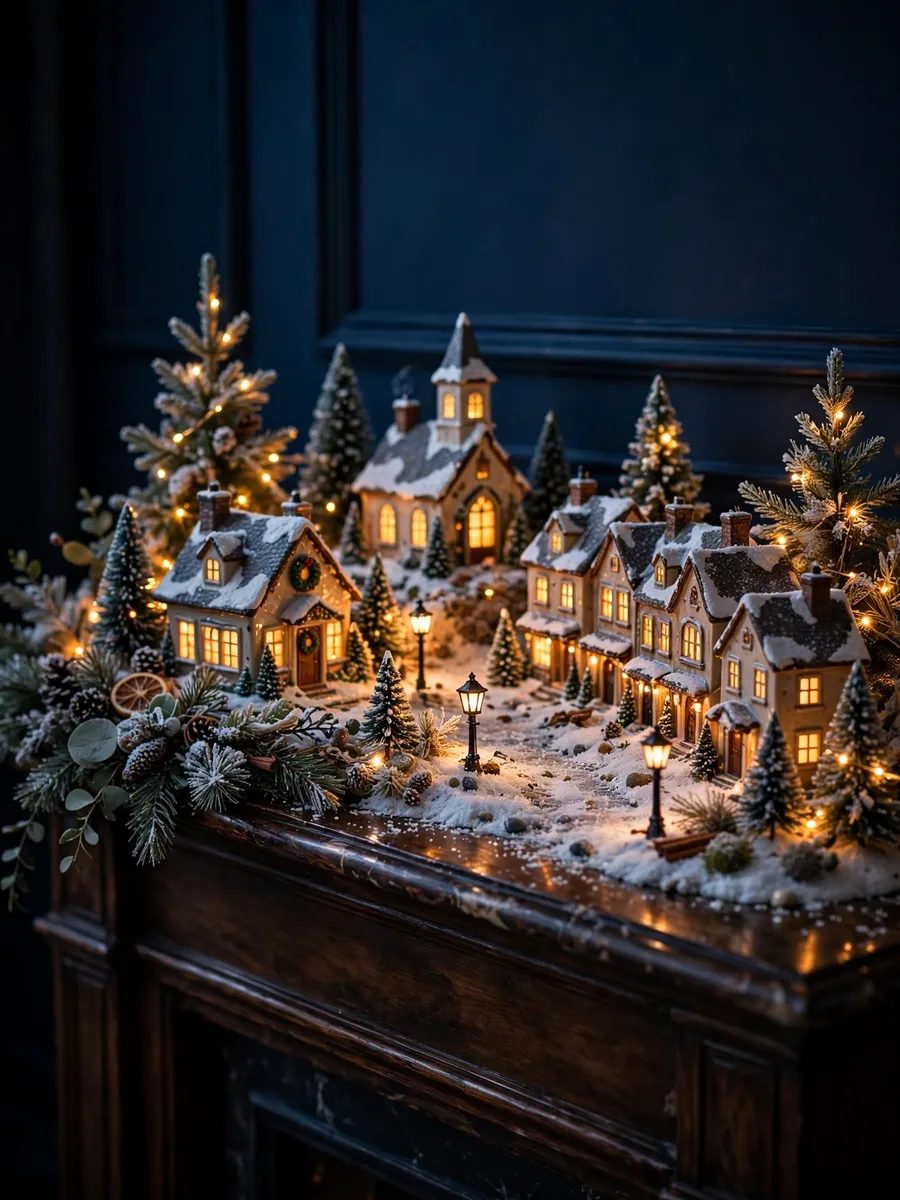
Warm white light inside every house, plus a few street lamps and fairy lights in the trees, gives a village its evening magic without any harsh glare.
Plan lighting before placing the houses. Most ceramic houses have a hole in the back for a small bulb, so run one light strand behind the back row. For houses without a built-in light, a battery tea light behind the windows works well. Add miniature street lamps along the path.
For example, a mantel village lit only by its house windows and three tiny lampposts, seen at dusk with the room lights off, looks like a real town viewed from a snowy hill.
Quick tips:
- Use warm white bulbs everywhere for a consistent, candlelit glow.
- Put the lights on a timer so the village lights up every evening.
- Test the lighting in a dark room before finalising the layout.
8. How Do You Build a Frozen Lake Scene in Your Village?
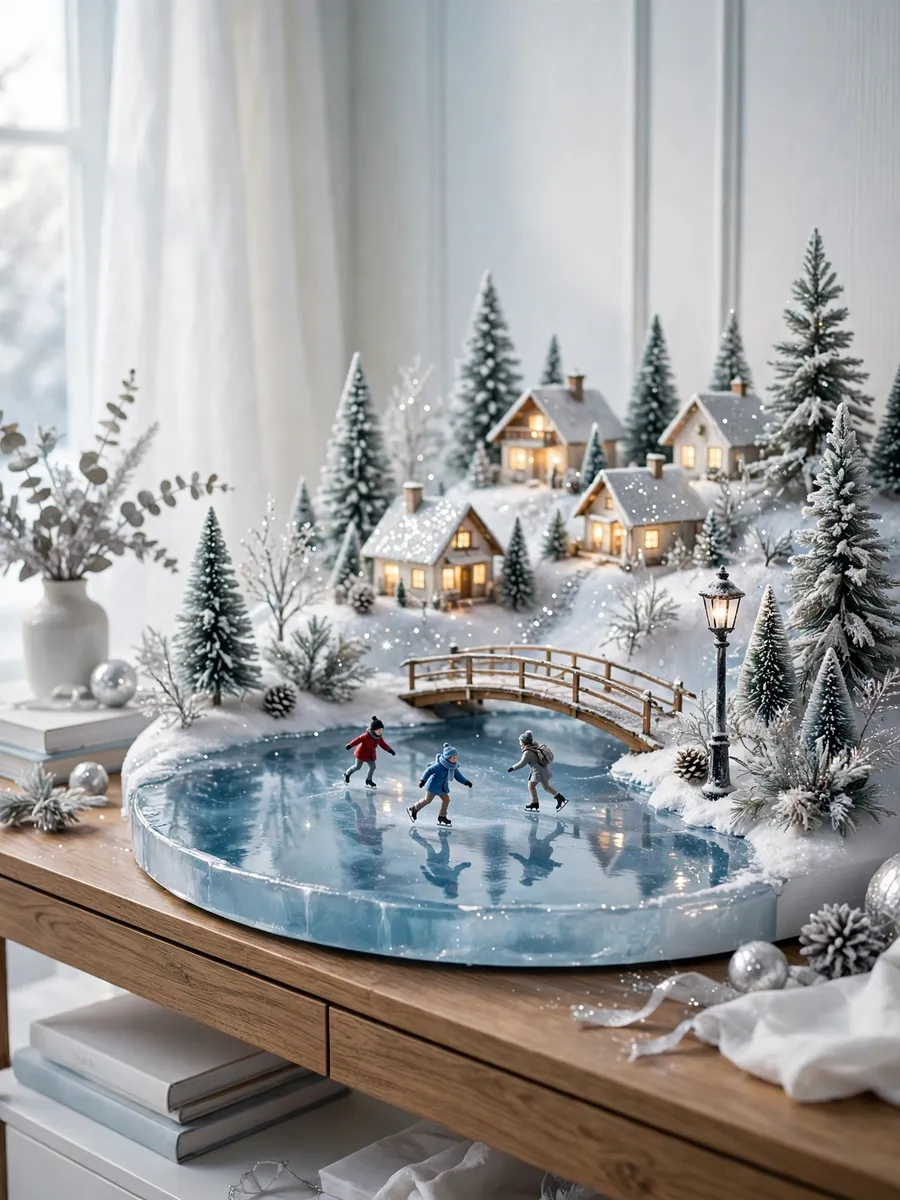
A frozen lake is made with a round mirror or glossy blue-grey acrylic, edged with snow and tiny trees, with skaters and a bench placed on top.
Water brings a village to life because it breaks up the white ground. Place the mirror slightly off-centre, toward the front where it catches the light, and press the snow blanket against its edges. A few skaters, a tiny bench, and a lamppost suggest a gathering spot.
For example, a twelve-inch round mirror with four skaters, two pine trees, and a small bridge becomes the natural focal point, even when the houses are modest.
Quick tips:
- Use a mirror no wider than a third of your display.
- Keep figures upright with a tiny dot of museum putty.
- Angle the mirror toward the room’s main light source.
9. How Do You Fit a Village on a Windowsill or Small Shelf?
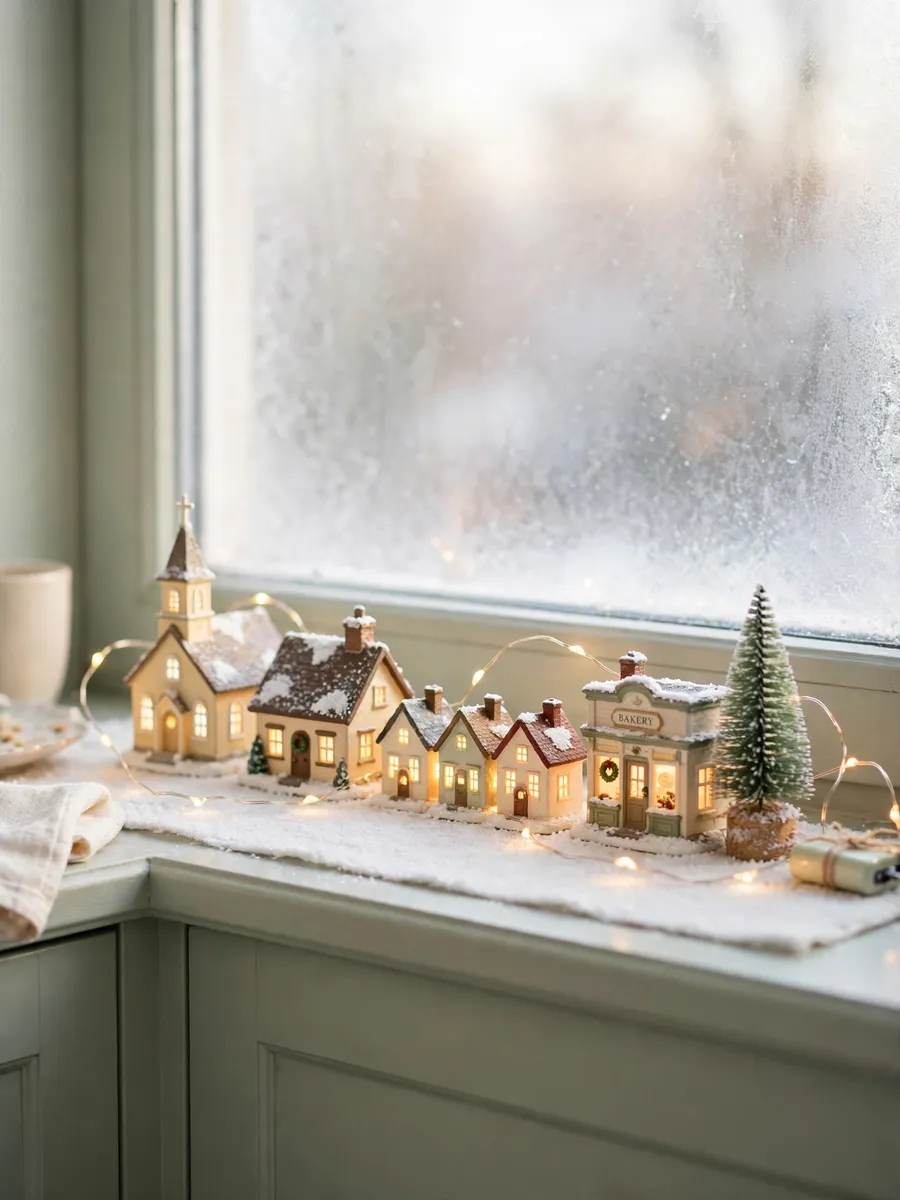
A small-space village needs just three or four houses in a single row, a narrow snow runner, and fairy lights — depth comes from height, not width.
When space is tight, resist squeezing in extra houses. Three well-chosen pieces look far more elegant than six crammed together, and the window behind adds natural depth. Place the tallest house in the middle, flank it with two cottages, and tuck a bottle-brush tree between them. Battery fairy lights make it glow without cords across the sill. A lit village in a window is one of the prettiest sights on a winter street, and it pairs beautifully with the Christmas window decor ideas you may already have planned for the glass itself.
For example, a church, a cottage, and a tiny shop on a kitchen windowsill, each with a glowing tea light, turn an everyday view into a miniature winter street.
Quick tips:
- Measure the sill depth first — deep houses will tip forward.
- Use battery lights only, so no cords cross the window frame.
- Keep the display low enough that it never blocks the latch.
10. How Do You Style a Rustic Farmhouse Village?
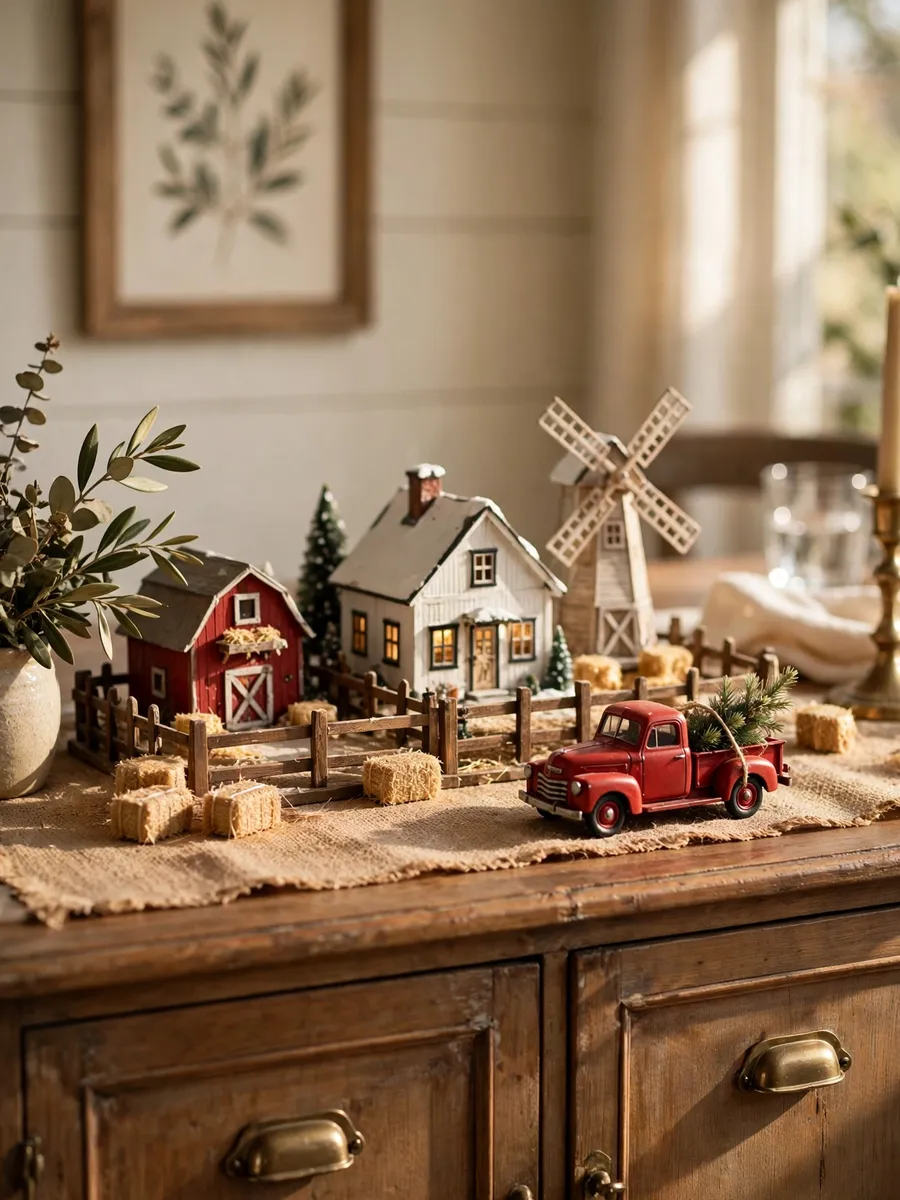
A farmhouse village uses barns, a windmill, wooden fences, and plaid or burlap textures to create a cosy countryside scene rather than a formal town.
Start with a barn or farmhouse as the anchor, add a windmill, and connect the buildings with a low wooden fence. A burlap runner gives a warm, earthy base — add snow only in small drifts around the rooftops. Tiny hay bales and a red truck carrying a tree complete the rural feel.
For example, a red barn, a white farmhouse, and a windmill around a tiny frozen pond feels like a Christmas card from the countryside.
Quick tips:
- Use natural textures — burlap, wood, and pinecones — not glitter.
- Keep the palette warm: red, cream, wood brown, and deep green.
- Add one animal figure, like a cow, for a touch of farm life.
11. How Do You Add a Moving Train to Your Village?
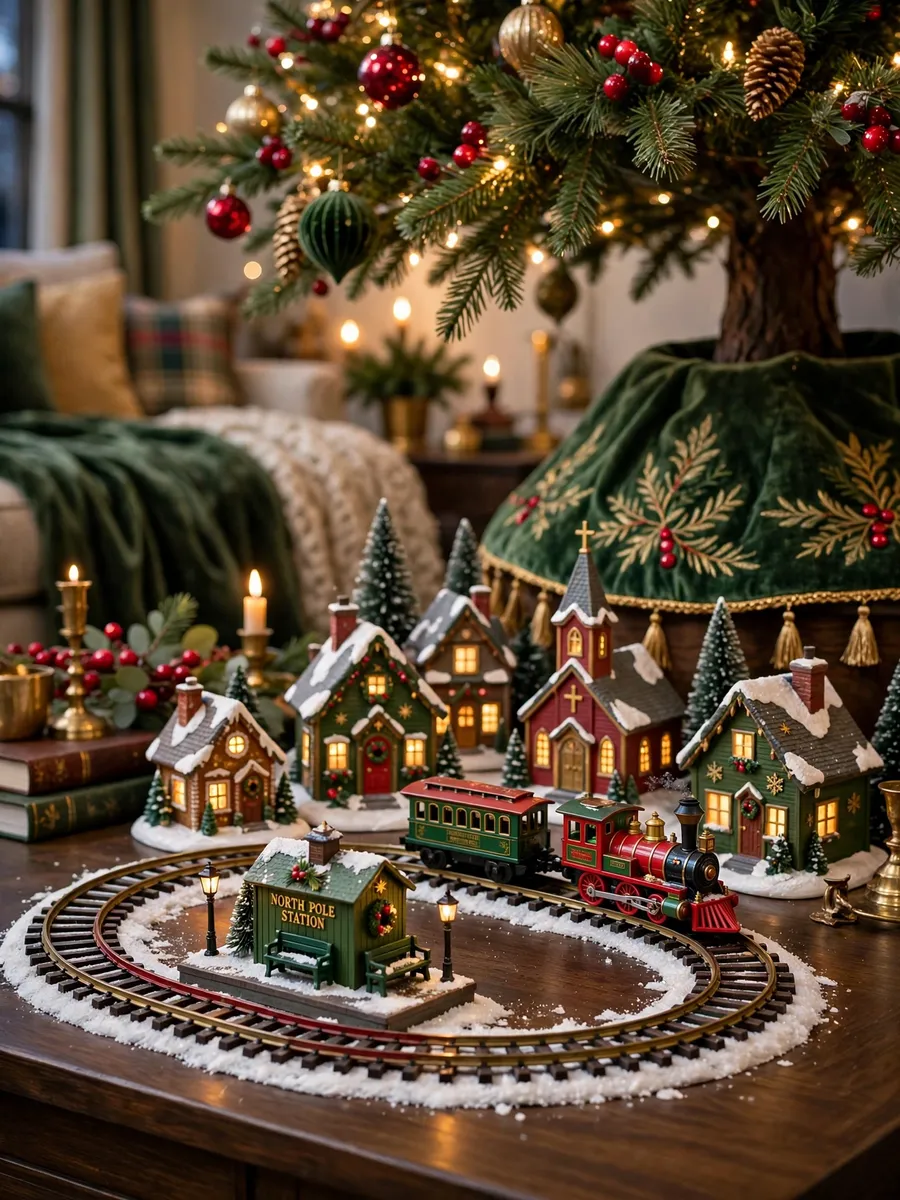
A miniature train works best on a simple oval track looping around the outside of the village, with houses set back at least two inches from the rails.
Movement is the one thing a still display cannot offer, and a slow train circling the village is mesmerising. Choose a battery train in a scale that matches your houses — too large and it towers over the cottages. Lay the track first and test a full loop so the train clears every rooftop. A tiny station gives it a purpose.
For example, a red and green train carrying miniature gifts, looping past a station and cottages under the tree, becomes the first thing children run to see each morning in December.
Quick tips:
- Test the train on the track before placing any houses near it.
- Keep trees and figures at least an inch from the rails.
- Keep a spare set of batteries nearby for Christmas morning.
12. How Do You Display a Village in a Tray for Easy Storage?
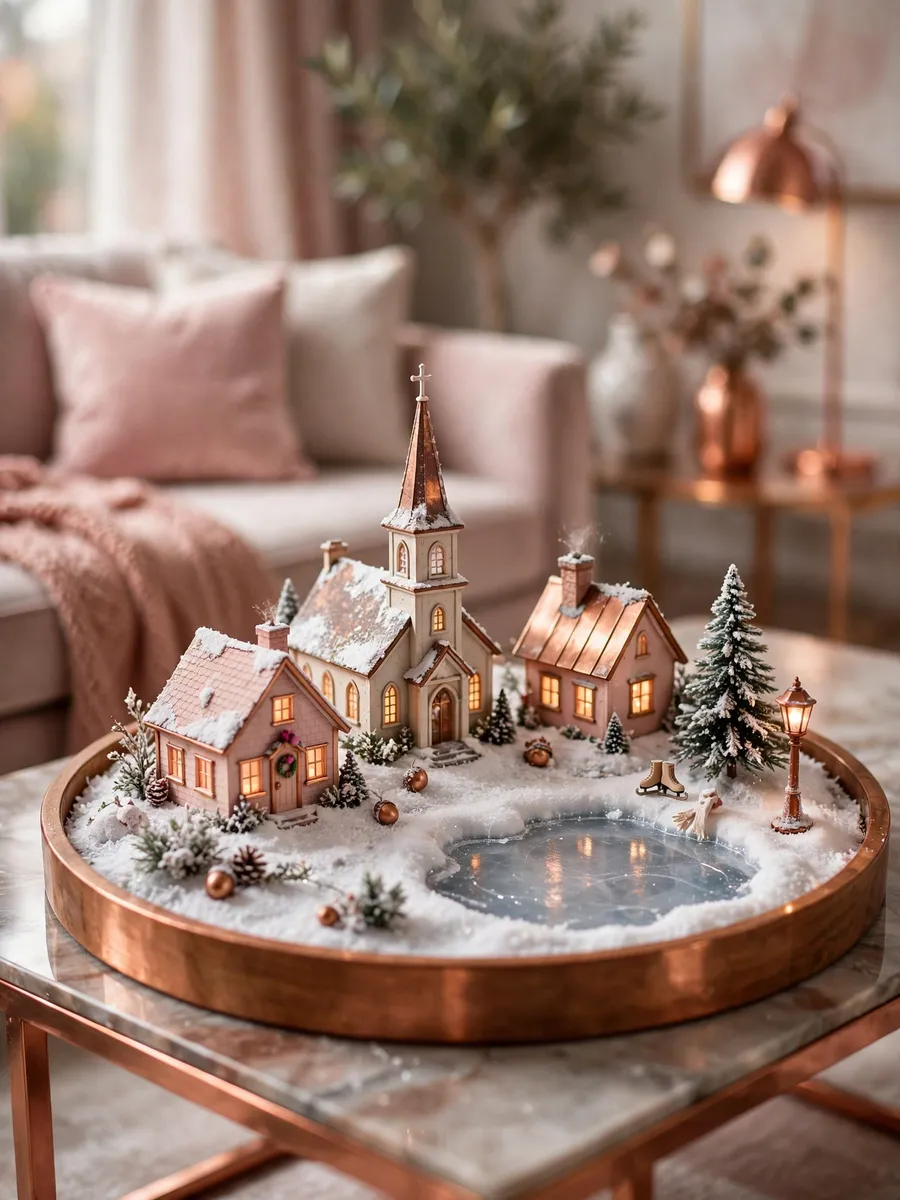
A tray village is a complete miniature scene on a single wooden tray, so it can be carried to the table, admired, and stored away in one piece.
This is the most practical way to enjoy a village if you are short on space or want to protect fragile pieces. Choose a tray with a low rim, line it with a snow blanket, and arrange four or five houses with a tree and a lamppost inside. When the season ends, wrap the whole tray in a bag and lift it onto a shelf — next December it is ready in minutes.
For example, a round wooden tray holding a church, two cottages, and a tiny skating pond on a coffee table gives guests a village to admire up close without taking over a room.
Quick tips:
- Pick a tray at least two inches wider than your widest house.
- Fix houses with small dots of museum putty so the tray carries safely.
- Store the tray flat, with a soft cloth over the top.
How many houses do you need for a Christmas village display?
Five to seven houses make a complete display, with one taller anchor piece like a church, a few cottages, and two or three trees.
Where should you put a Christmas village in your home?
The best spots are a mantel, a console table, a sideboard, or the floor under the tree, near a power outlet with room for two rows. A windowsill or a tray works well in a smaller home.
How do you hide cords in a village display?
Run one power strip behind the back row, tuck cords under the snow blanket, and use battery lights for houses far from an outlet.
Can you mix different village brands and styles together?
Yes, as long as the pieces share a similar scale and colour palette — match sizes first, or the scene will look out of place.
How do you store a Christmas village after the holidays?
Wrap each house in tissue paper, keep figures in labelled bags, and store everything in a sturdy box with dividers. A tray village can be stored whole, covered with a cloth.
What is the easiest way to light a village without an electrician?
Use the bulbs built into most ceramic houses, battery fairy lights, and LED tea lights. A plug-in timer turns the display on and off each evening.
Conclusion
A beautiful village is not about owning the most houses — it is about giving a few good pieces room to breathe, a clear theme, and warm light. Start with one spot, one palette, and five or six houses, then build in layers: a snowy base, staggered heights, a path or a pond, and a few trees. These christmas village display ideas work in a grand living room or a tiny flat — add one new house each year, and your little town will feel more like home every Christmas.