12 Stunning Christmas Advent Calendar Ideas That Turn December Into Beautiful Holiday Decor
The best christmas advent calendar ideas do more than count down the days — they become part of your Christmas decor. A good DIY advent calendar gives you 24 little moments from December 1 to Christmas Eve, and looks beautiful on your wall, mantel, or shelf all month. Whether you love paper crafts, sewing, or simple no-sew projects, a style here fits your home and budget. Start at the front door: a calendar hung near the entrance works beautifully alongside your Christmas entryway decor ideas, setting a festive tone from the first step inside.
Key Takeaways
- How many days should an advent calendar have? Most have 24, one for each day from December 1 to Christmas Eve — add a 25th for Christmas Day.
- What can you put inside a DIY advent calendar? Small treats, notes, activity cards, tiny toys, or beauty samples all work — no gift is needed every day.
- Which style is best for a small home? A flat wall calendar of envelopes, paper cones, or a felt banner takes up almost no space yet looks like real decor.
- Can a homemade advent calendar be reused? Yes — fabric pockets, drawers, felt trees, and sturdy boxes last for years if stored flat after Christmas.
- How much does a DIY advent calendar cost? Most use kraft paper, envelopes, matchboxes, or fabric scraps you may already have.
1. How Do You Make an Envelope Gallery Advent Calendar?
Hang 24 numbered kraft envelopes in neat rows on a wall and you have a countdown that looks like a gallery display. Each envelope holds a note, a treat, or an activity card.
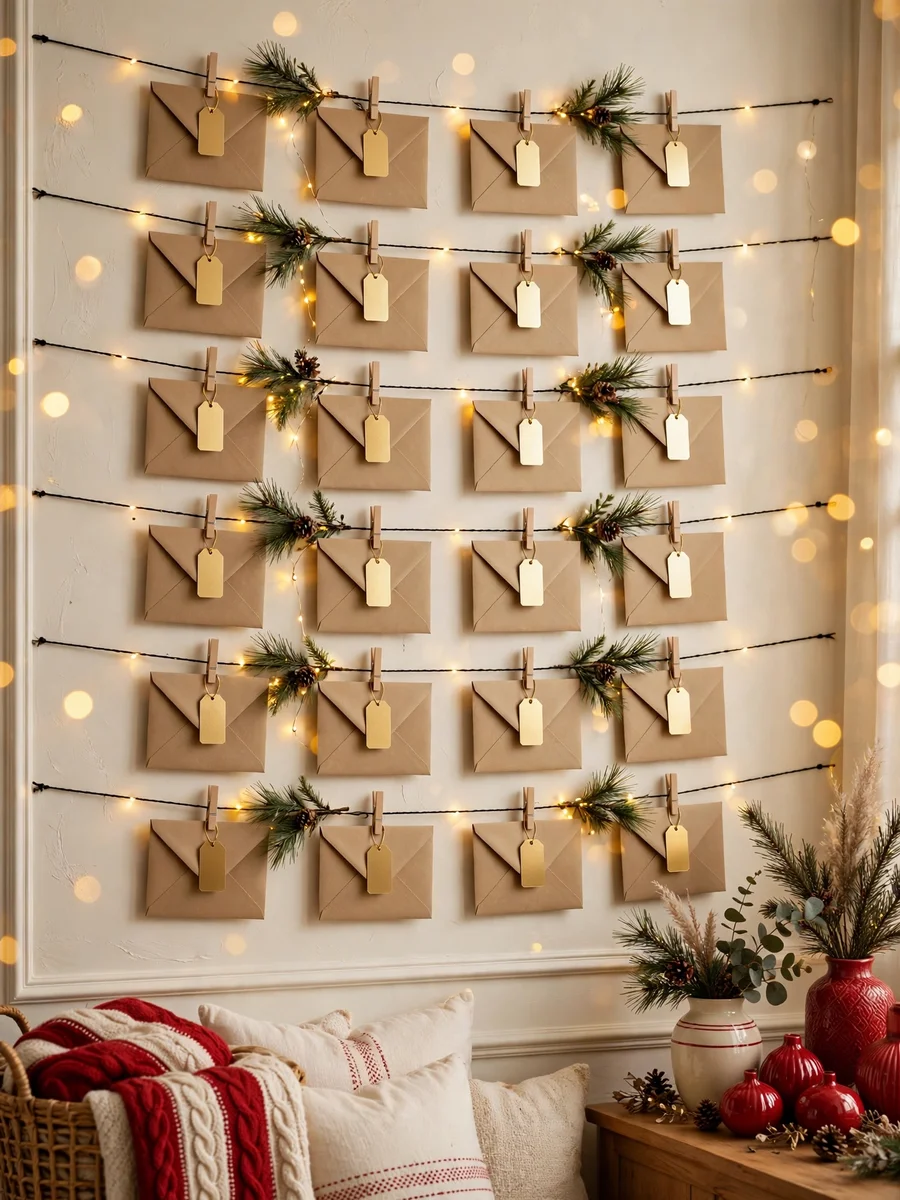
Clip the envelopes to twine with small wooden pegs, or stick them in a grid with removable adhesive strips. Number them with a gold pen and tuck pine sprigs between the rows. Measure the rows first — even spacing is what makes this style look intentional instead of messy.
Concrete example: Four rows of six cream envelopes on black twine, numbered in gold, with a pine sprig behind every fourth one. One holds a card: “tonight we bake gingerbread together.”
Quick tips:
- Use kraft envelopes in one size so the grid stays tidy.
- Number with a metallic pen so the numbers read from across the room.
- Keep heavier treats in the bottom rows so nothing pulls the twine down.
2. What Makes a Paper House Advent Village So Charming?
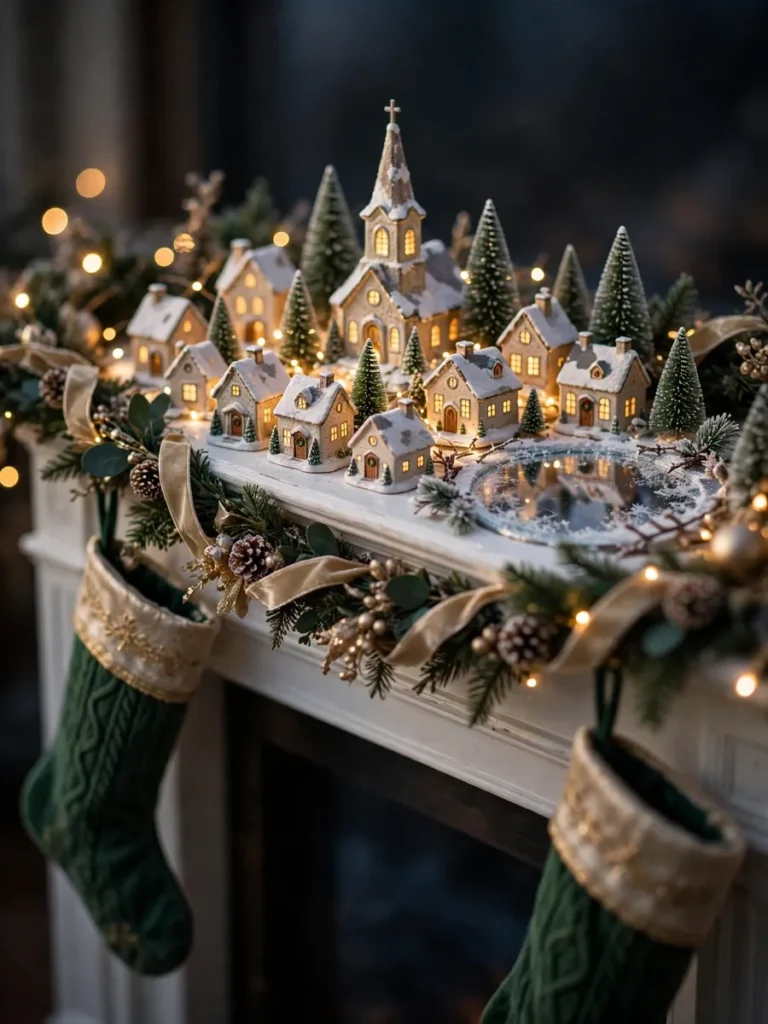
A row of tiny paper houses with numbered doors turns your mantel into a miniature Christmas village. Each house hides a surprise, and the display looks magical before anyone opens a single door.
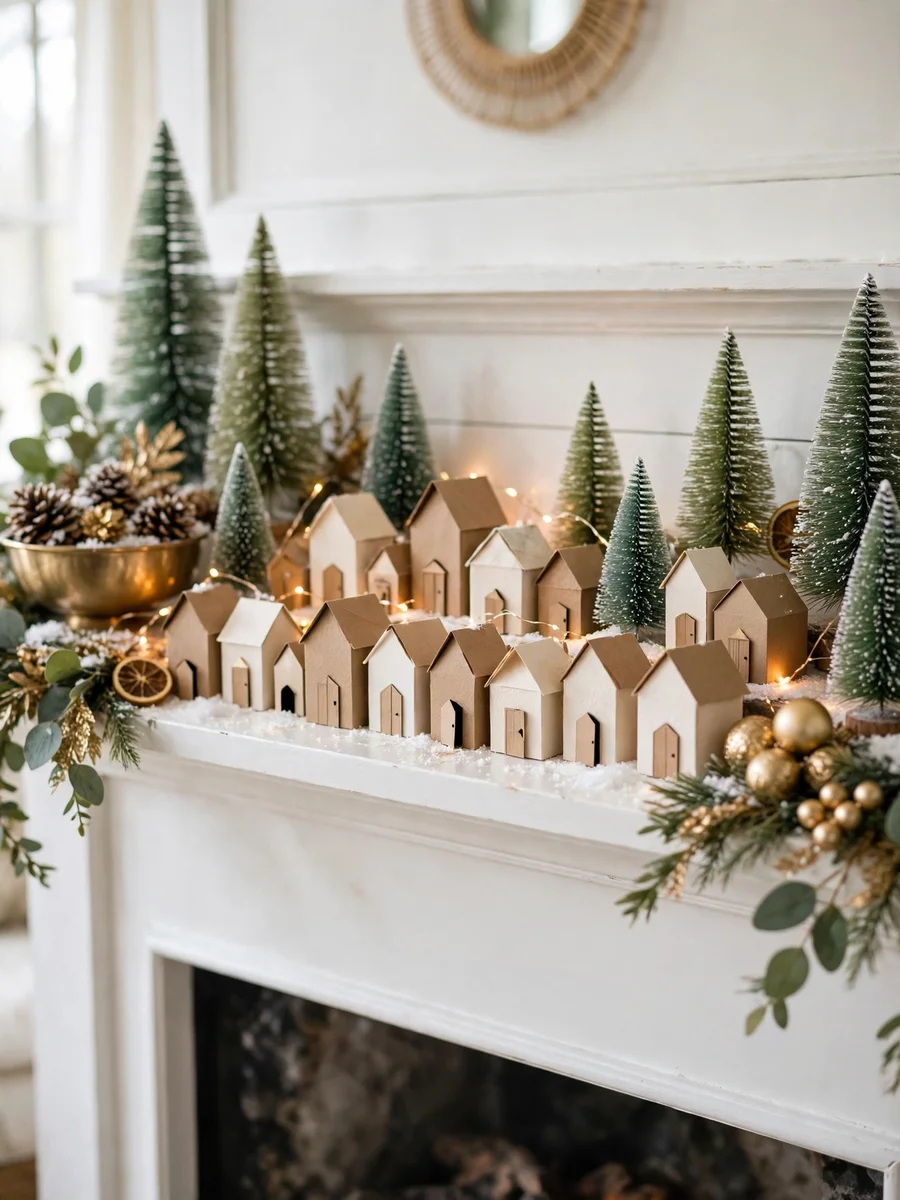
Fold small houses from kraft card — printable templates make this far easier than measuring by hand. Cut a small door in each one, number it, and set the houses along the mantel with bottle-brush trees, warm fairy lights, and a dusting of faux snow. Vary the rooflines so the row reads like a real village.
Concrete example: On a white mantel, 24 cream and kraft houses glow between warm lights and bottle-brush trees. House 12 holds a tiny wooden star for the tree that evening.
Quick tips:
- Use card, not thin paper, so the houses hold their shape all month.
- Number the doors, not the roofs, so the numbers stay visible.
- Keep the houses away from real candle flames — use LED lights only.
3. How Does a Felt Christmas Tree Advent Calendar Work?
A large felt tree hangs on the wall, and 24 small felt ornaments attach to it one by one. Each ornament hides a number or a pocket, and by Christmas Eve the bare tree is fully decorated.
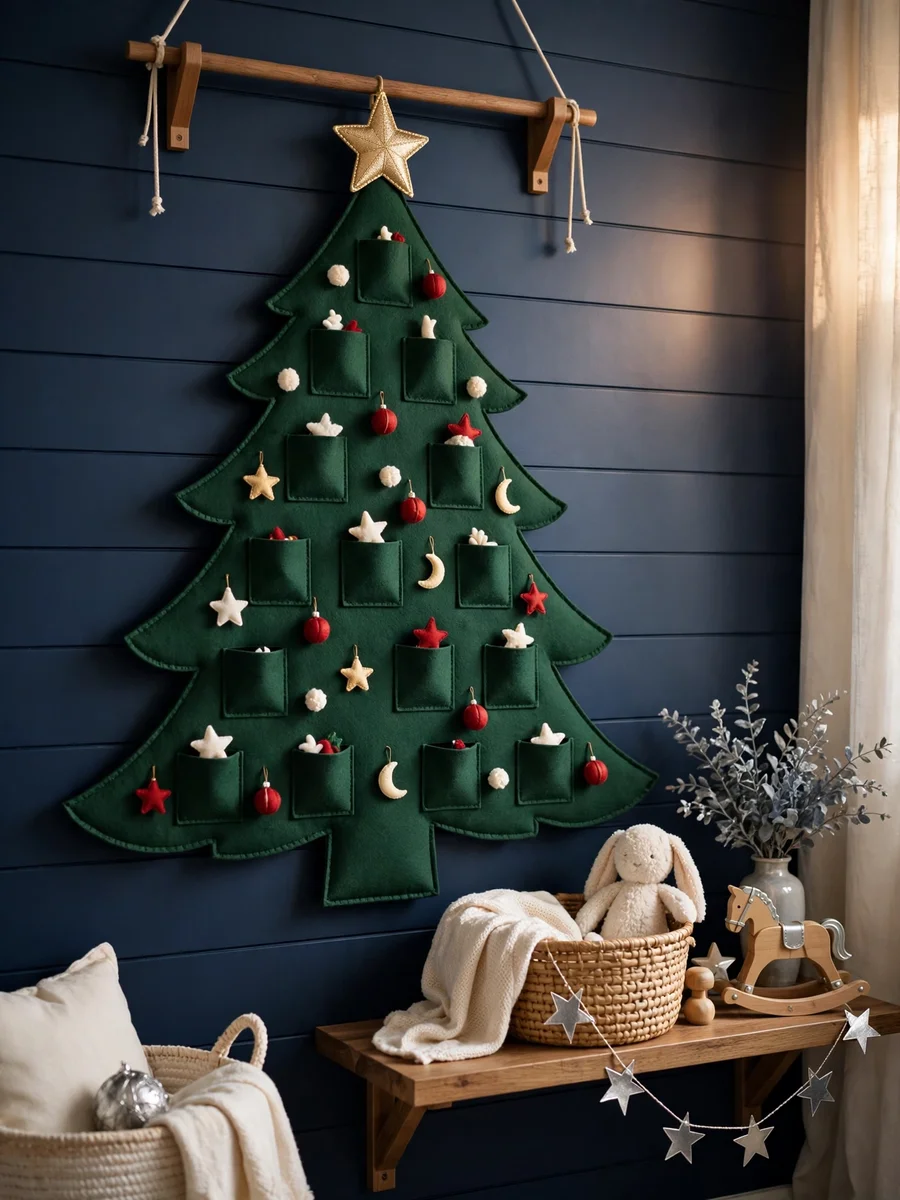
Cut a tree shape from green felt and hang it from a wooden dowel. Make 24 small ornaments — stars, baubles, gingerbread men — from coloured felt, each with a numbered tag on the back. Children stick one ornament on the tree every morning, so the countdown itself is the decoration. Felt sticks to felt, so no hooks are needed, and the calendar folds flat into a drawer in January.
Concrete example: A deep-green felt tree starts December bare except for a gold star. Each morning a child adds one ornament; on December 12 it is a felt candy cane holding a note for a hot-chocolate night.
Quick tips:
- Use two shades of green felt for the tree to add depth.
- Keep ornaments small and light so they grip the felt.
- Store the tree rolled, not folded, to avoid creases.
4. Can Matchboxes Really Become a Christmas Tree Countdown?
Yes — 24 decorated matchboxes stacked in a triangle make a charming little tree, and each tiny drawer hides a treat, a note, or a small trinket.
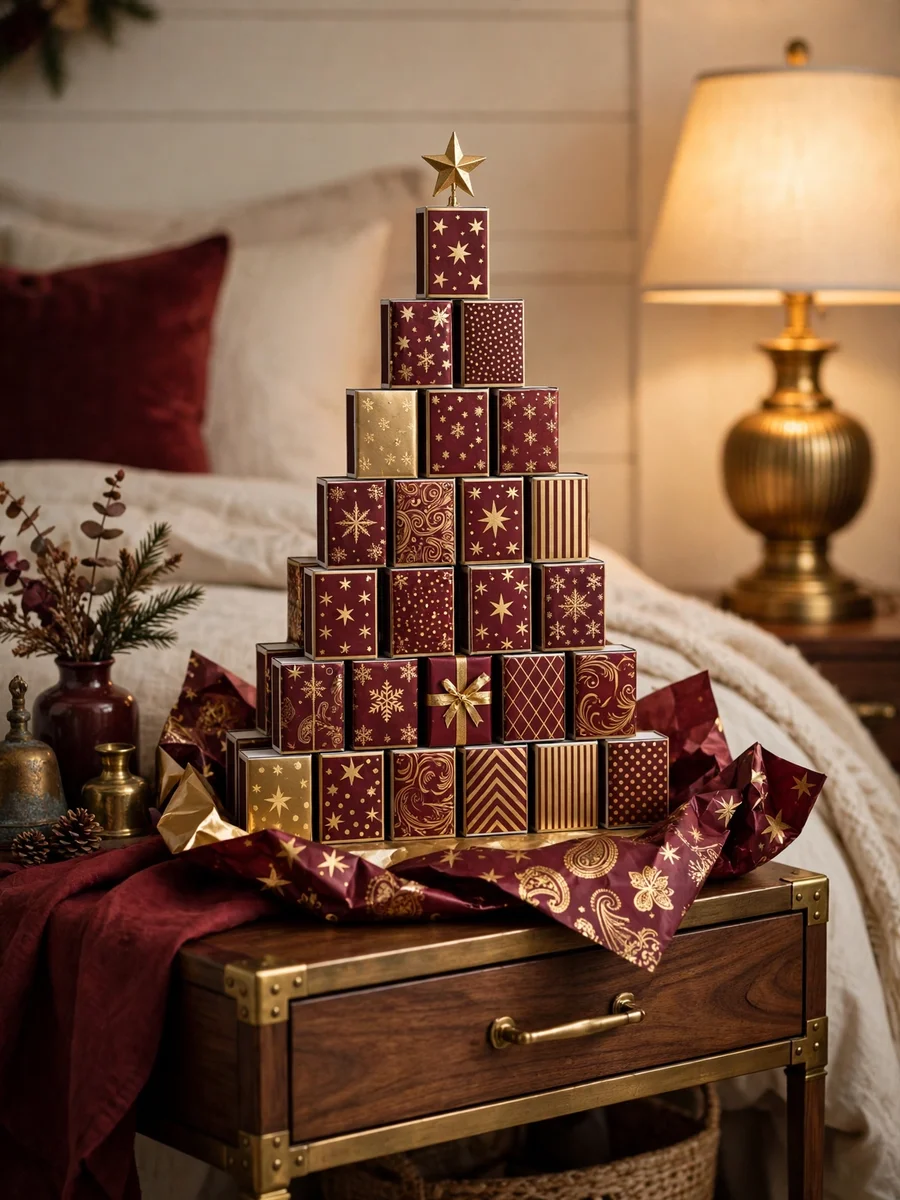
Cover empty matchboxes in wrapping paper, then glue them together in rows of one through seven to form a triangle, with a small star on top. Number each drawer front with stickers or a fine pen. The drawers are small, so fill them with a single chocolate or a folded joke — the delight is in the opening, not the size of the gift.
Concrete example: A burgundy and gold matchbox tree sits on a bedside table. Drawer 7 holds a tiny gold bell and a note: “ring this when the tree lights go on tonight.”
Quick tips:
- Glue the boxes together firmly — a wobbly tree will not survive 24 openings.
- Keep drawer fillings flat so the drawers slide easily.
- Paint the inside of each drawer a surprise colour for a little extra joy.
5. How Do You Hang a Mini Stocking Advent Calendar?
Hang 24 tiny stockings in a row from a wooden dowel or a branch, and you have a soft, traditional countdown that suits a hallway, a bedroom wall, or the side of a staircase.
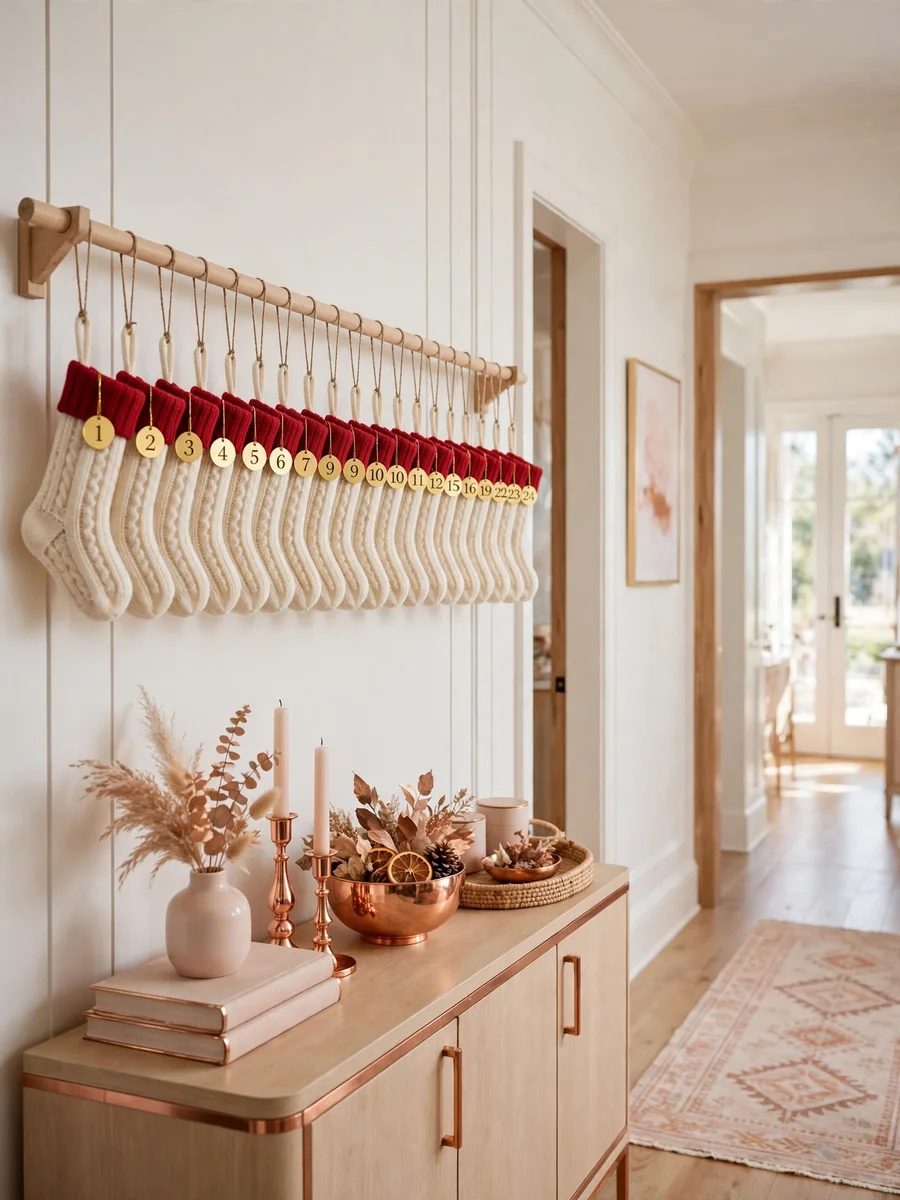
Knit, sew, or buy small stockings in one colour family — classic red and cream, or blush, sage, and cream for a modern home. Hang them from a dowel with ribbon loops, spaced evenly and numbered with small tags. Stockings work for adults too: fill them with tea bags, lip balm, or a favourite quote instead of toys.
Concrete example: Above a console table, 24 cream stockings with red cuffs hang from a wooden dowel, numbered in gold thread. Stocking 20 holds two cinema tickets: “film night — your pick.”
Quick tips:
- Hang the dowel with two hooks so it stays level under the weight.
- Keep fillings light so the stockings do not stretch out of shape.
- Use matching ribbon loops for a neat, finished look.
6. What Is the Easiest Paper Bag Advent Calendar?
Number 24 small paper bags, fold the tops closed, and arrange them in a basket or along a shelf. It takes under an hour, costs almost nothing, and looks wonderfully rustic.
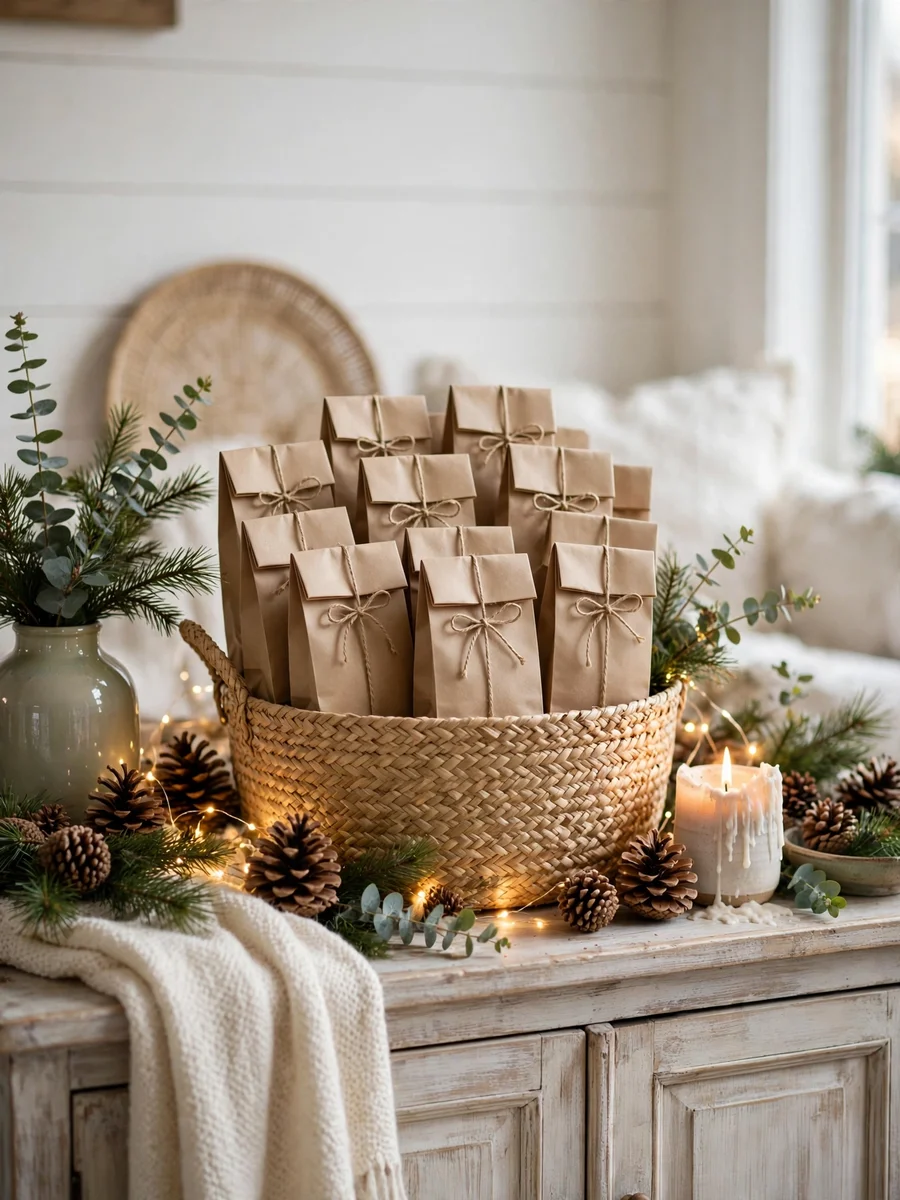
Fill small kraft lunch bags, fold each top over twice, and seal it with a sticker or washi tape. Add a number tag to the front, then stand the bags upright in a wicker basket or a long tray on the mantel. Mix in pinecones and cinnamon sticks between the bags so the display reads as decor, not a pile of lunch bags.
Concrete example: A seagrass basket holds 24 kraft bags with red tags among pinecones and fairy lights. Bag 3 holds hot-chocolate ingredients for one mug, measured and ready.
Quick tips:
- Choose bags all the same size for a tidy display.
- Fold tops the same way every time for a uniform look.
- Label the bags before you fill them, not after.
7. Is a Fabric Pocket Advent Calendar Worth Sewing?
Yes, if you want a calendar that lasts for years. Among all the christmas advent calendar ideas here, a sewn fabric wall hanging is the one most likely to become a family heirloom, pulled out every December.
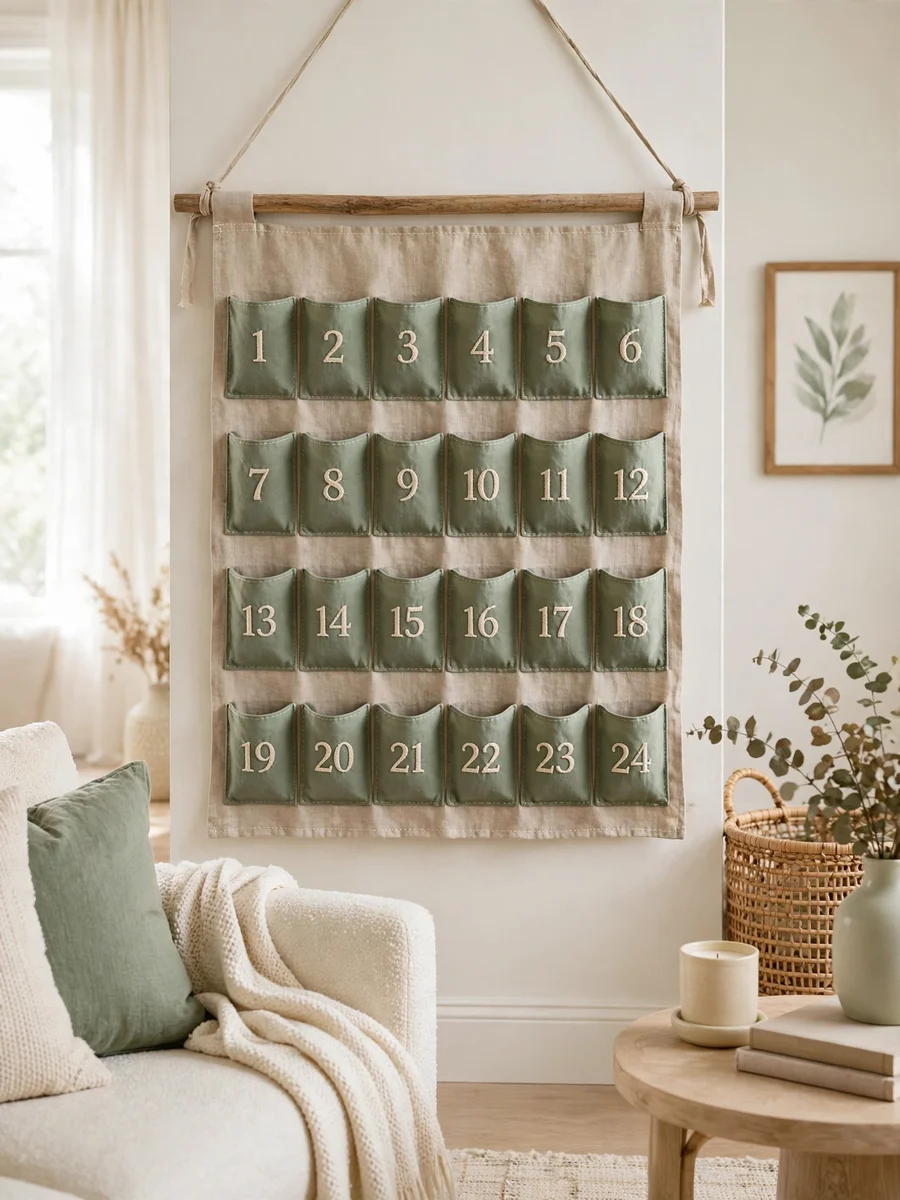
Sew 24 pockets onto a natural canvas backing, in four rows of six, and number each pocket with iron-on numbers or embroidery. Add a simple tree or star appliquéd across the top. The pockets hold small gifts or activity cards, and the hanging rolls up for storage. A plain fabric kit works for beginners — the stitching is mostly straight lines.
Concrete example: A linen hanging with 24 sage pockets and cream numbers hangs in a living room. Pocket 15 holds a card: “today we drive to see the Christmas lights.”
Quick tips:
- Use sturdy cotton or linen so the pockets do not sag.
- Iron the numbers on before you sew the pockets closed.
- Hang it from a wooden dowel with ribbon ties at each end.
8. How Do You Style a Mason Jar Advent Calendar?
Line up 24 small mason jars on a shelf or tray, each with a numbered lid or label, and fill them with treats, notes, or tiny ornaments. The glass catches the light beautifully, especially with fairy lights nearby.
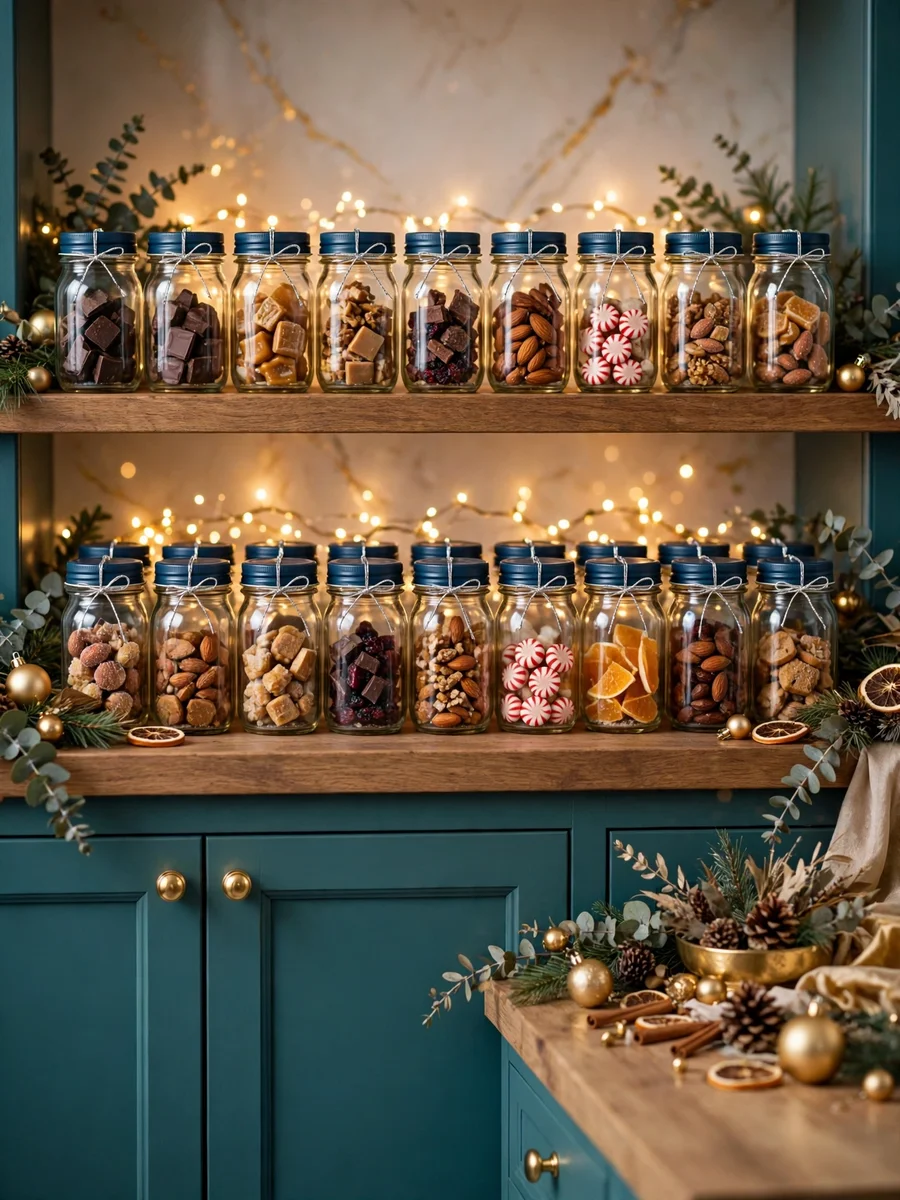
Use small jars so the display fits on one shelf, and tie a ribbon bow around each neck. Number the lids with chalk labels or wooden tags. Fill the jars with a mix — one day a chocolate, the next a tiny ornament, the next an activity card — so nobody can guess what is coming. Group them on a wooden tray with lights behind.
Concrete example: On a kitchen shelf, 24 small jars with navy lids and silver bows sit in two rows before warm fairy lights. Jar 9 holds a miniature wooden reindeer.
Quick tips:
- Use jars of one size so the rows stay even.
- Keep the lids loose enough for small hands to open.
- Wipe the glass before display day — fingerprints show on glass.
9. How Do You Build a Paper Cup Christmas Tree Countdown?
Stack 24 decorated paper cups into a tree shape on a wall or a board, covering each cup with tissue paper that gets popped open each day to reveal the surprise inside.
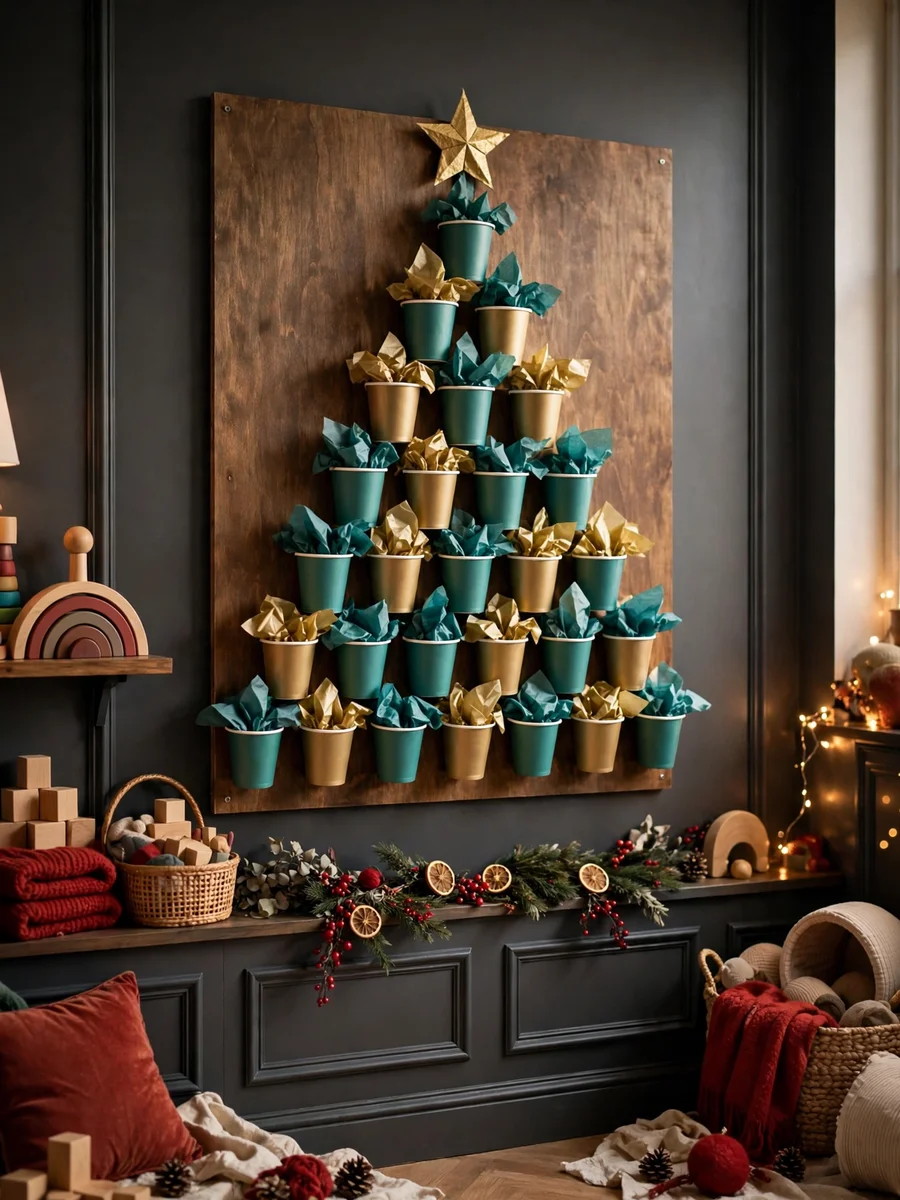
Glue paper cups upside down onto a large board in rows that shrink toward the top, forming a triangle, and cover each open end with tissue paper held by an elastic band. Number the covers and add a paper star on top. Each morning, someone pokes through one cover to reach the treat inside — children love this one.
Concrete example: A teal and gold paper-cup tree stands on a playroom wall. Cup 18 hides Christmas stickers and a note: “decorate the windows tonight.”
Quick tips:
- Use tissue paper, not card, for the covers — it must tear easily.
- Number the covers before gluing the cups to the board.
- Keep the board flat against the wall so cups do not slide off.
10. How Can Gift Boxes Become a Display Advent Calendar?
Wrap 24 small boxes in coordinating paper, number them, and stack them into a pyramid on a sideboard or under the tree. It looks like a pile of presents all month — which is exactly what it is.
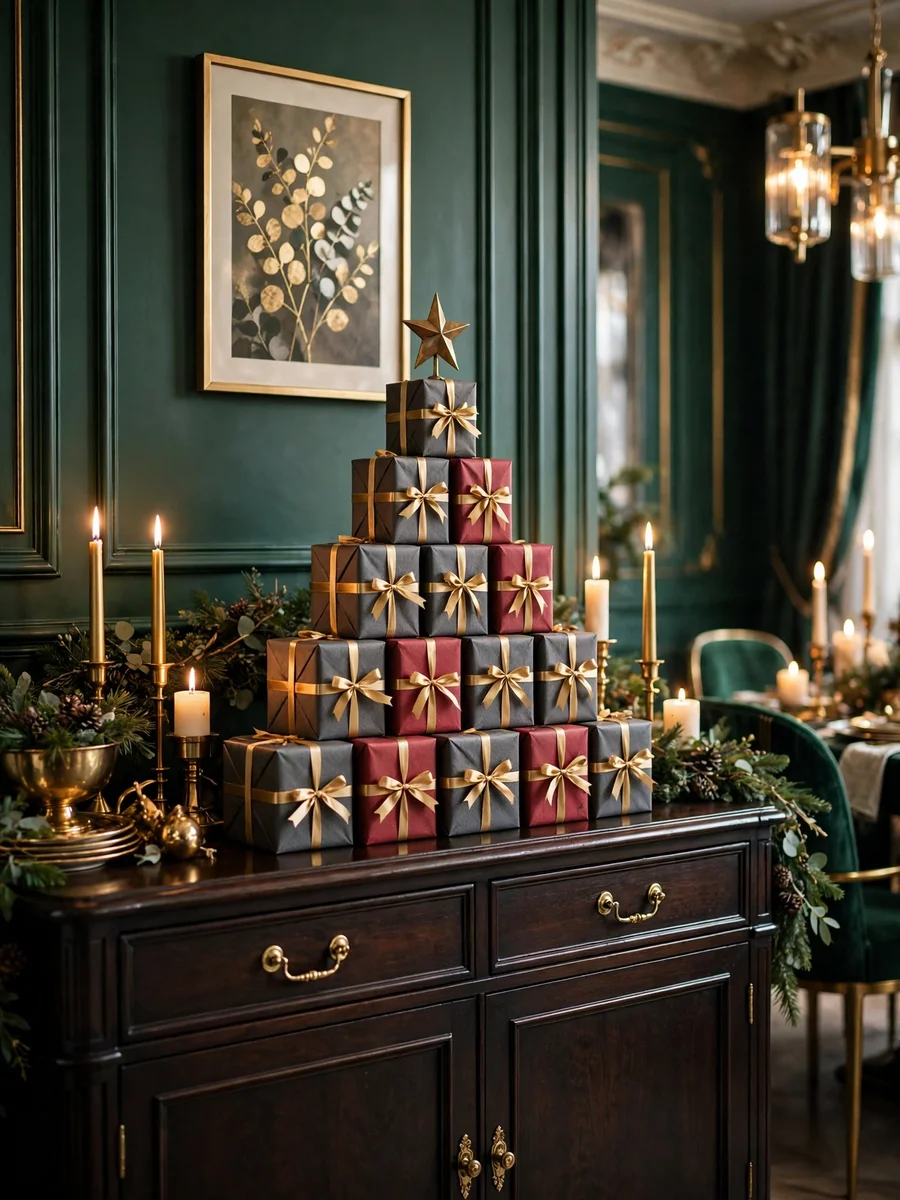
Use boxes in three or four sizes, wrapped in two or three papers from the same colour family so the stack looks planned. Tie each with ribbon, add a numbered tag, and stack them largest at the bottom with a star on the peak. It also makes a lovely low table display alongside your Christmas centerpiece ideas. Take one box off each day from the top down, so the pyramid slowly shrinks toward Christmas.
Concrete example: A pyramid of charcoal and red boxes with gold ribbon stands on a sideboard, topped with a brass star. Box 24 holds a board game for Christmas Eve.
Quick tips:
- Put the heaviest boxes at the bottom for stability.
- Wrap lids separately so boxes open without tearing the paper.
- Photograph the stack before December 1 so you can rebuild it next year.
11. What Is a Book Advent Calendar?
A book advent calendar is 24 wrapped books, one opened each evening in December. It is the calmest countdown on this list — no sugar, no clutter, just a story a night.
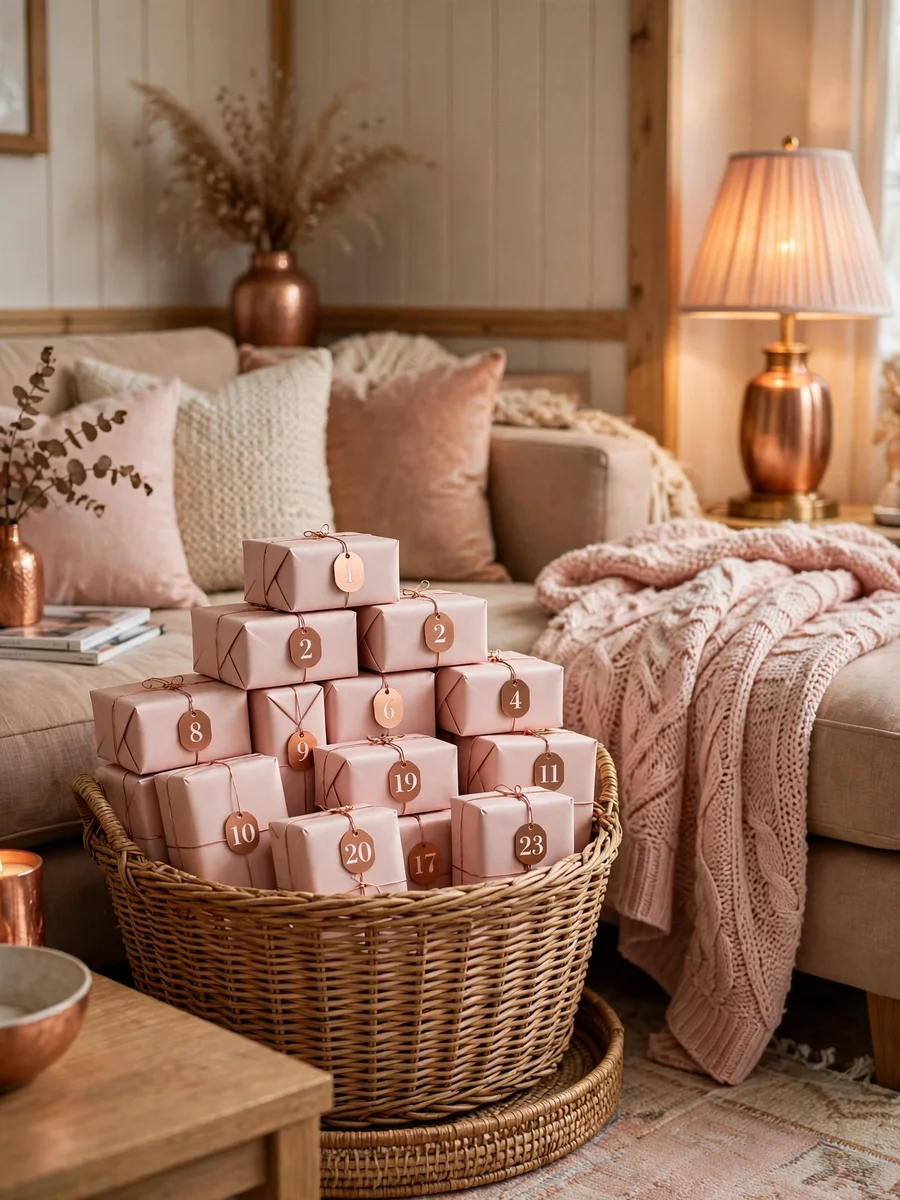
Choose 24 books to suit the reader — picture books for children, short stories for adults — and wrap each one in brown paper with a number on the front. Stack them in a basket and open one together each evening. Mix old favourites with a few new titles, and save a Christmas-themed book for the final days.
Concrete example: A basket beside the sofa holds 24 books in blush paper with copper numbers. Book 21 is an illustrated Christmas story the family now reads aloud every year.
Quick tips:
- Wrap books in paper that tears easily at the seams.
- Mix short and long books so busy evenings still work.
- Number clearly — hunting for the right book is half the fun.
12. How Do You Make a Scandinavian Paper Cone Advent Calendar?
Roll 24 pieces of card into cones, hang them from a branch or a wooden dowel, and fill each cone with a small treat or note. The result is clean, modern, and beautifully simple.
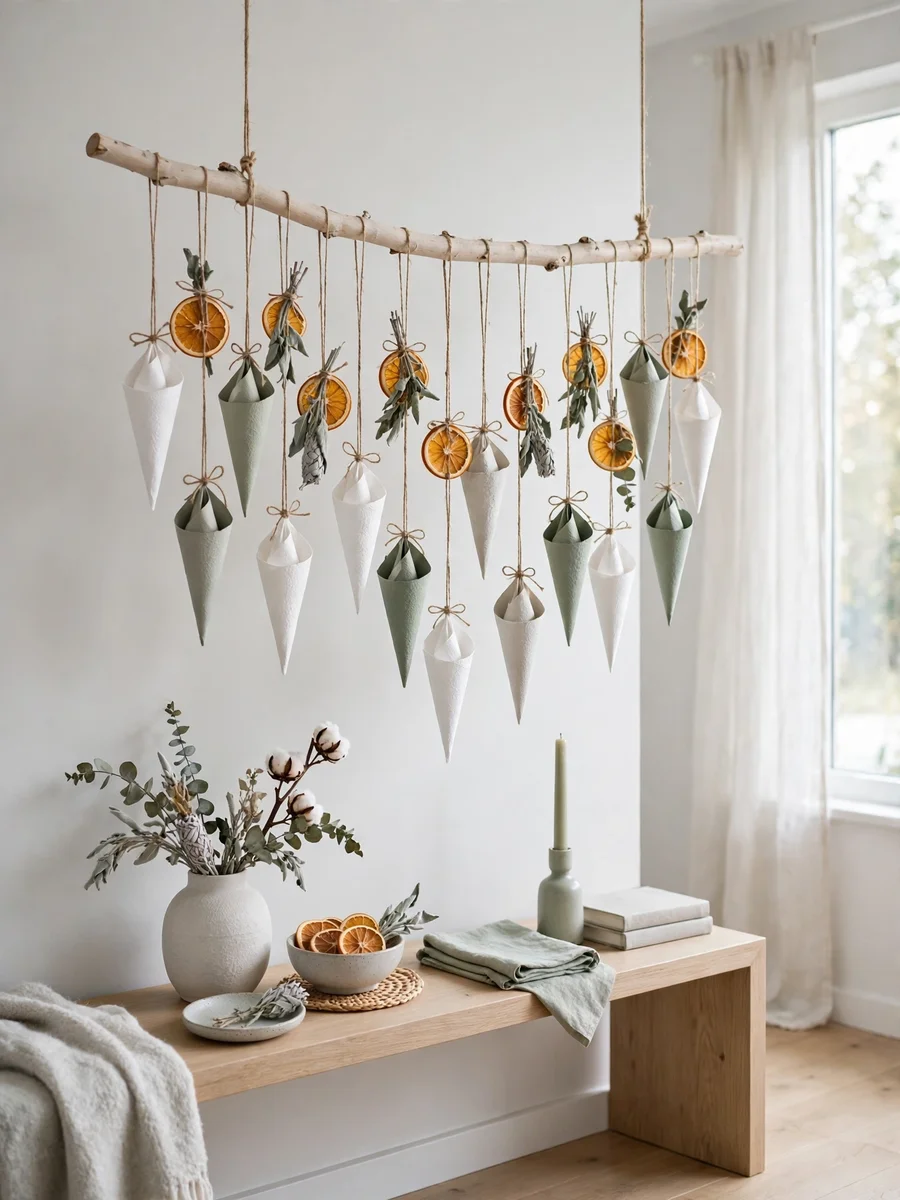
Use white, cream, and pale grey card, with a few cones in muted green or dusty pink for contrast. Roll each sheet into a cone, secure it with glue, and thread twine through two holes near the rim. Number the cones with black stickers, then hang them at different heights from a bare branch on the wall — the uneven heights make it feel organic, like ornaments on a branch.
Concrete example: A pale branch above a console table holds 24 white and sage cones at staggered heights, with dried orange slices between them. Cone 5 holds a tiny pine-scented candle.
Quick tips:
- Use thick card so the cones keep their shape when filled.
- Hang the branch firmly — 24 filled cones are heavier than they look.
- Keep the palette to three colours for a calm, Nordic finish.
FAQs
When should you start an advent calendar?
Start on December 1. Most run for 24 days, ending on Christmas Eve. If yours has 25 compartments, the last one opens on Christmas Day itself.
What do you put inside a DIY advent calendar?
Small chocolates, notes, activity cards, tiny toys, tea bags, or ornaments all work. The best fillings mix treats with experiences — a film night, a baking afternoon, a walk to see the lights — so the calendar feels special without costing a fortune.
How many days does an advent calendar have?
Most have 24 days, December 1 to 24. Some have 25 to include Christmas Day. For a DIY calendar, 24 is simplest to plan around.
What is the best advent calendar for a small space?
A flat wall calendar is best. Envelope galleries, felt trees, paper cone branches, and fabric pocket hangings sit flat against the wall, taking no floor or shelf space, while still looking like proper decor.
Can you reuse a homemade advent calendar?
Yes, with durable materials. Fabric pockets, felt trees, mason jars, and sturdy boxes last year after year. Paper calendars are single-use but cheap to remake and easy to recycle.
How do you make an advent calendar cheaply?
Use what you already have: kraft envelopes, paper bags, matchboxes, fabric scraps, and kitchen jars. Fill compartments with notes and activities instead of bought gifts, and stick to one paper colour so the display still looks intentional.
Conclusion
The best christmas advent calendar ideas are the ones that fit your home and your December. Pick a style that suits your space — a wall of envelopes for a hallway, a paper village for the mantel, a felt tree for little hands, or a stack of books for quiet evenings — and fill it with small moments rather than big spending. Start simple, number everything clearly, and let the countdown become part of your decor.