12 Pantry Organization Ideas That Stay Tidy Long After the Makeover
12 Pantry Organization Ideas That Stay Tidy Long After the Makeover
A pantry that stays organized is not built from matching containers. It is built from zones that match how you actually cook, labels that make sense at 6 a.m., and a small weekly habit that stops the slow slide back into chaos. These 12 pantry organization ideas work in walk-in pantries, narrow reach-in closets, and single kitchen cabinets alike, because they solve the real reasons pantries fall apart: food with no home, shelves you can’t see into, and systems that only work on the day you set them up. And just as thoughtful kitchen island decor ideas make the busiest spot in your kitchen beautiful and useful, a well-zoned pantry makes every meal a little easier to start.
Most pantry guides assume a big walk-in and a weekend to decant everything. If yours is a deep cabinet or a closet barely a foot deep, you need a different playbook — these ideas are written for the pantries most of us actually have.
1. Pantry Organization Ideas Start With Zones, Not Bins
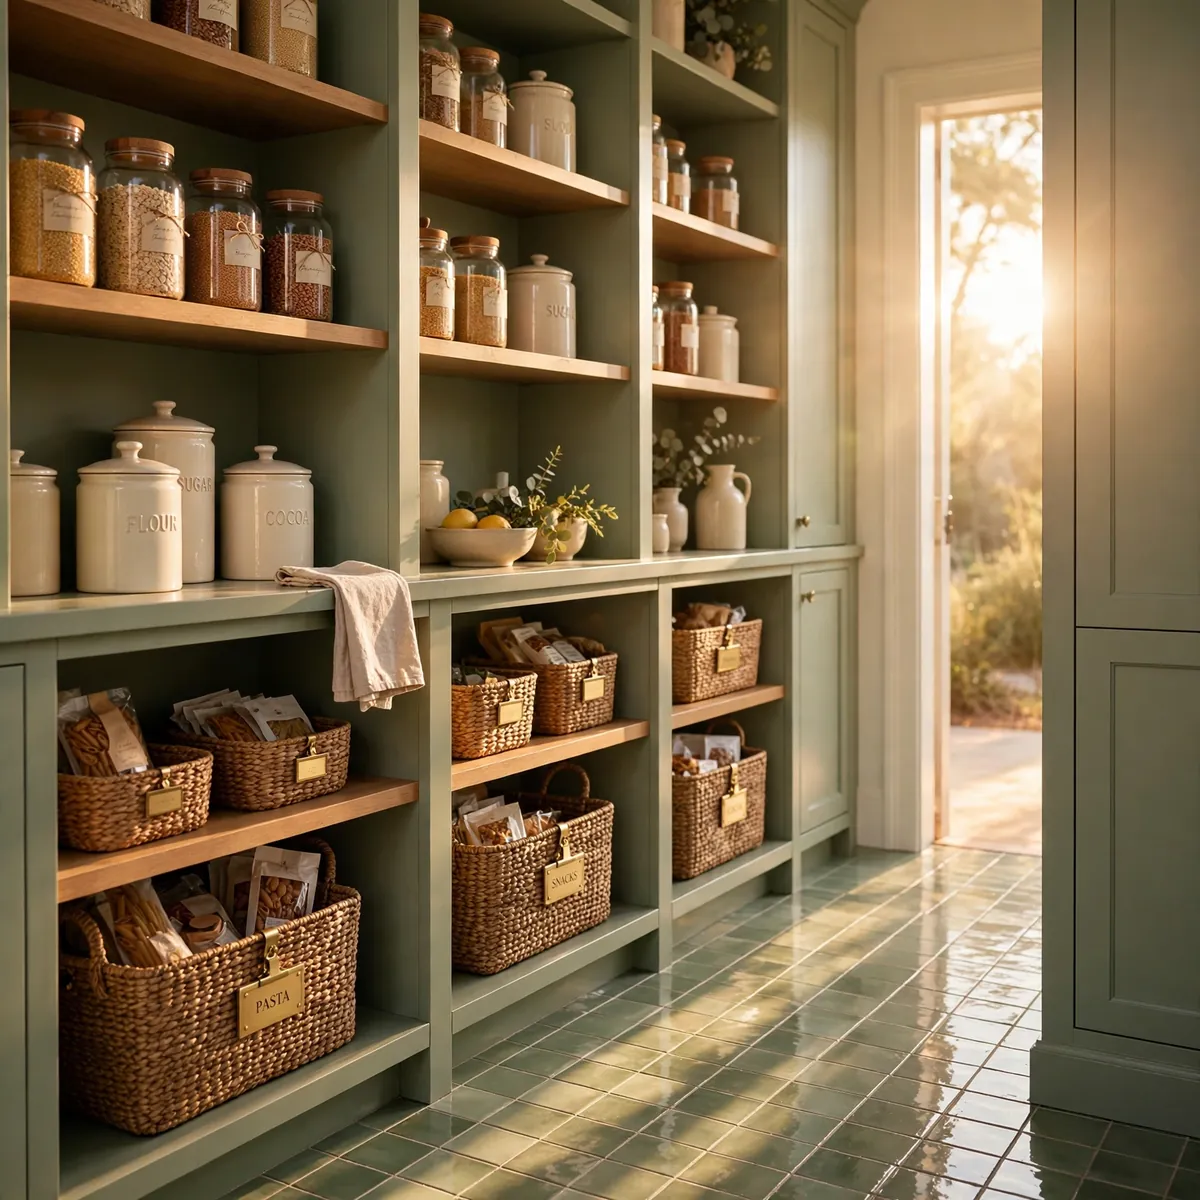
The single biggest reason pantries drift back into mess is that things were sorted by what they are instead of how they get used. Breakfast items scattered across three shelves because cereal is with “dry goods” while coffee is with “beverages” and oats are with “baking.” Nobody cooking at speed thinks in grocery-store categories. They think: breakfast, snacks, dinner staples, baking, backstock. So give every zone a shelf home based on your actual routine, and suddenly putting groceries away takes thinking instead of hunting.
Walk through your week first: dinner staples earn prime eye-level space if you cook nightly, while twice-a-year baking supplies do not. Households with kids need a low snack zone; bakers need flour and sugar together.
Quick tips
- Limit yourself to five or six zones — more than that and nobody remembers them.
- Write your zones on paper and tape them to the shelf edges while you test them for a week.
2. Empty It Completely and Purge Before You Buy Anything
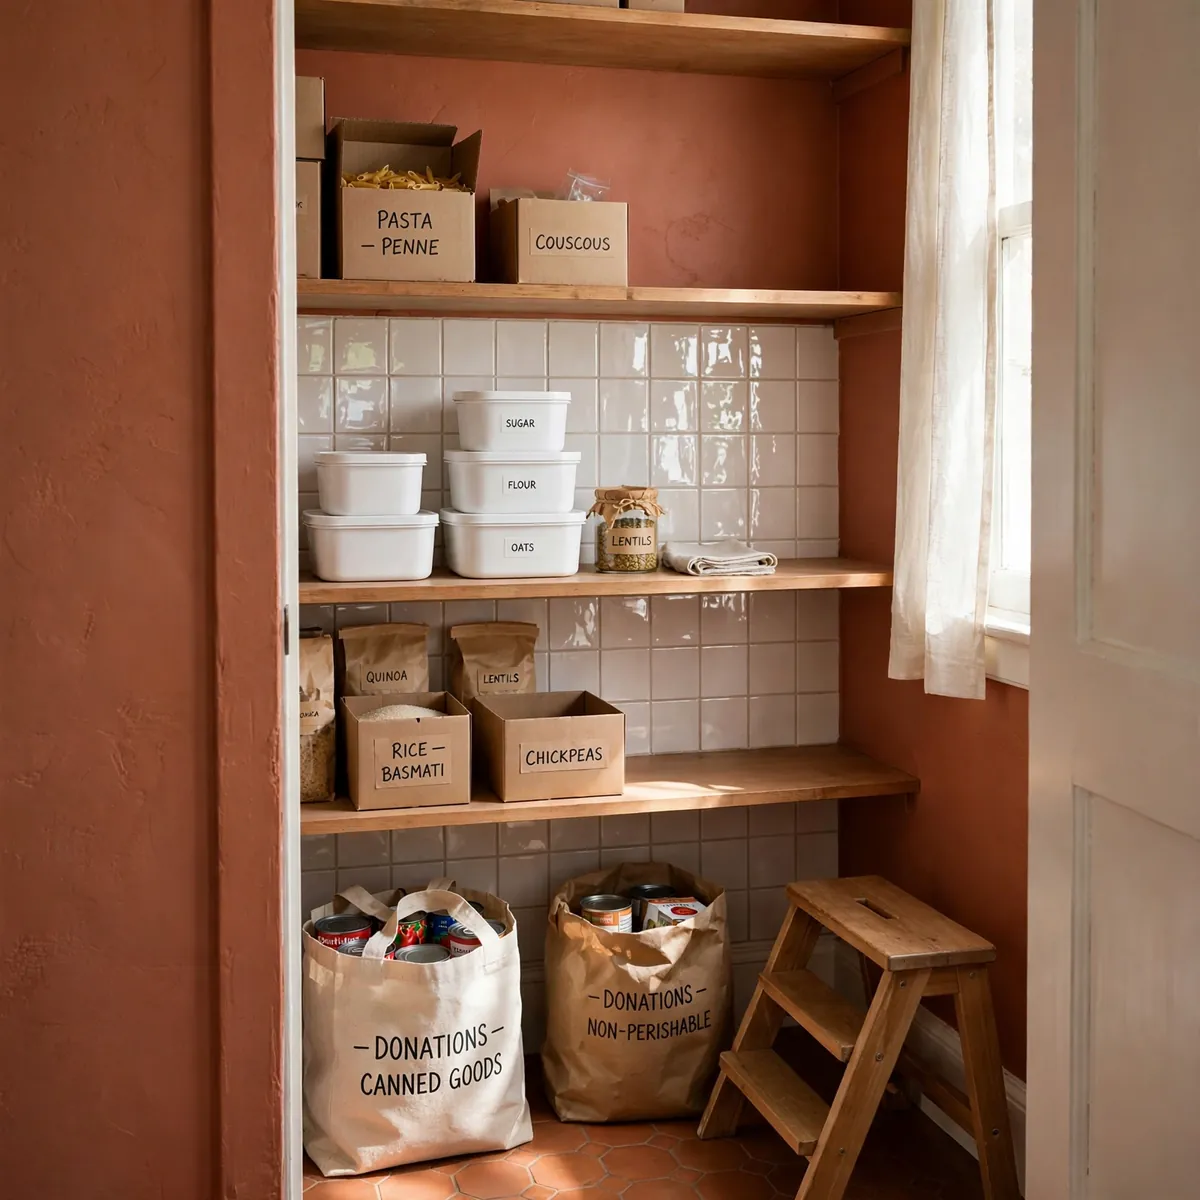
Buying organizers before you know what you own is the classic pantry mistake — the fastest way to own twelve bins that don’t fit anything. Pull everything out onto the counter first. Check dates as you go, and be honest about the third bag of specialty flour from two birthdays ago. Most kitchens can remove a quarter of what is in the pantry without missing a thing, and everything that leaves is space you no longer have to organize.
Sort what stays into your zones before buying anything. This tells you exactly which organizers will earn their keep: deep shelves full of cans need a tiered riser, not another set of baskets.
Quick tips
- Set a “donate” bag and a “trash” bag up front so expired and unwanted food never re-enters the pantry.
- Wipe shelves while they are empty — you will never have a better chance.
- Note what you keep overbuying; that list is your grocery discipline for later.
3. Map Every Shelf by Reach
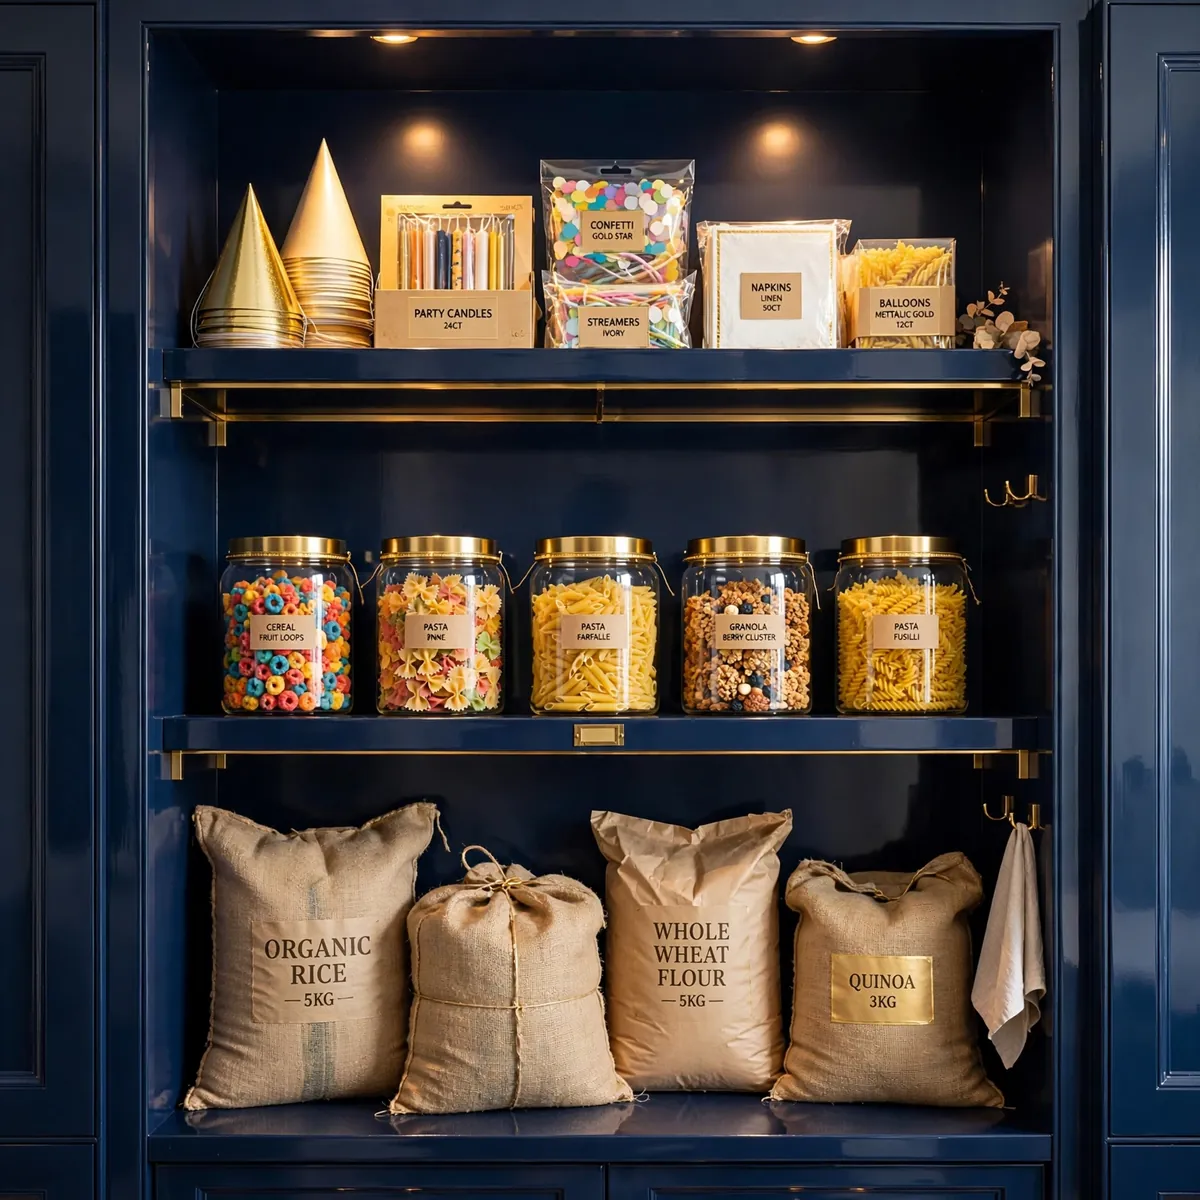
Where things sit matters as much as how they are grouped. A simple reach map keeps the most-used items in the easiest spots and removes the constant reshuffling: eye level holds everyday items like cereal, pasta, snacks, and cooking staples. The lower shelves hold the heavy stuff — bulk bags, bottles, small appliances — because lifting weight from height is miserable and unsafe. The top shelf holds the rarely used: paper goods, party supplies, seasonal baking gear.
If breakfast lives at eye level and backstock up high, you stop scanning the whole pantry every morning — you look in one place.
Quick tips
- Measure your own comfortable reach — short households should shrink the “eye level” zone, not stretch it.
- Keep a small step stool nearby; a pantry you can’t reach the top of will pile up.
4. Steal Space From the Door
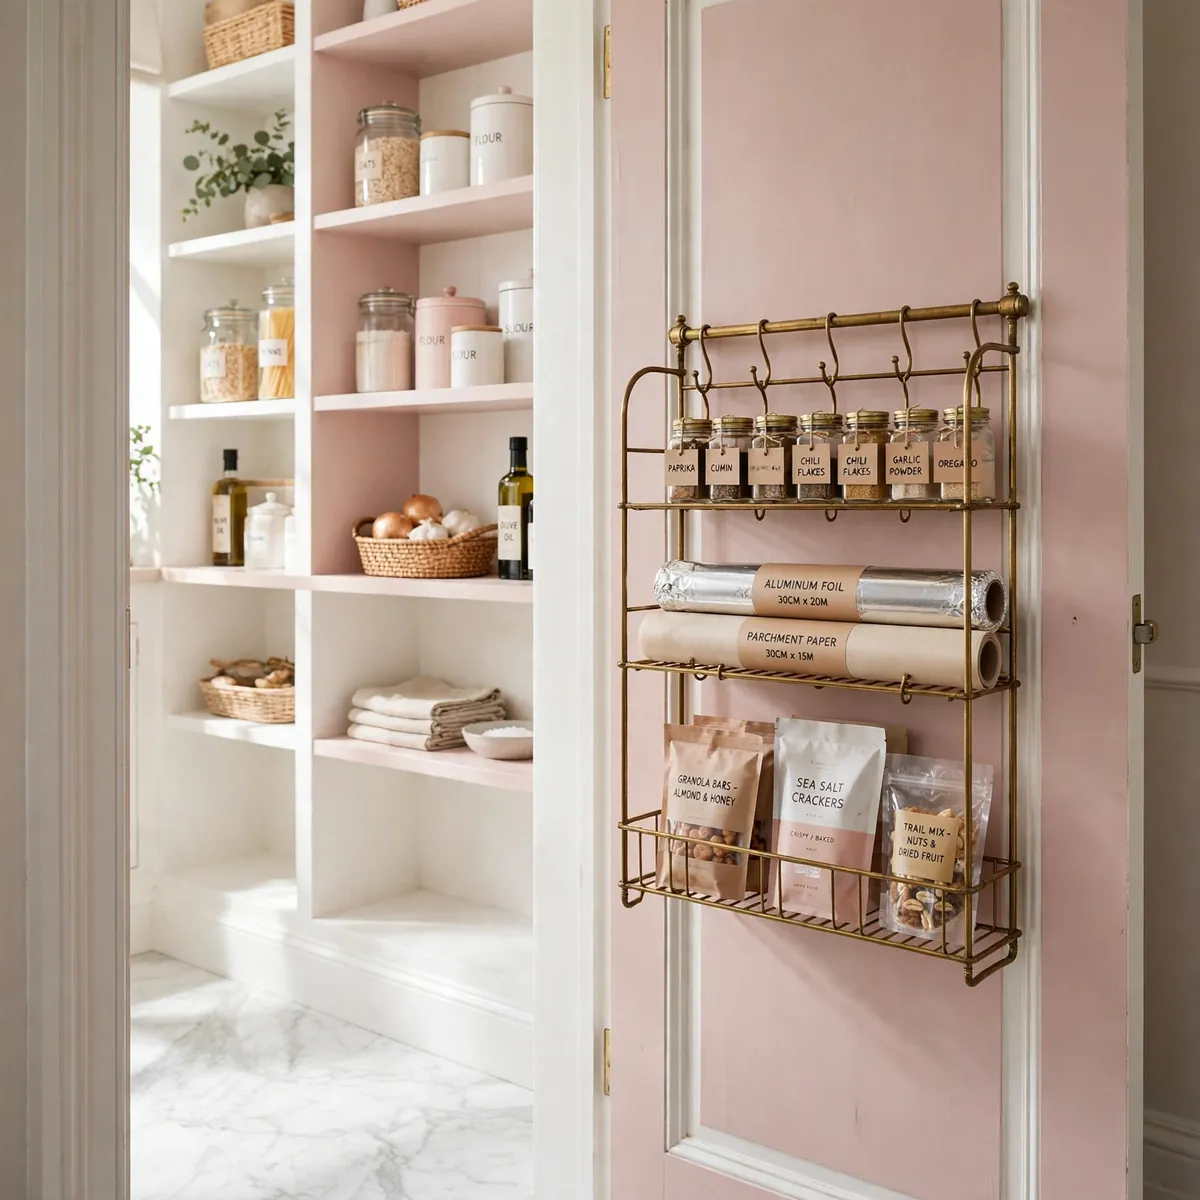
The back of the pantry door is free storage most kitchens ignore. An over-the-door rack turns it into a home for spices, foil rolls, small cans, and snack packets — exactly the small items that otherwise scatter and vanish. One of the cheapest wins in any pantry.
Choose a slim rack so the door still closes, and reserve it for lightweight everyday items. Spices are the classic choice — a door rack puts every jar visible at once.
Quick tips
- Measure the gap between shelves and door before buying — racks need a few inches of clearance.
- Stick to light items; heavy jars on a door rack strain hinges over time.
- Mount small magnetic or clip-on racks inside cabinet doors for packets and wraps.
5. Double Your Shelf Space With Risers and Tiers
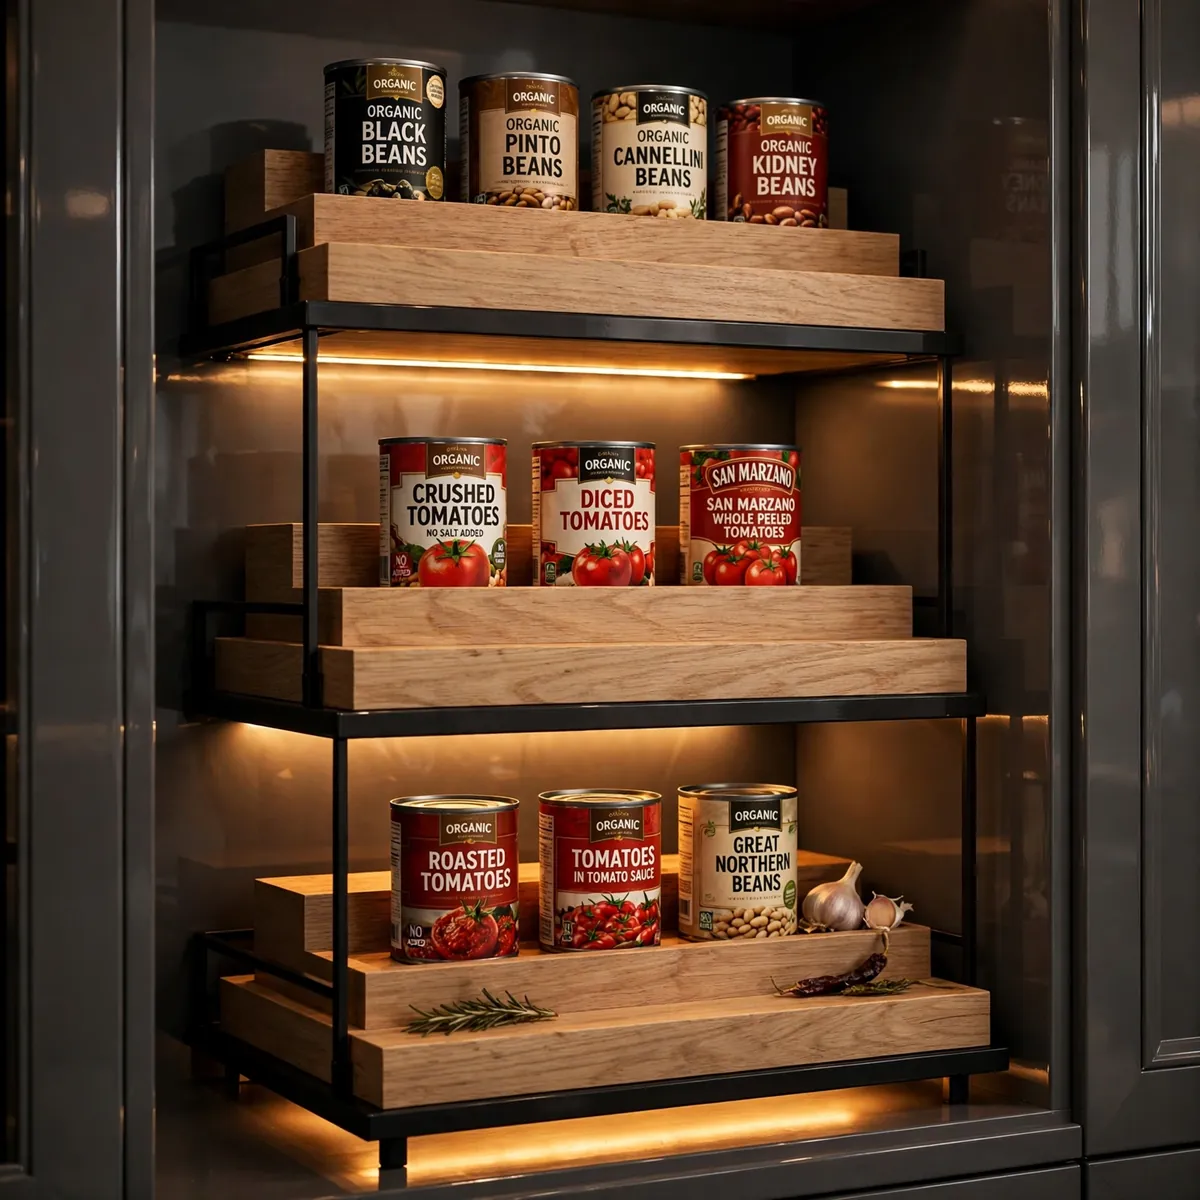
Most shelves are built for tall cereal boxes, so cans and small jars sit on half-empty shelves wasting the air above them. A riser fixes this instantly: tiered steps make every can visible, effectively doubling a shelf’s usable capacity.
Size risers to your shelf depth, and keep one tier per category so the steps don’t become one crowded staircase.
Quick tips
- Expandable risers adjust to odd shelf widths; fixed tiers are sturdier for heavy cans.
- Never stack cans more than two high without a tier — toppling is a matter of time.
- Face all labels forward when you stock; it reads like a tiny grocery shelf.
6. Spin the Back of Deep Shelves With Turntables
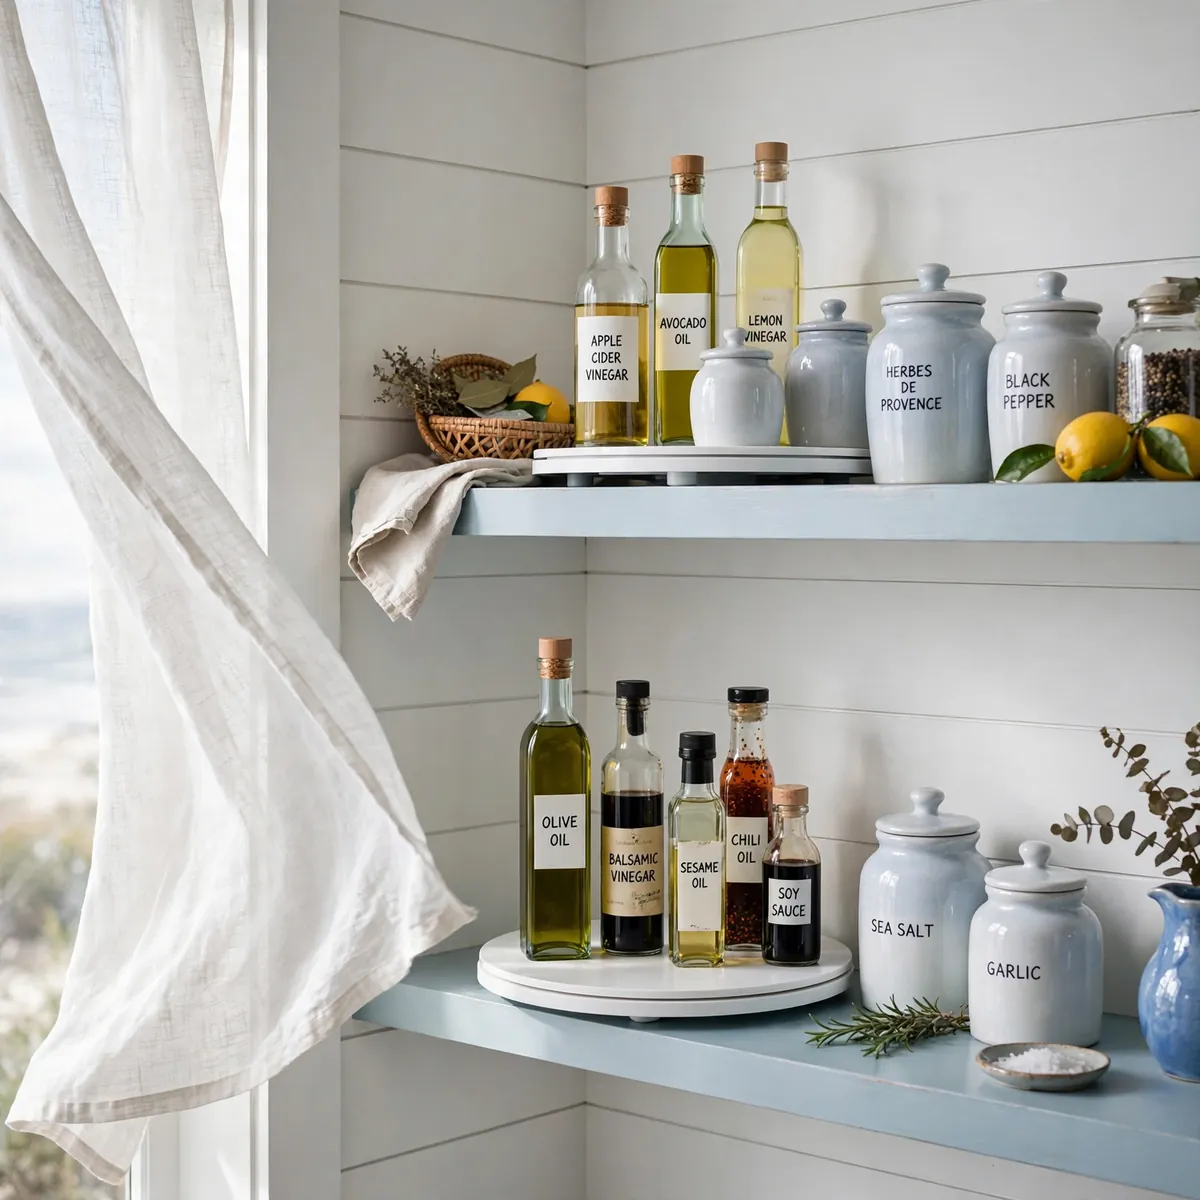
Deep shelves are where food goes to be forgotten: cans slide to the back, and months later you buy a duplicate of something you already own. A lazy Susan turntable ends this — one spin brings the back of the shelf to you. Use them for oils, vinegars, sauces, and condiments.
In corner pantries turntables are close to essential. Choose ones with a low rim, and wipe them down monthly since drips collect fast.
Quick tips
- One turntable per category — oils on one, vinegars on another — keeps spinning from becoming rummaging.
- Two-tier turntables work on tall shelves; single-tier is more stable for heavy bottles.
7. Decant Only What Pays You Back
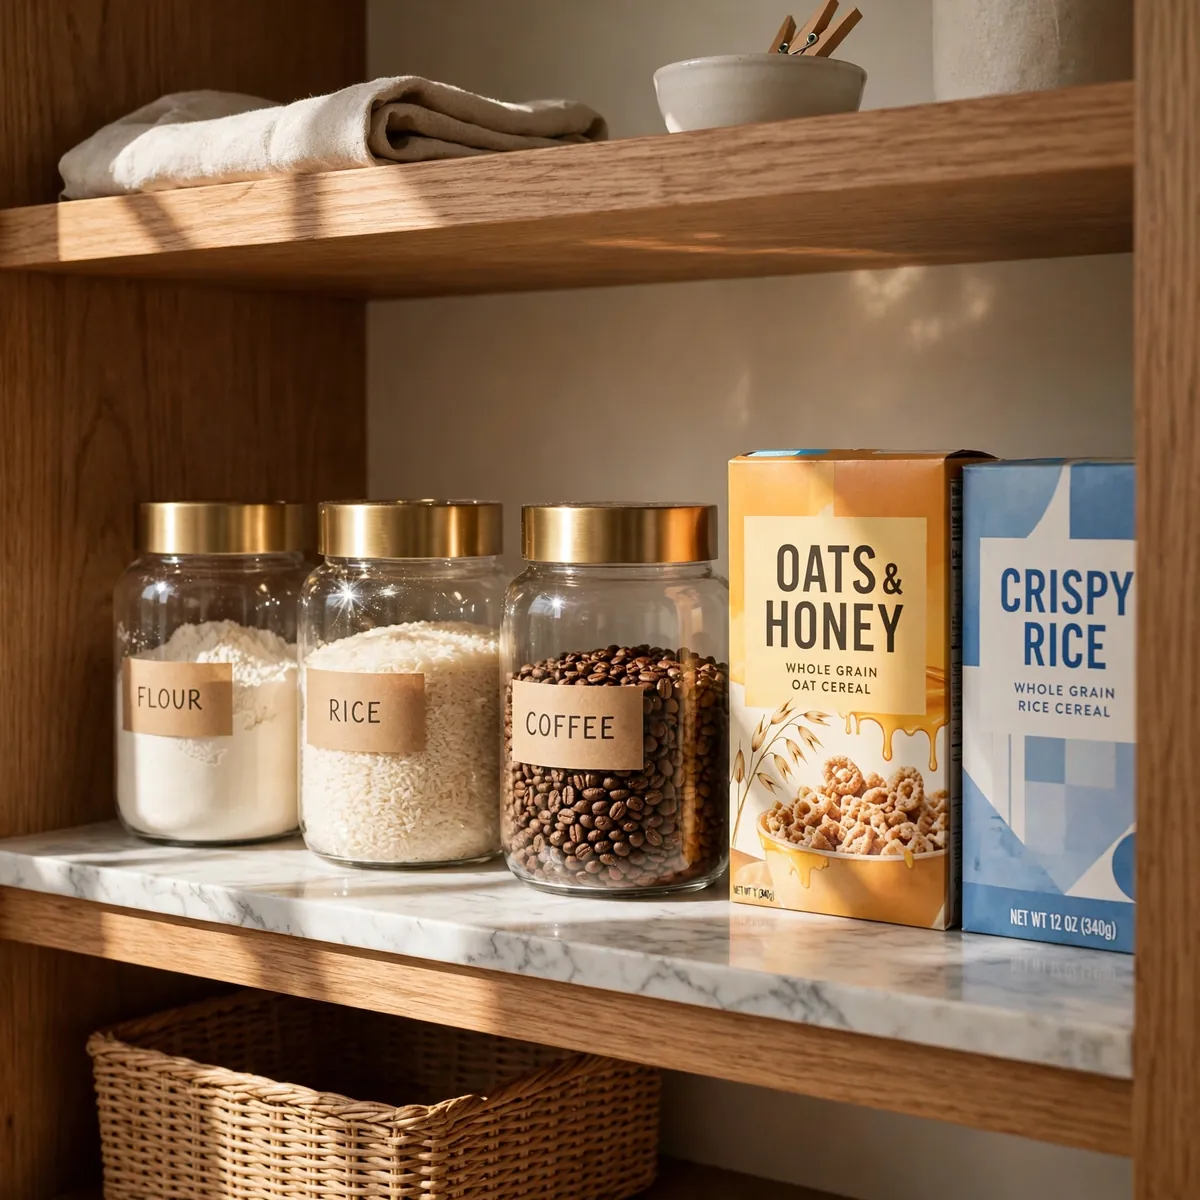
Here is the contrarian truth the prettiest pantry photos skip: decanting everything is a maintenance contract most households can’t keep. Every box poured into a jar adds a chore to the grocery run — decant selectively. Flour, sugar, rice, oats, coffee, and beans — the heavy-use staples — genuinely benefit: they stay fresher in airtight containers, you can see when you’re running low, and square containers stack better than odd-shaped bags. Everything else can stay in its original box or bag, grouped in a labeled bin.
Label each jar with contents and expiration date the day you fill it — “later” never comes, and mystery grains are how pantries earn their bad reputation.
Quick tips
- Choose square airtight containers — they waste less shelf space than round ones.
- Decant a maximum of six to eight staples; beyond that the upkeep outweighs the payoff.
- Keep the empty packet’s cooking instructions clipped or photographed before tossing it.
8. Give Deep Shelves Pull-Out Bins With Handles
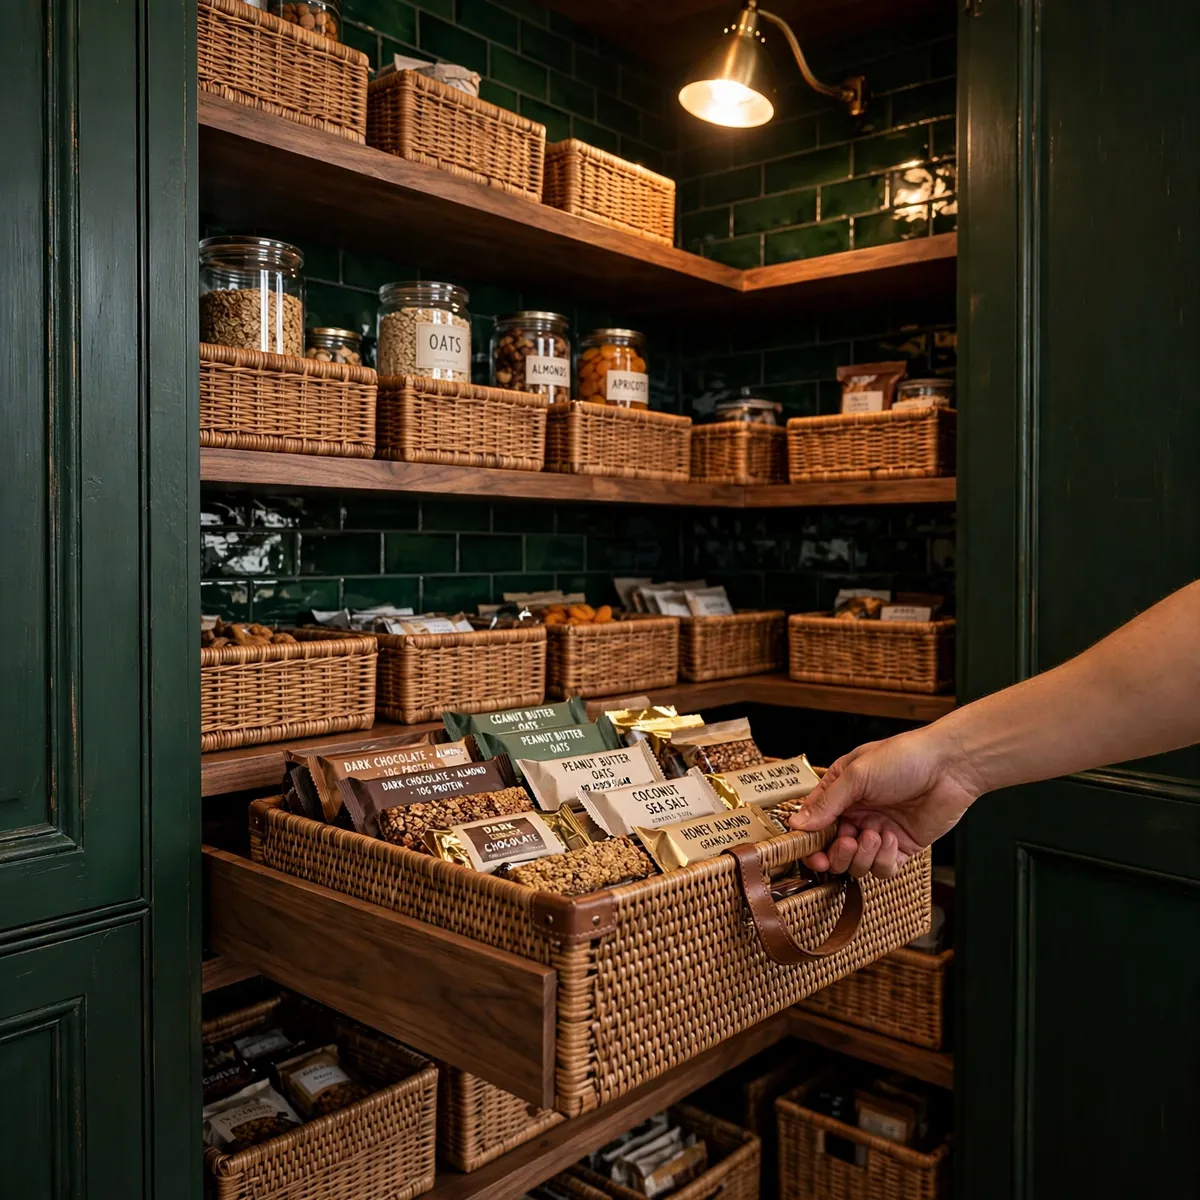
If your shelves are deeper than your arm, bins with handles are the difference between a pantry you can use and one you abandon — one pull brings the whole back of the shelf to you. Group each zone’s small items in one bin: all the snack bars in one, all the tea boxes in another.
Choose bins with solid, flat bottoms and sturdy handles, sized with an inch or two of clearance so they slide freely. Clear bins show contents; woven bins look tidier but need a front label.
Quick tips
- Label the short end that faces you — the front of the bin is its billboard.
- Don’t overfill; a bin that needs two hands to lift will stop getting used.
- Under-shelf baskets hook onto existing shelves and add a bonus layer for light items.
9. Build a Label System That Survives Real Life
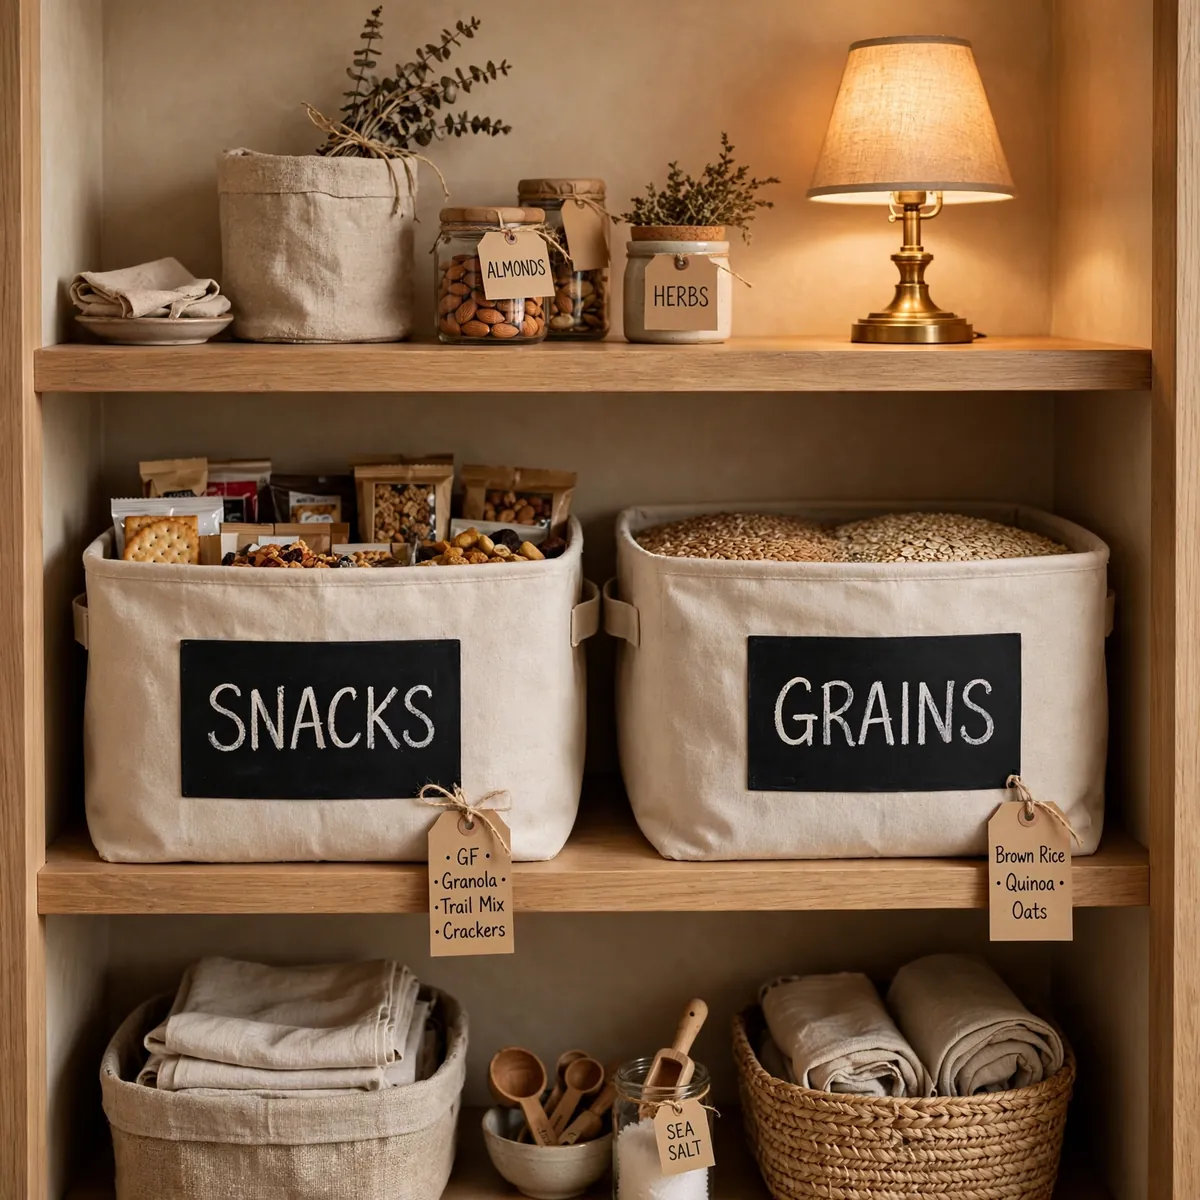
Labels are what let other people use your system — partners, kids, guests — and what stop zones from dissolving when life gets busy. But tiny labels on every jar fail, because nobody relabels when contents change. Label the wide containers and shelf edges instead: big chalkboard or dry-erase labels that can be wiped and rewritten.
Keep wording broad enough to survive change. “Snacks” beats “granola bars, crackers, dried mango” — broad labels stay accurate when you switch brands or restock with something new, and a label that’s still true in six months is one you’ll actually maintain.
Quick tips
- Chalkboard, dry-erase, or reusable clip tags beat printed stickers — they’re editable when zones evolve.
- Label in big, readable text at arm’s length; if you have to squint, the system won’t stick.
10. Create Dedicated Stations: Breakfast, Snacks, Baking, Backstock
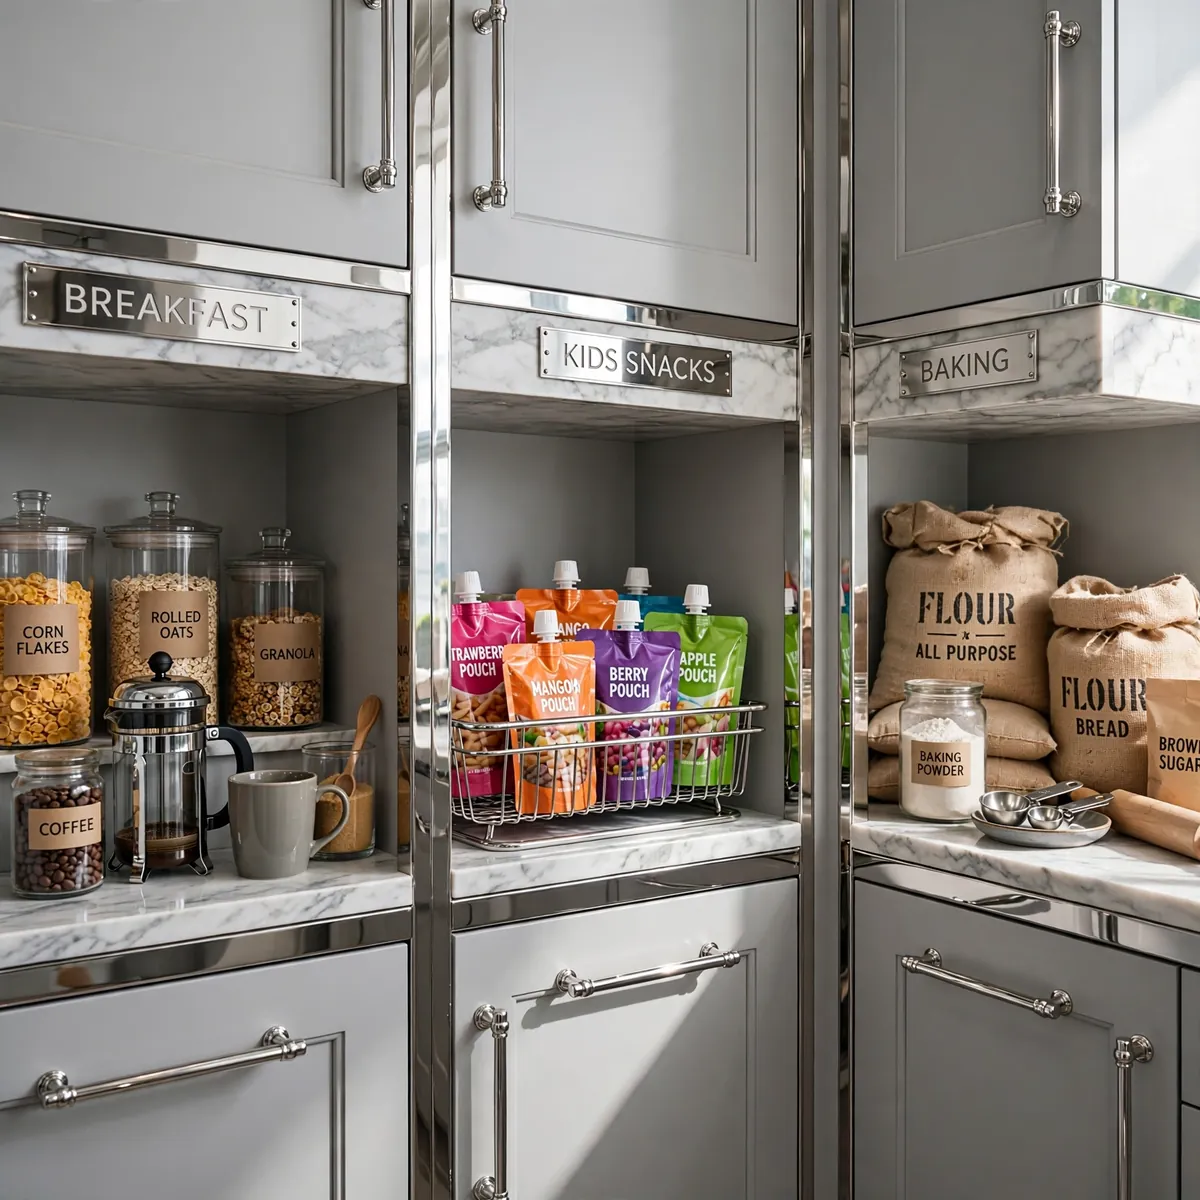
Zones become life-changing when shaped around daily rituals: a breakfast station puts cereal, oats, coffee, and syrup in one spot near the front so mornings run themselves; a kid-level snack station keeps grab-and-go snacks reachable without redecorating the whole pantry; a baking corner gathers flour, sugar, and extracts together.
Don’t forget backstock: the spare pasta, the second bottle of oil, the bulk buys. Give it its own shelf, and run one rule — when you open the last of something, the replacement comes from backstock and backstock goes on the shopping list.
Quick tips
- Put the breakfast station closest to the pantry entrance for the fastest mornings.
- Keep a “use first” spot for items nearing their date — moved there during your weekly reset.
- Let the backstock shelf stay a little boring; it’s infrastructure, not a display.
11. The Small-Pantry Playbook: Reach-In and Cabinet Tricks
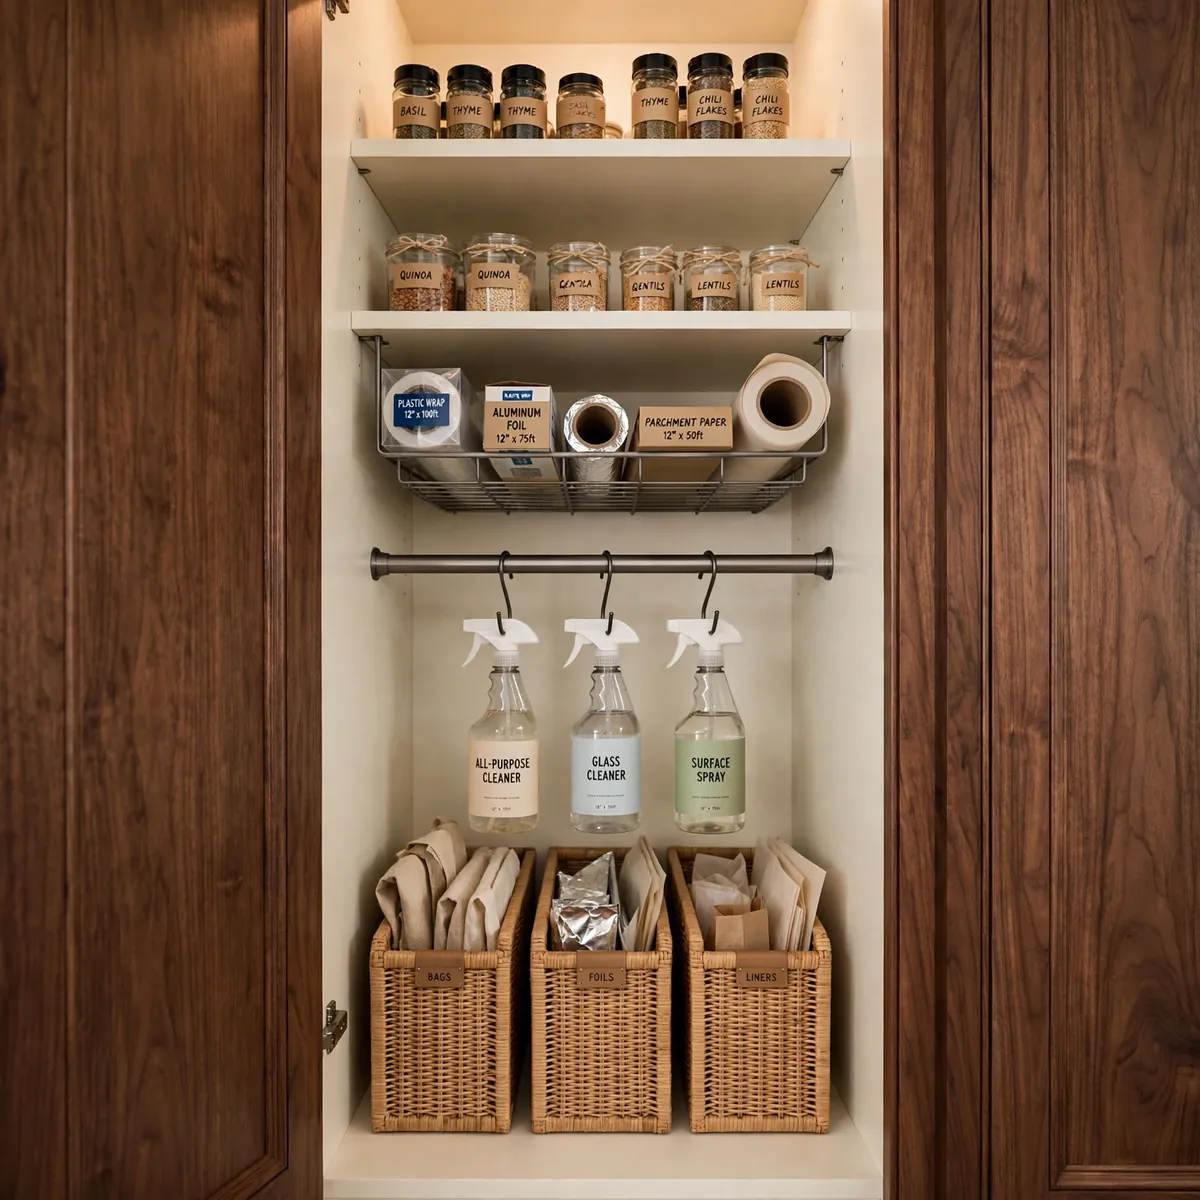
No walk-in? A single cabinet organizes beautifully with the same principles, just tighter. The non-negotiables: use vertical space with shelf risers; keep categories broad — three or four wide bins instead of ten tiny ones; and leave breathing room, because a packed pantry is impossible to maintain and new groceries have nowhere to go.
Then add the small-space workhorses: an under-shelf basket for wraps and packets, a tension rod with S-hooks for spray bottles, and slim door racks for spices. Store bulk overflow elsewhere — a hall closet or basement shelf — so the everyday pantry holds only what you reach for.
Quick tips
- Buy only what fits comfortably; in small pantries, shopping discipline IS the organization system.
- Pull-out cabinet drawers retrofit deep cabinets so nothing hides at the back.
- One in, one out for backstock: small spaces can’t absorb extras.
12. Protect the System With a 10-Minute Weekly Reset
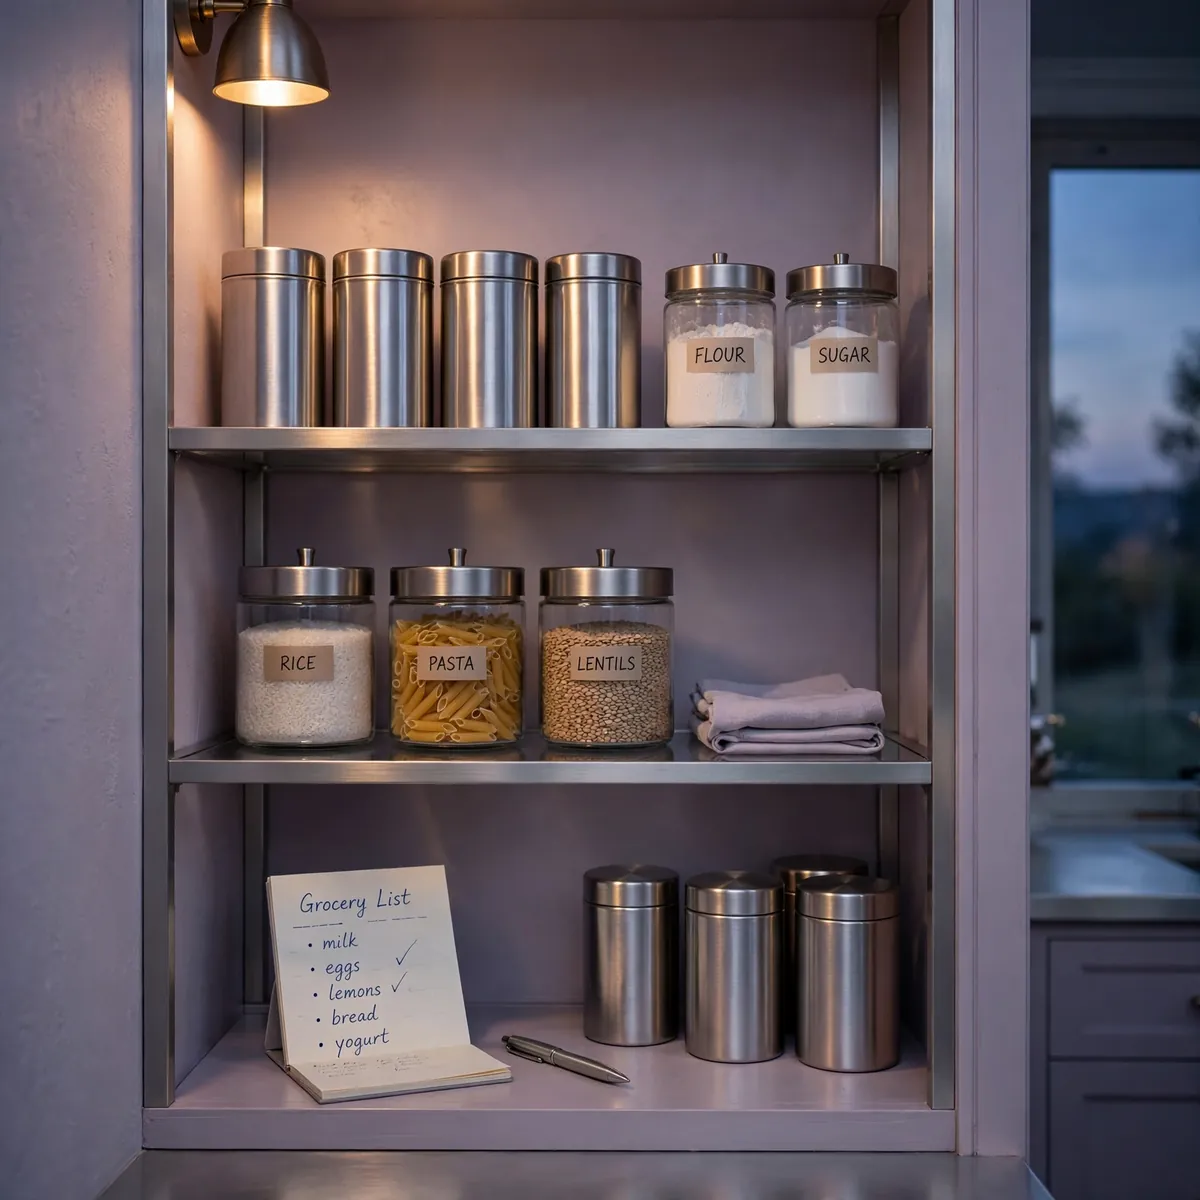
Every organized pantry decays: crumbs settle, one item lands in the wrong zone, a half-used bag hides behind the jars. The fix isn’t another reorganization — it’s a tiny ritual that catches drift before it compounds. Once a week, spend ten minutes: straighten bins into their zones, toss anything expired, wipe one shelf (rotate which), and move near-date items into the use-first spot.
Pair the reset with the weekly grocery run: new groceries land in a just-tidied pantry instead of on top of chaos. Stock new items behind older ones so the oldest gets used first, and keep a running list on the pantry door — add an item the moment you open the last one.
Quick tips
- Set a recurring reminder — “reset” only happens if it’s on the calendar.
- Teach everyone the zones; a system only one person maintains always fails.
Frequently Asked Questions
What is the best way to organize a small pantry?
Use vertical space with shelf risers and an over-the-door rack, keep categories broad with a few large bins, and store bulk overflow elsewhere. Leave breathing room so new groceries have a place to go.
How do I keep my pantry organized long term?
Set up zones based on how you cook, label the bins and shelf edges, and make sure everyone in the household knows where things belong. Then do a quick 10-minute reset once a week and a full clear-out every few months. Maintenance is what keeps it organized — the initial setup is the easy part.
What should go on each pantry shelf?
Everyday items go at eye level — cereal, pasta, snacks, cooking staples. Heavy things like bulk bags and bottles go low. Lightweight, rarely used items like paper goods go up top.
Should I transfer pantry food into containers?
Decant only heavy-use staples like flour, sugar, rice, oats, and coffee — they stay fresher in airtight containers and you can see when you’re running low. Leave everything else in its original packaging, grouped in labeled bins. Decanting everything creates upkeep most households can’t maintain.
What are the best pantry zones?
The most useful zones are breakfast, snacks, dinner staples, baking, and backstock. Choose zones based on how your household actually cooks — five or six broad zones suits most kitchens.
Conclusion
A pantry that stays tidy isn’t the one with the prettiest containers on reveal day — it’s the one whose zones match your cooking, whose labels survive real life, and whose ten-minute weekly reset keeps the slow drift at bay. Start with zones, purge before you buy anything, and build the system around the pantry you actually have, whether that’s a walk-in or a single cabinet. Do that, and the organized pantry stops being a weekend project and starts being just how your kitchen works.