Kitchen Island Decor Ideas That Feel Effortlessly Styled
The kitchen island is the hardest-working surface in most homes — prep station, homework desk, buffet, and the first thing guests see when they walk in. That’s why decorating it feels tricky. The best kitchen island decor ideas solve both problems: they make the island look finished and intentional, while keeping it fully usable every day.
The secret is containment. A styled island is one styled zone — gathered on a tray or in one deliberate corner — while the rest of the counter stays clear for chopping, grocery bags, and hot pans. If your kitchen leans calm and neutral overall, our guide to warm neutral kitchen ideas shows how that same restrained palette runs through the whole room. Below are twelve ideas that work on islands of every size, from compact two-stool kitchens to oversized chef’s islands.
Kitchen Island Decor Ideas That Start With the Tray Rule
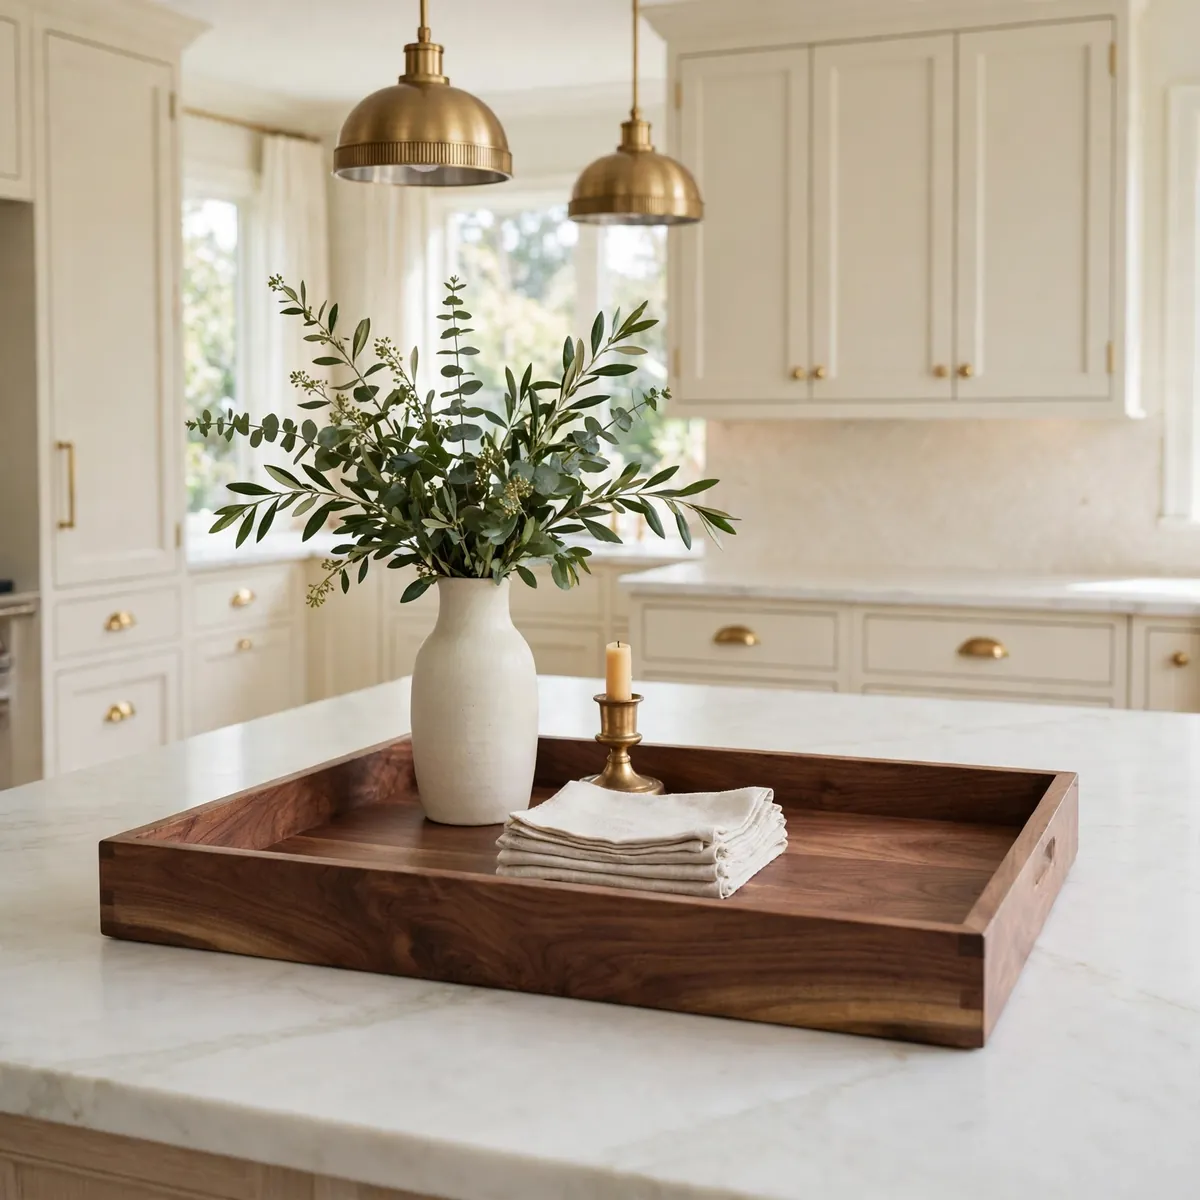
Almost every well-styled island starts with a tray, because a tray turns separate objects into one deliberate composition. Without it, a vase, a candle, and a stack of napkins read as clutter that happened to land there; on a tray, the same three things read as a decision. It’s also what keeps the decor practical — when you need the whole surface for rolling dough or setting a buffet, you lift one thing and the island is clear.
Choose a tray that spans roughly two-thirds of your island’s length — about 20 to 24 inches on a six-foot island — and leave a few inches of empty counter around it so it breathes. Wood tones warm up white and marble kitchens, while black metal or stone trays suit darker islands; either way, the tray should contrast the countertop enough to read as its own layer. Fill it with three textures: something tall like a vase of stems, something low like a candle or small bowl, and something soft like folded linen napkins. Then stop — the most common island-styling mistake is adding one more thing past the point where it looked right.
Quick tips
- Leave a third of the tray empty — negative space reads as intention, not clutter.
- Pick a tray with handles if you cook often — you’ll move it constantly.
Anchor It With a Statement Vase
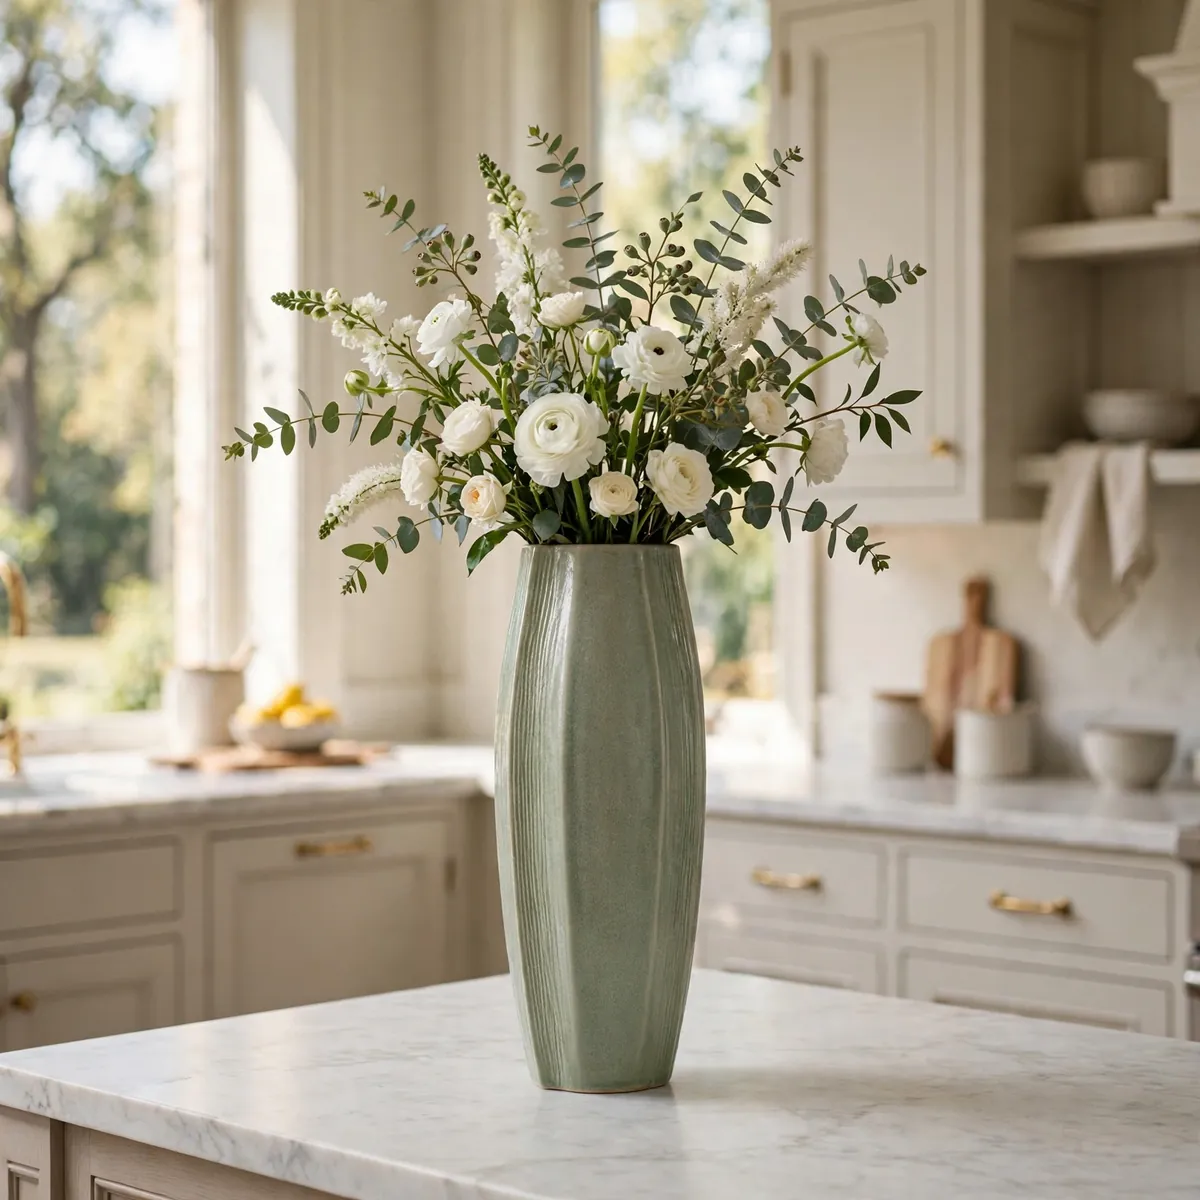
A single substantial vase is the fastest fix for a bare island, and it asks nothing of your arranging skills. Height is what makes it work: something tall balances the island’s wide horizontal surface, while a small vase gets swallowed. One large sculptural vase beats a cluster of small ones nearly every time — one clear focal point instead of visual noise.
Branches, eucalyptus, or dried pampas grass last for weeks and cost less than a weekly bouquet. Match the vase to your kitchen’s personality rather than the season — a matte ceramic in a soft neutral works year-round. Keep it at the display end of the island, never in the middle of your prep run.
Quick tips
- On islands under four feet, one vase is the whole decor plan.
- Clear glass vases disappear into any palette and let the stems do the styling.
Build a Fresh Produce Centerpiece
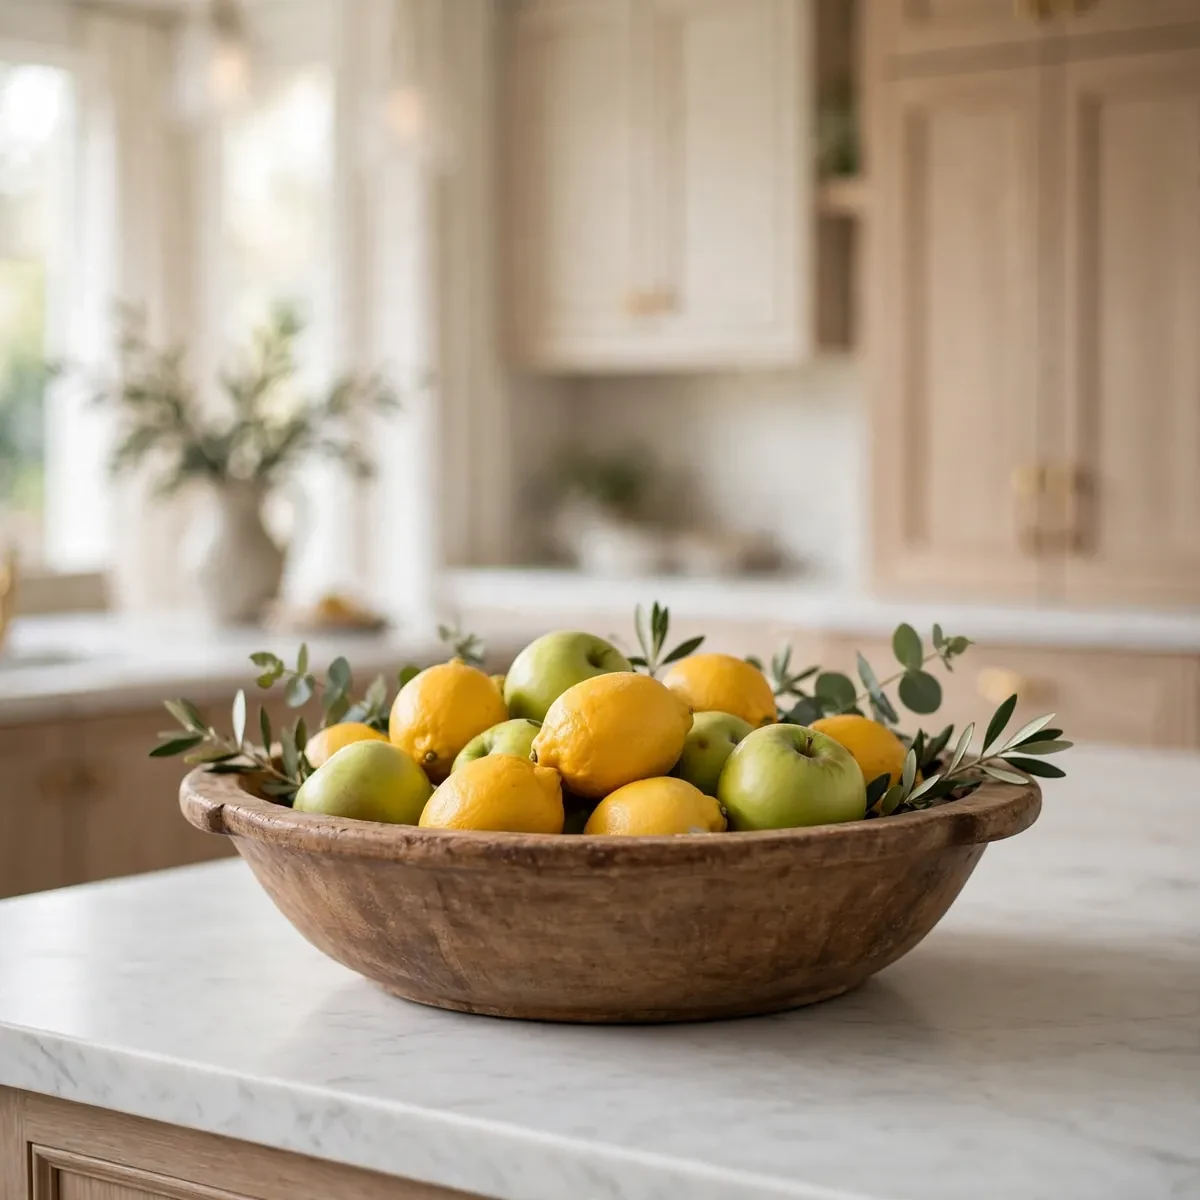
A bowl of fruit is the most photographed kitchen island centerpiece for good reason: it rotates itself as you eat through it and never looks stale. Build it in layers for a styled look instead of a grocery-dump one:
- Choose a bowl with presence. A wide, low dough bowl or substantial ceramic bowl looks generous without towering into your sightline.
- Stick to one or two fruits. All lemons, or apples with pears, reads styled; a mixed-fruit jumble reads like fridge overflow.
- Mind the color. Bright citrus pops on dark counters; deep plums and figs glow on white marble.
- Use produce you’ll actually eat. Lemons, limes, apples — they never sit long enough to look tired.
Style a Mini Herb Garden
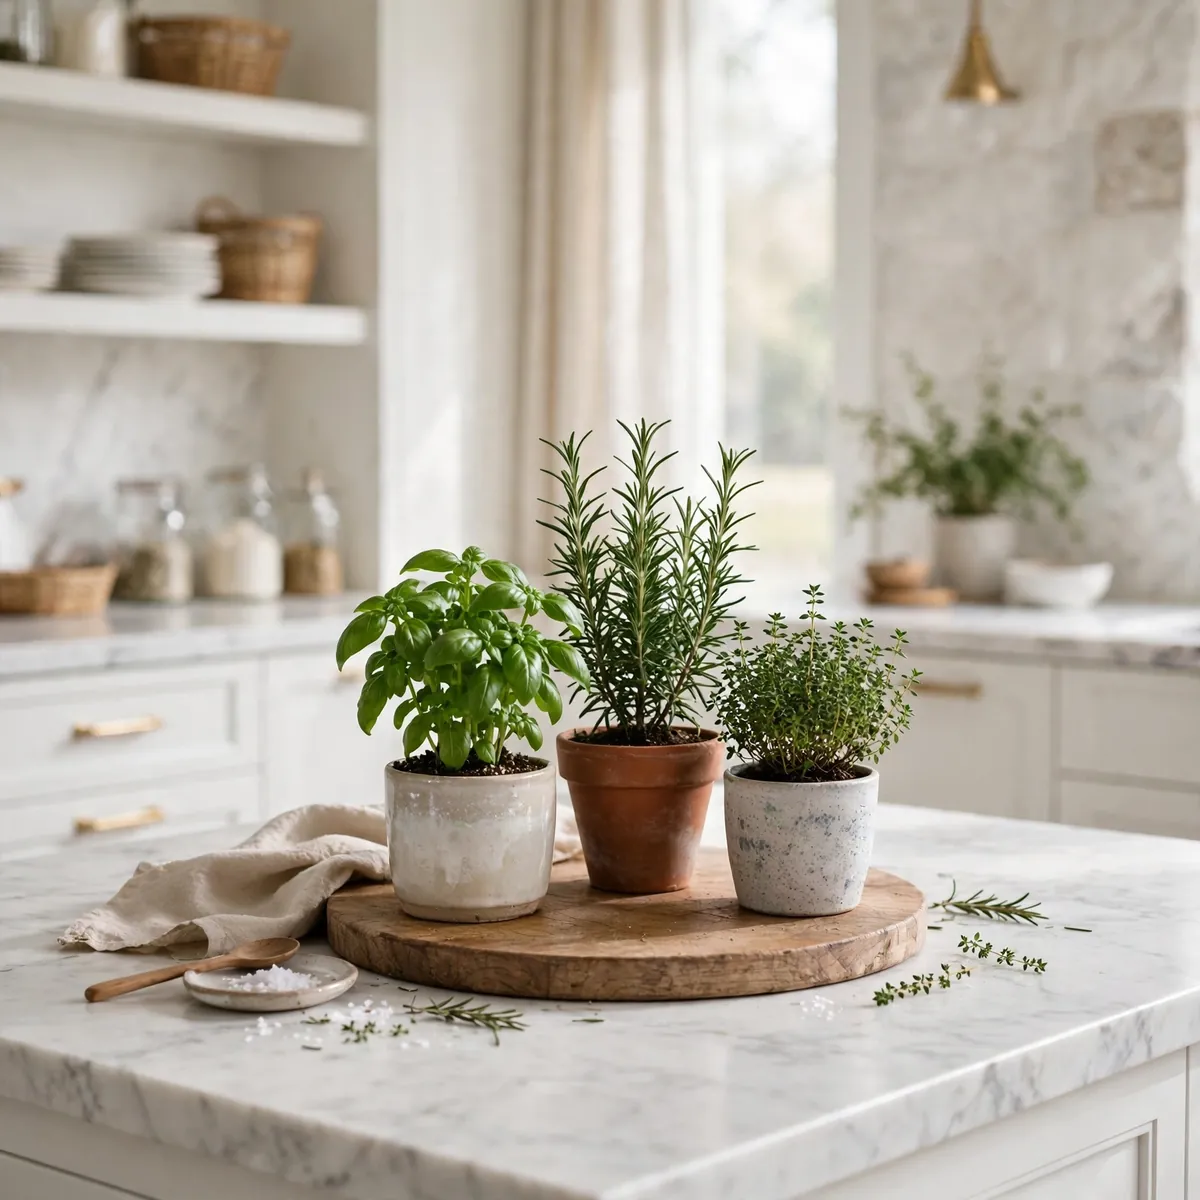
Fresh herbs are decor you can cook with — the rare centerpiece that earns its footprint twice. Three small pots — basil, rosemary, thyme — grouped on a round wooden board read as a deliberate garden rather than stray pots, and the greenery softens hard stone in a way no ceramic can.
Herbs need bright indirect light, so this idea works best on islands near a window; in darker kitchens, a high-quality faux olive tree or faux potted herb gives the same look with zero maintenance. Water real herbs every seven to ten days and use a waterproof saucer or drip tray under the pots so you never damage the tray or the countertop underneath.
Quick tips
- Terracotta, stoneware, and ceramic in one color family look collected, not mismatched.
- Snip herbs regularly — leggy plants stop looking like decor.
Stack Cookbooks and Cutting Boards
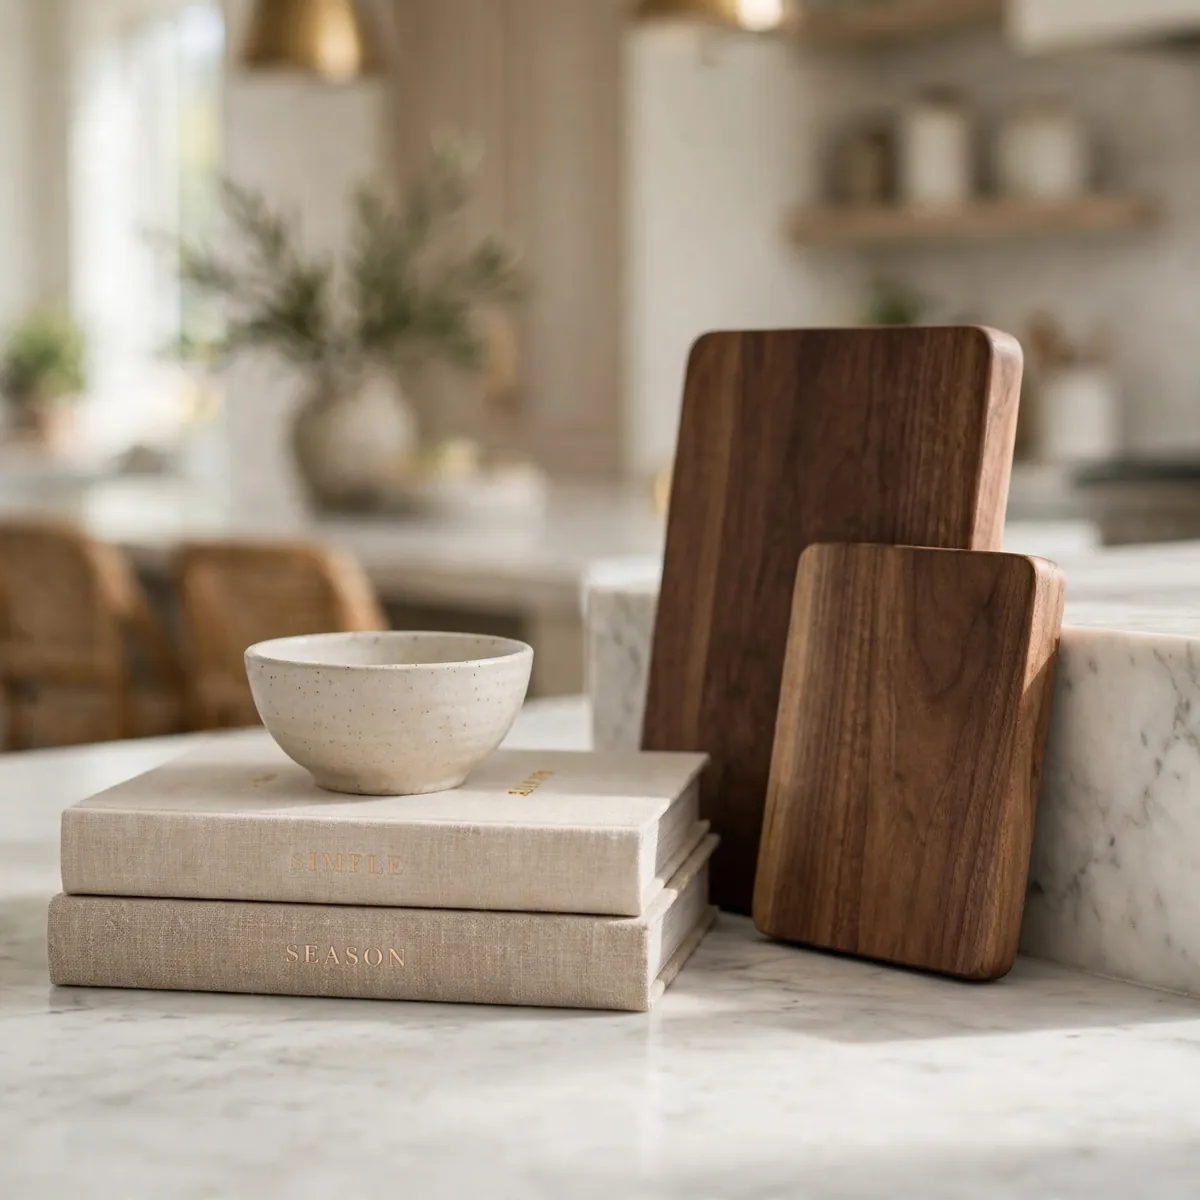
The cookbooks and cutting boards you already own are some of the best island decor available — personal, useful, and free. Here’s how to make them look styled rather than stored:
- Stack two or three cookbooks with the prettiest covers on top, then crown the stack with a small object — a ceramic bowl, a candle, a tiny plant.
- Lean two cutting boards in different sizes at one end; walnut and marble boards read as sculpture.
- Keep the palette tight. Linen-covered books in neutrals look calm; a riot of clashing spines looks like a bookshelf exploded.
- Park the stack at the seating end, where it won’t interfere with prep — and where guests will actually flip through it.
Light It Right: Pendant and Candle Glow
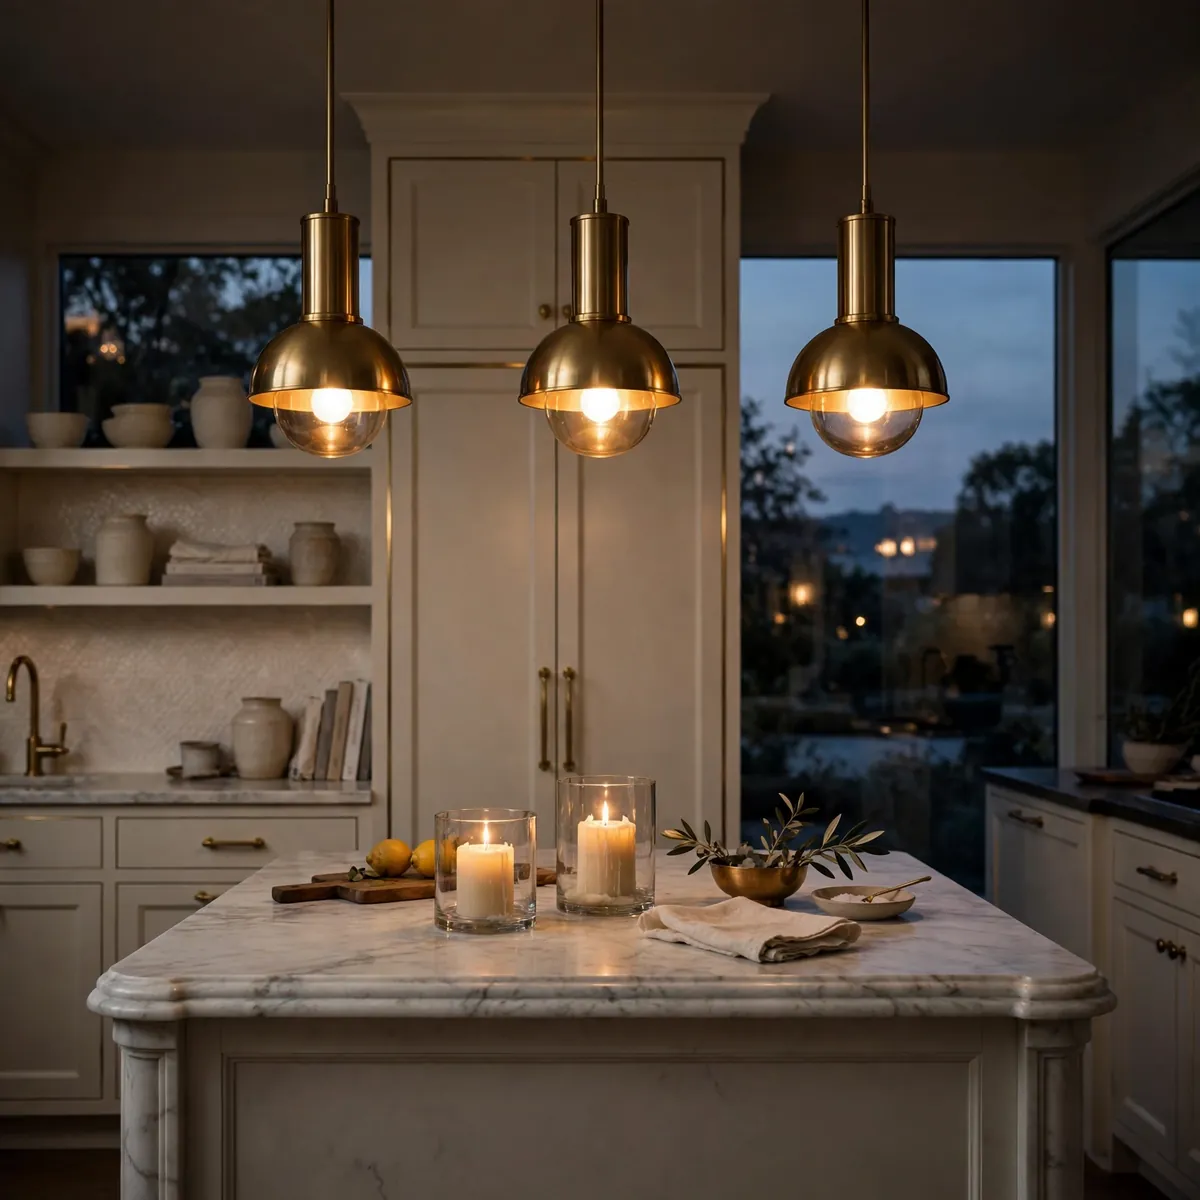
Lighting above the island does more for styling than any single object. Three pendants over a standard island is the classic formula — rhythm, a defined zone, and warm light exactly where you prep and eat.
Get the lighting layer working in this order:
- Match pendants to the kitchen’s style. Glass globes for sleek kitchens, black metal domes for industrial, woven rattan or linen shades for warm farmhouse looks.
- Hang them 30 to 36 inches above the countertop, lighting the surface without blocking sightlines across the island.
- Keep bulbs warm — 2700K or lower. Warm light flatters food, wood, and skin; cool daylight bulbs make even a beautiful island feel clinical.
- Add candlelight on the surface. Two pillar candles in glass holders turn the island into an evening gathering spot.
Let Bar Stools Carry the Style
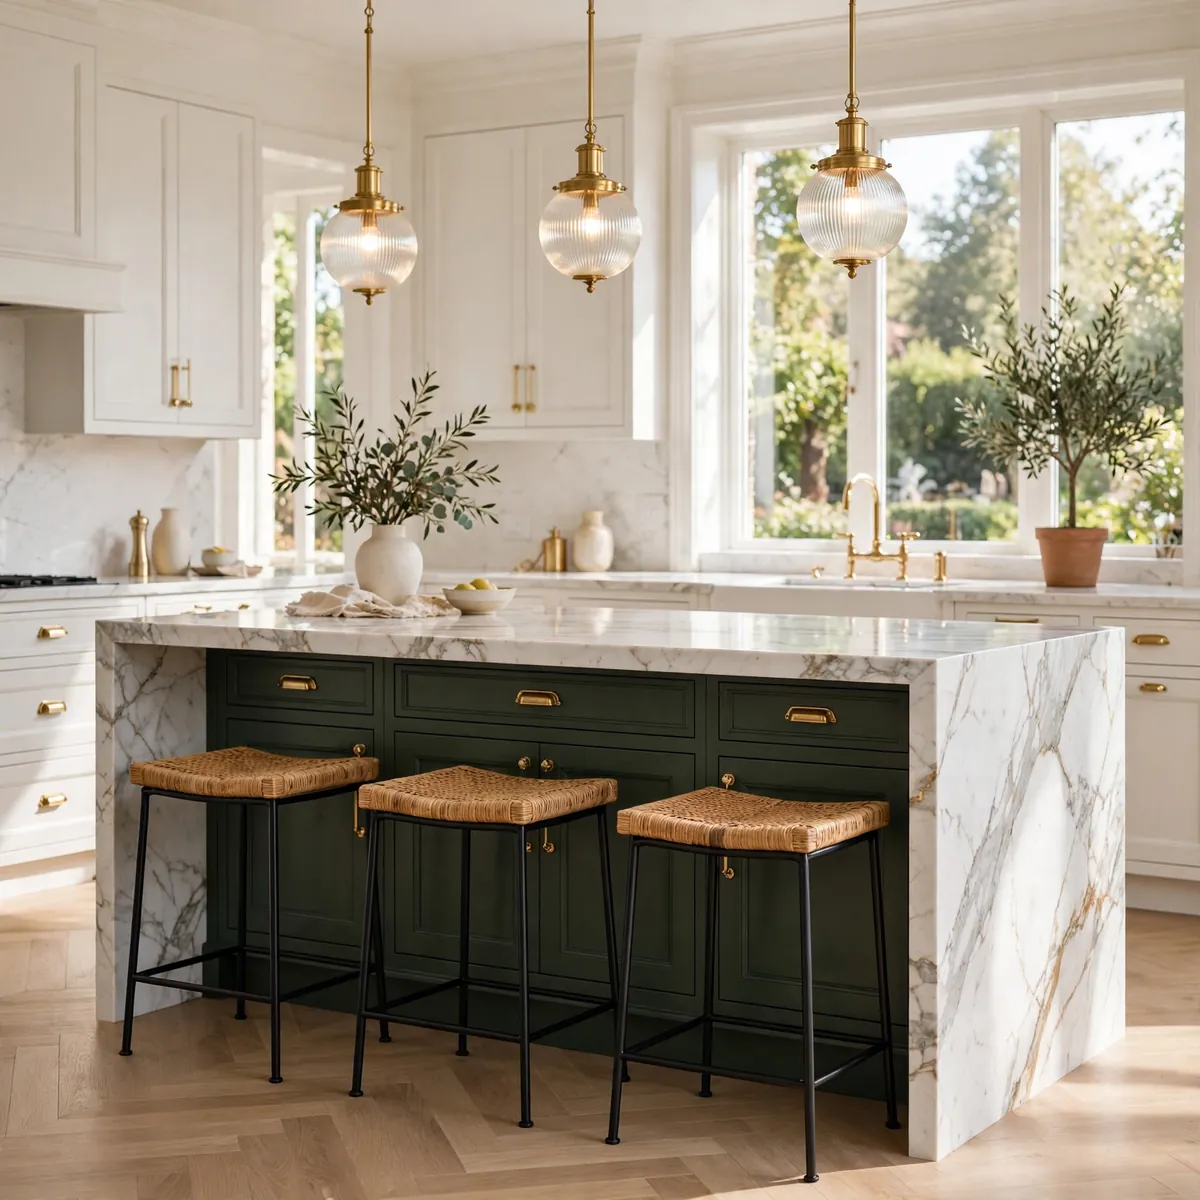
Decorating the island doesn’t stop at the countertop. The stools are the largest visual element after the island itself, so plain, forgettable stools can undo an otherwise beautiful island. Woven rush or leather seats add texture to a simple kitchen, while painted stools can carry the room’s single accent color.
Allow about 24 inches of width per stool, and choose backless or low-back styles if you want the island surface to stay the visual focus — they also tuck fully under the overhang in tight kitchens. Wipe seats weekly and check the felt floor pads monthly; island stools get dragged more than any other seat in the house.
Quick tips
- Three identical stools read calmer than a mismatched set.
- A folded striped throw over one stool back adds softness for almost no money.
Go Seasonal Without a Full Overhaul
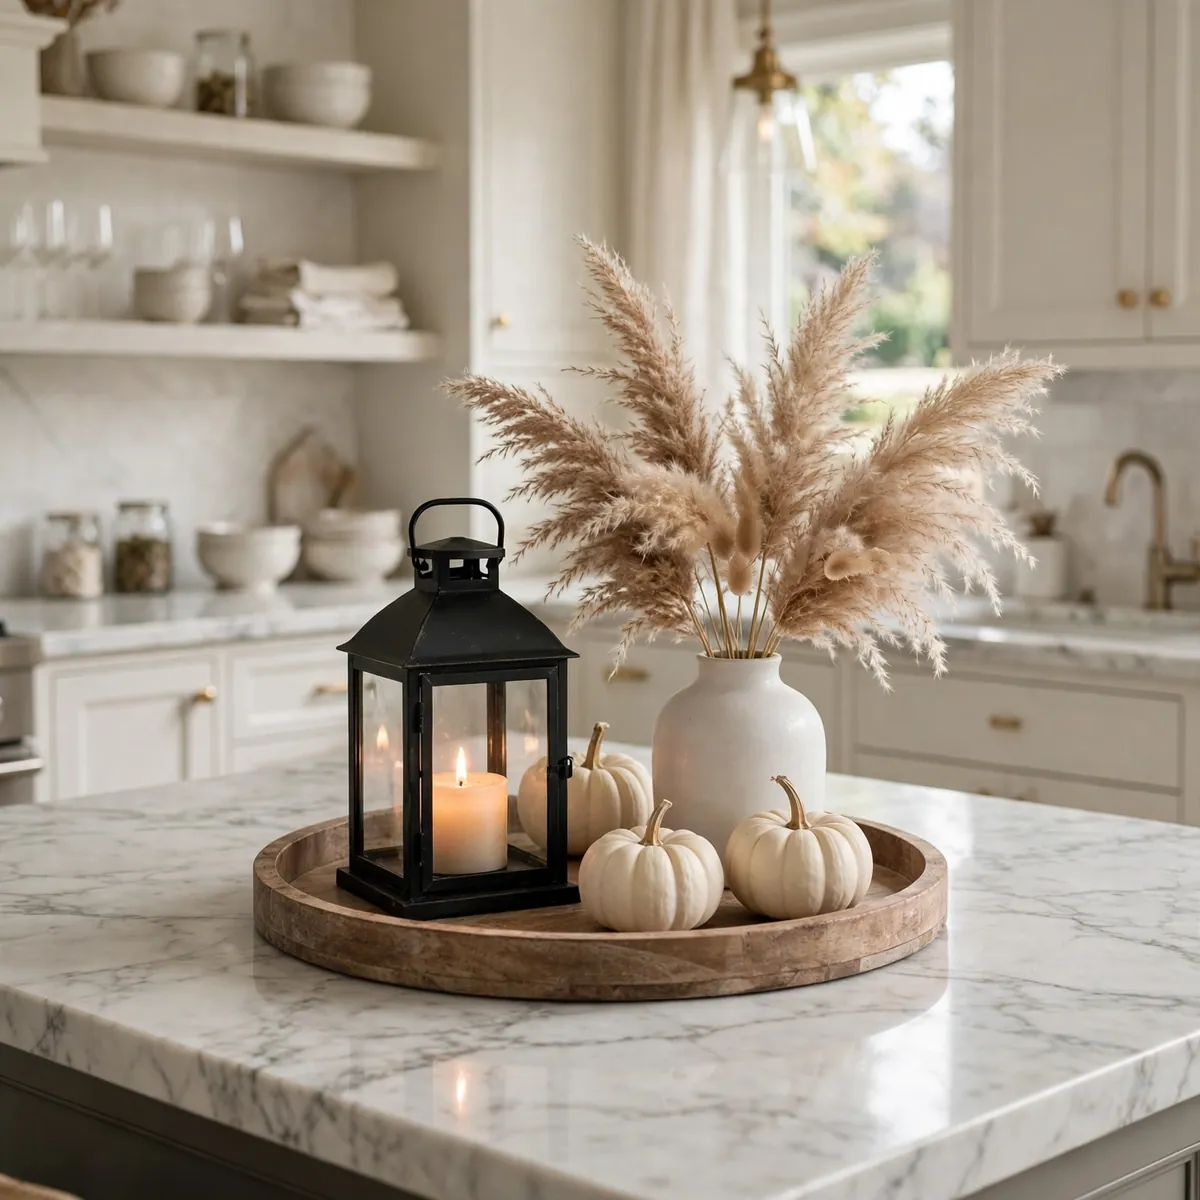
The island is the easiest place in the house to mark the seasons — you only restyle one surface. Keep a permanent base that never changes — tray, vase, bowl — and swap one or two elements: summer stems for dried branches, small pumpkins for autumn.
- Spring: tulips or cherry blossom branches in the everyday vase, plus a bowl of lemons.
- Summer: a big bowl of stone fruit or berries — let the food be the decor.
- Autumn: white pumpkins, dried orange slices, and cinnamon sticks on the tray.
- Winter: evergreen sprigs, pinecones, and a candle grouping.
Display Everyday Essentials as Decor
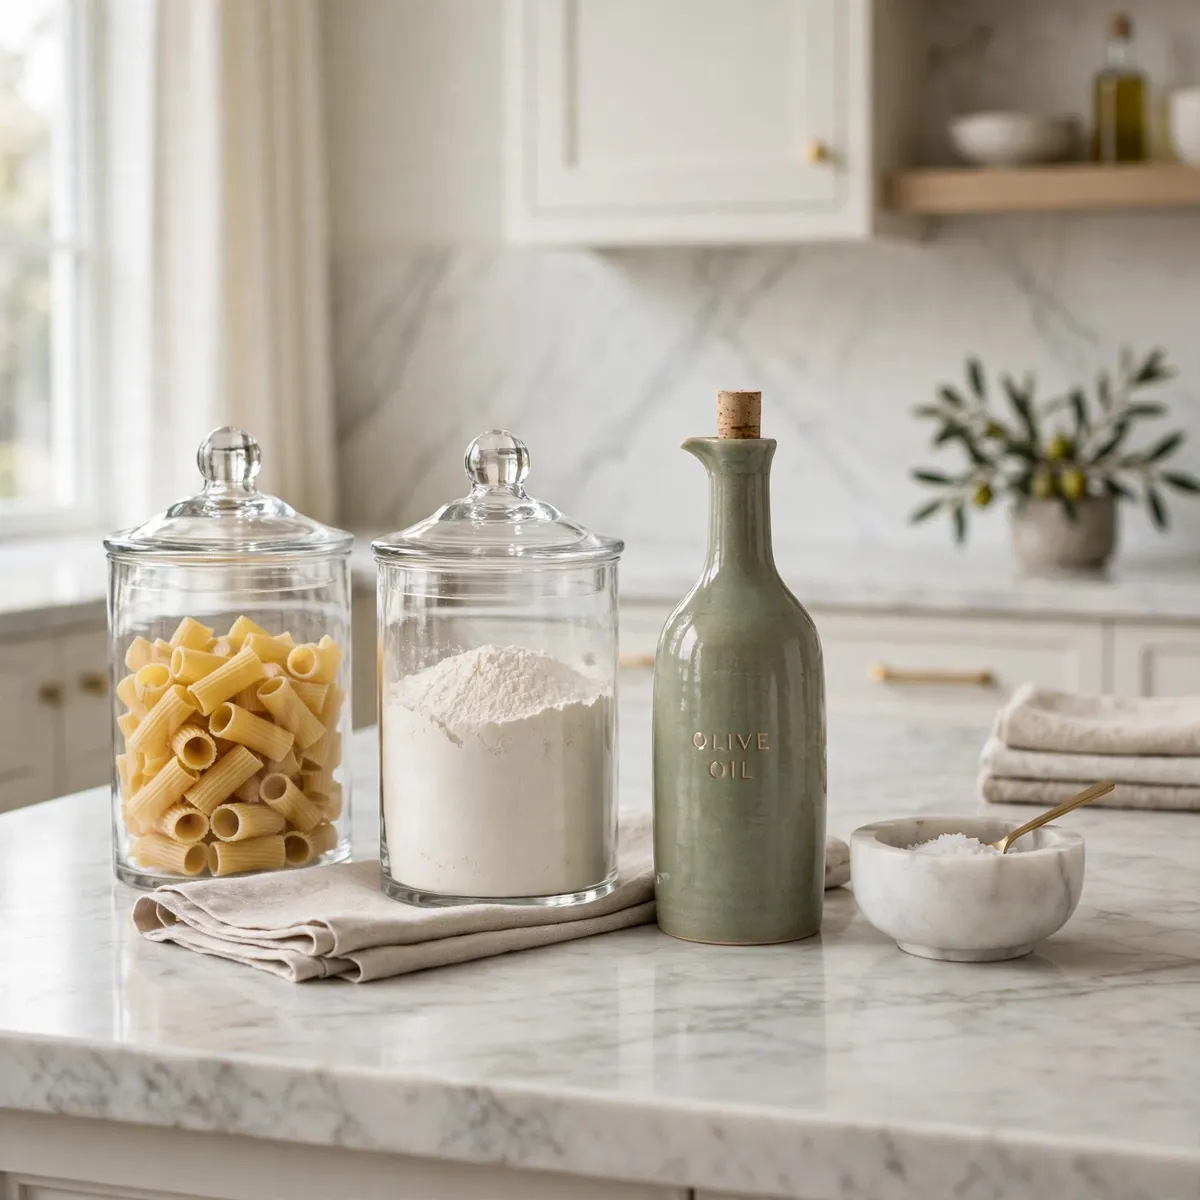
The prettiest island styling is often just your daily essentials, upgraded. A row of matching glass canisters holding pasta, flour, and grains looks better than any sculpture — and you reach for it every day. A ceramic olive oil bottle, a marble salt cellar, and a wooden utensil crock all earn their counter space by being both tools and decor.
- Decant the three things you use most — olive oil, salt, coffee — into vessels worth looking at.
- Keep the grouping tight at one end of the island; essentials scattered across the whole surface read as clutter.
- Match the vessels to each other — a set of glass canisters plus one ceramic oil bottle is enough of a collection.
Fix the Empty Big Island With Zones
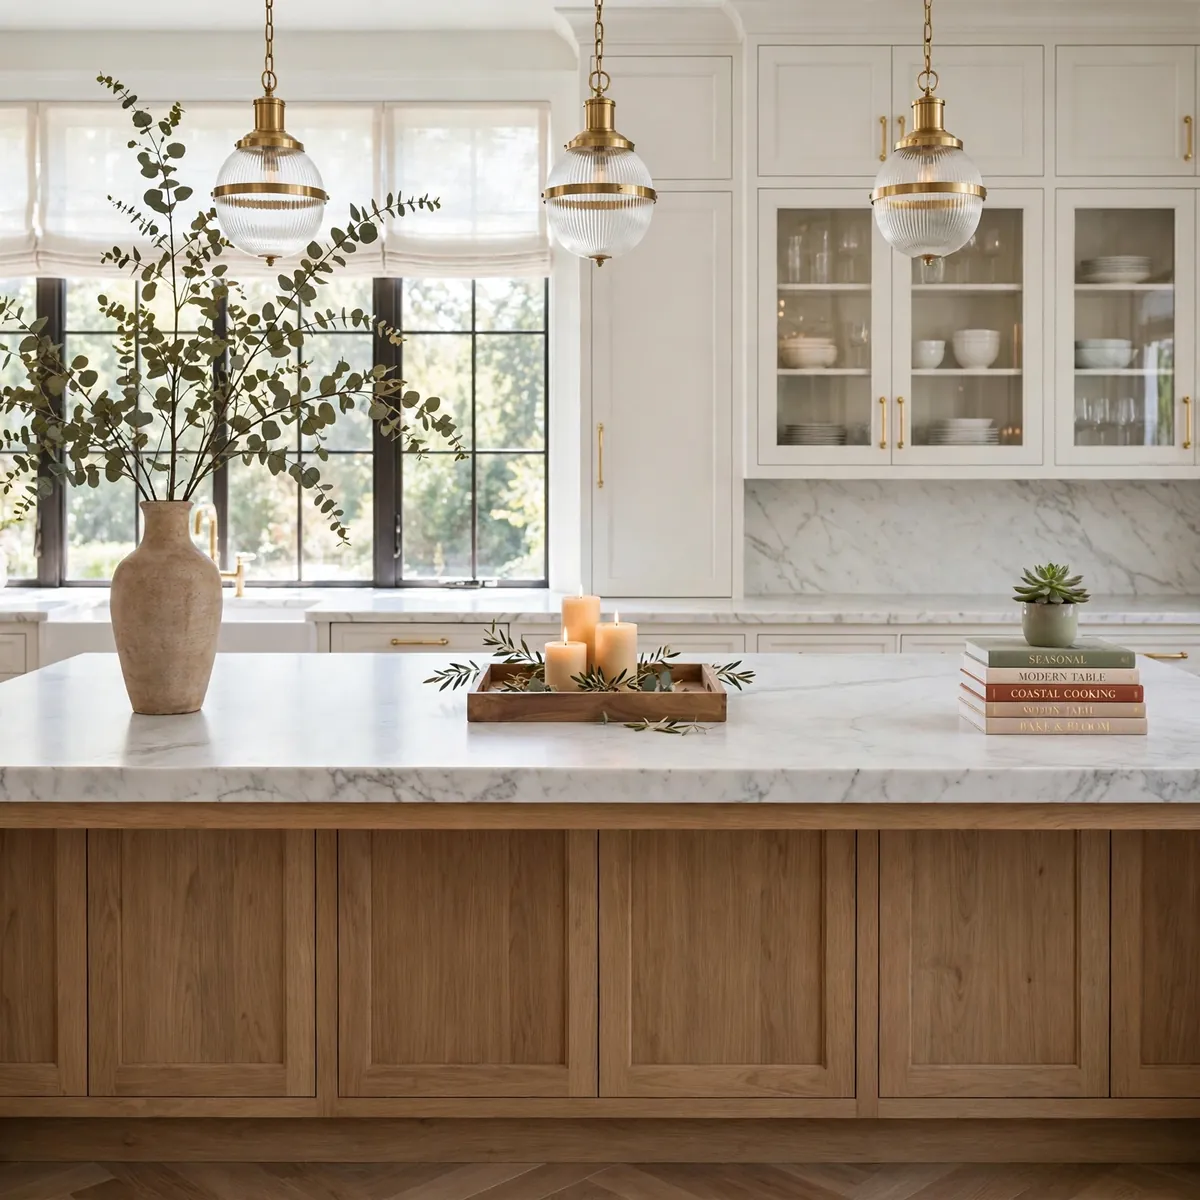
Oversized islands have the opposite problem: one centerpiece can’t fill eight feet of counter. The fix is zones — two or three styled moments spread along the island with clear counter between them, each following the same mini-formula (tall, low, soft).
- Start with three zones on a 7-to-8-foot island: ends and middle, or shift everything to one half if that’s your prep area.
- Vary the heights. A tall vase at one end, a low tray in the middle, a cookbook stack at the other — different heights keep the long surface from looking flat.
- Repeat one material across zones — wood, brass, or the same ceramic — so they read as one composition.
- Check it from the doorway — that’s the view guests get first, and where a lopsided island shows most.
Add a Cake Stand or Dough Bowl Moment
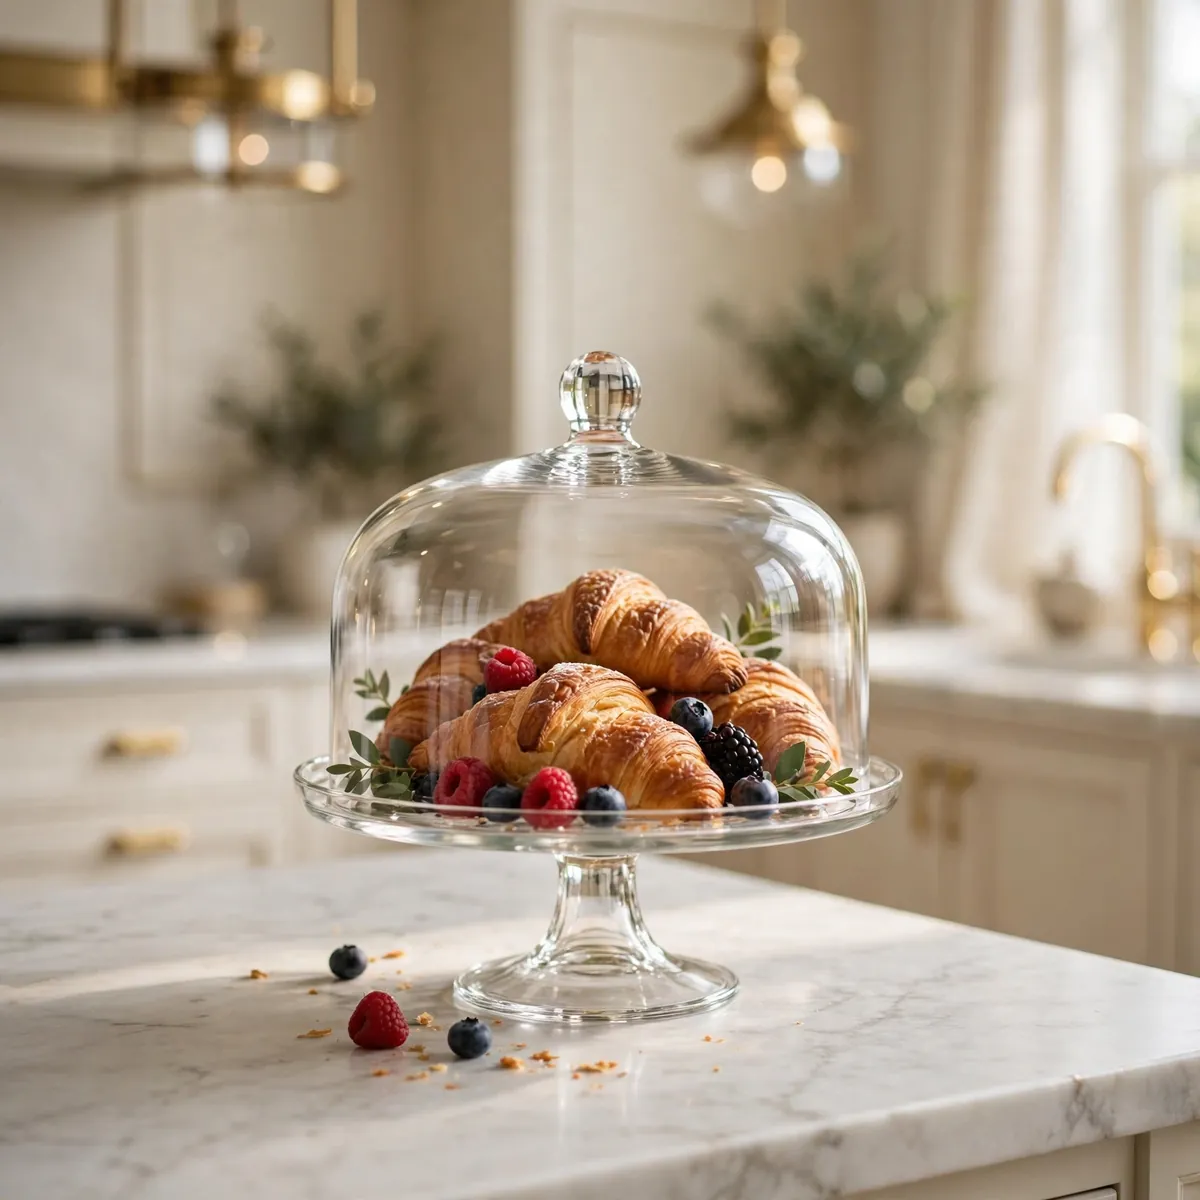
A glass cake stand with a dome turns ordinary food into a display — fresh croissants or a loaf of sourdough under glass look like a bakery case while staying fresh. A long wooden dough bowl does the same job in a rustic register: fill it with seasonal fruit or pinecones, or nothing at all, since the bowl itself is the decor.
Both are single objects, so they move in one grab when the island becomes a buffet. Keep the stand or bowl at the display end and resist surrounding it with smaller items — one hero piece per zone is the whole rule.
Quick tips
- A footed stand adds height for free — use it when your other decor sits low.
- Wipe the dome weekly; fingerprints on glass show under pendant lights.
Keep One Third of the Surface Clear
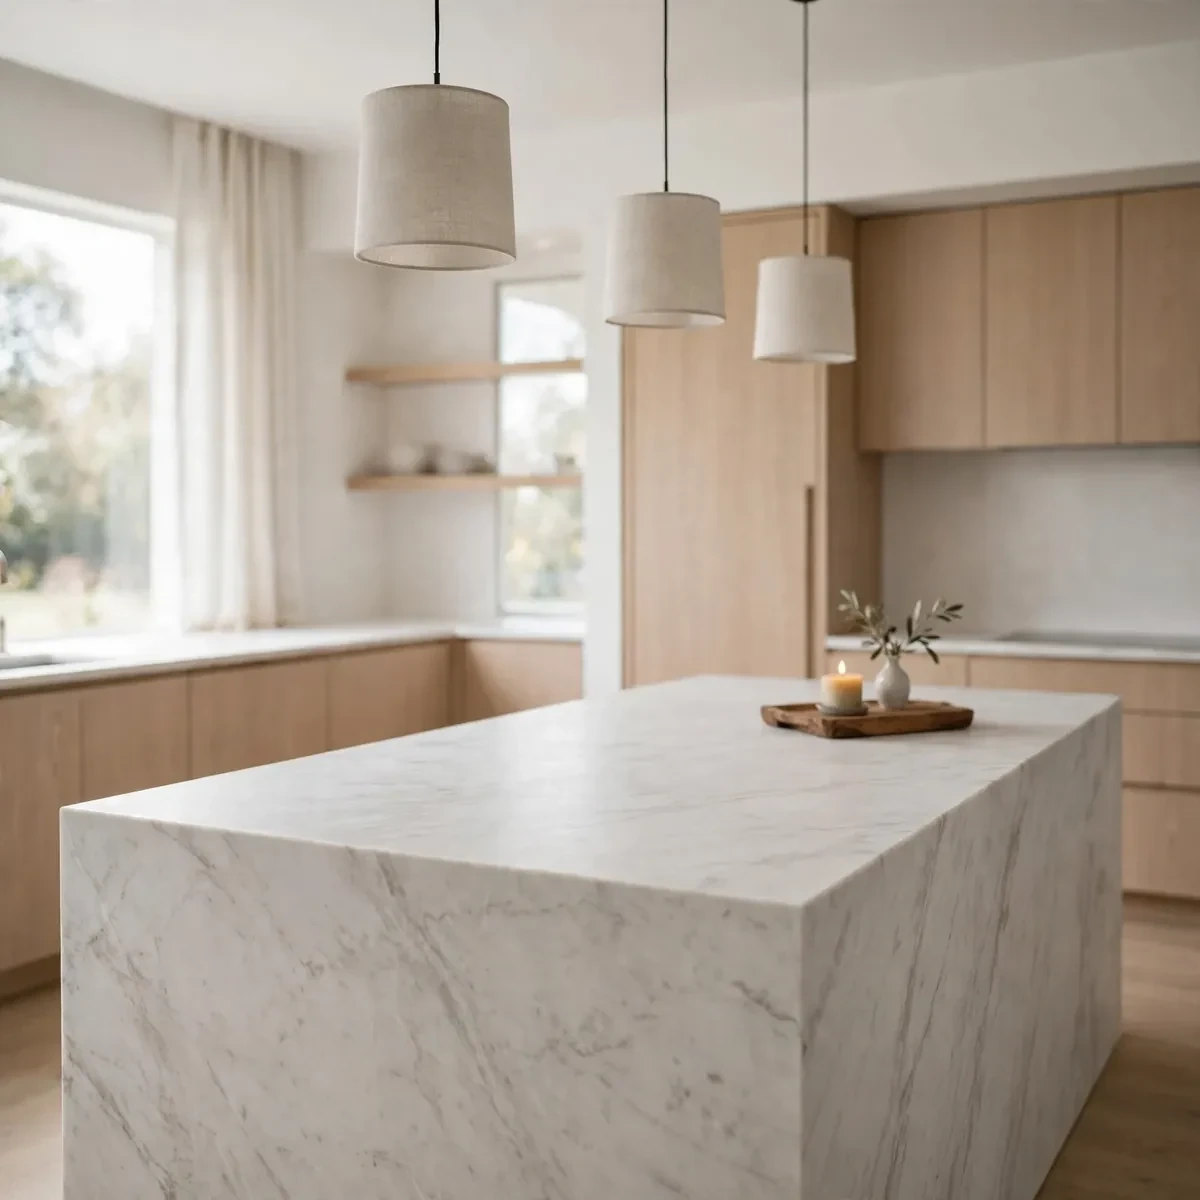
Every idea above shares one rule: decor should cover about a third of the surface at most. An island is a workspace first — it needs clear landing space for hot pans, grocery bags, and the mid-use cutting board. Past the halfway mark, it stops being useful.
The practical version of this rule:
- Style the ends, not the middle. Trays, stands, and cookbook stacks go at the seating or display end; the sink-to-stove stretch stays open.
- Contain everything on something liftable. Decor that can’t move in one grab will migrate into your prep space within a week.
- Give mail and paperwork a home elsewhere. A basket by the entry saves the island from becoming the mail pile.
- Do a weekly reset. Five minutes puts every piece back in its zone and keeps the styling intact.
Frequently Asked Questions
How much of my kitchen island should decor cover?
About a third at most. Group items on a tray or in one or two zones so you keep a clear landing area for hot pans and groceries. The island is a workspace first — once decor creeps past halfway, it stops being useful.
What should I put on my kitchen island as a centerpiece?
A substantial vase with fresh flowers or greenery, a wooden bowl of seasonal fruit, or a layered tray with a candle, a small vase, and one sculptural object. A white ceramic bowl of lemons is the classic that suits almost any kitchen. Scale it to your island: one item on small islands, grouped items on medium ones, zones on extra-large ones.
What size tray should I use for my kitchen island?
About 60 to 70 percent of your island’s length — a 20 to 24 inch tray for a six-foot island. It should never extend past the island’s edges, and it needs a few inches of empty counter around it for breathing room.
How do I decorate a kitchen island without blocking prep space?
Style the ends, not the middle — trays, stands, and cookbook stacks go at the seating or display end, leaving the sink-to-stove stretch open. Keep every piece on something liftable, like a tray, so you can clear the surface in one move.
Conclusion
Kitchen island decor ideas work best when they respect what the island is for. A tray that corrals the styling into one liftable zone, a vase tall enough to hold the eye, a bowl of fruit that rotates itself, and stools chosen with the same care as the countertop — that’s most of the job. Start with the tray rule and the one-third rule, and the island looks finished without getting in the way of dinner. Swap the stems and fruit with the seasons, and the heart of your kitchen stays fresh all year.