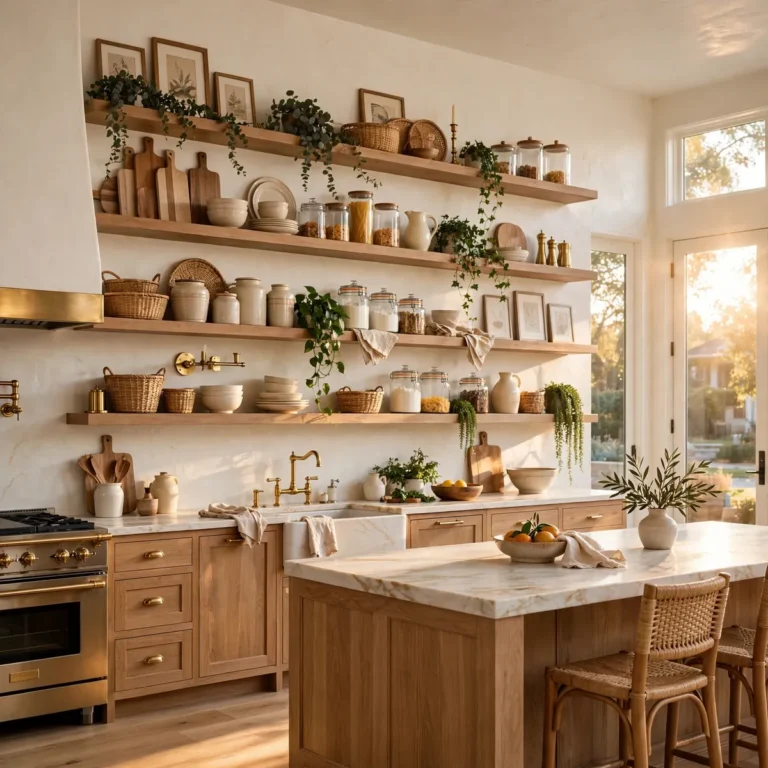
12 Kitchen Backsplash Ideas That Elevate Any Kitchen
A kitchen backsplash protects the wall behind your counters from water, grease, and food splatter — and it does more design work than almost any other surface in the room. The strongest kitchen backsplash ideas right now lean warmer and calmer than the stark white kitchens of the last decade: handmade zellige, full-height stone slabs, and subway tile in fresh new layouts. The right choice depends on your cabinets, counters, and lighting — and even the kitchen island decor ideas you’ve already picked, since the backsplash has to hold its own against the room’s other focal points.
In this guide you’ll find 12 kitchen backsplash ideas for every style and budget, from timeless subway tile to bold patterned cement. Each one includes honest notes on maintenance, cost, and who it suits, so you can choose with confidence instead of second-guessing at the tile shop.
1. Handmade-Look Subway Tile, Warmed Up
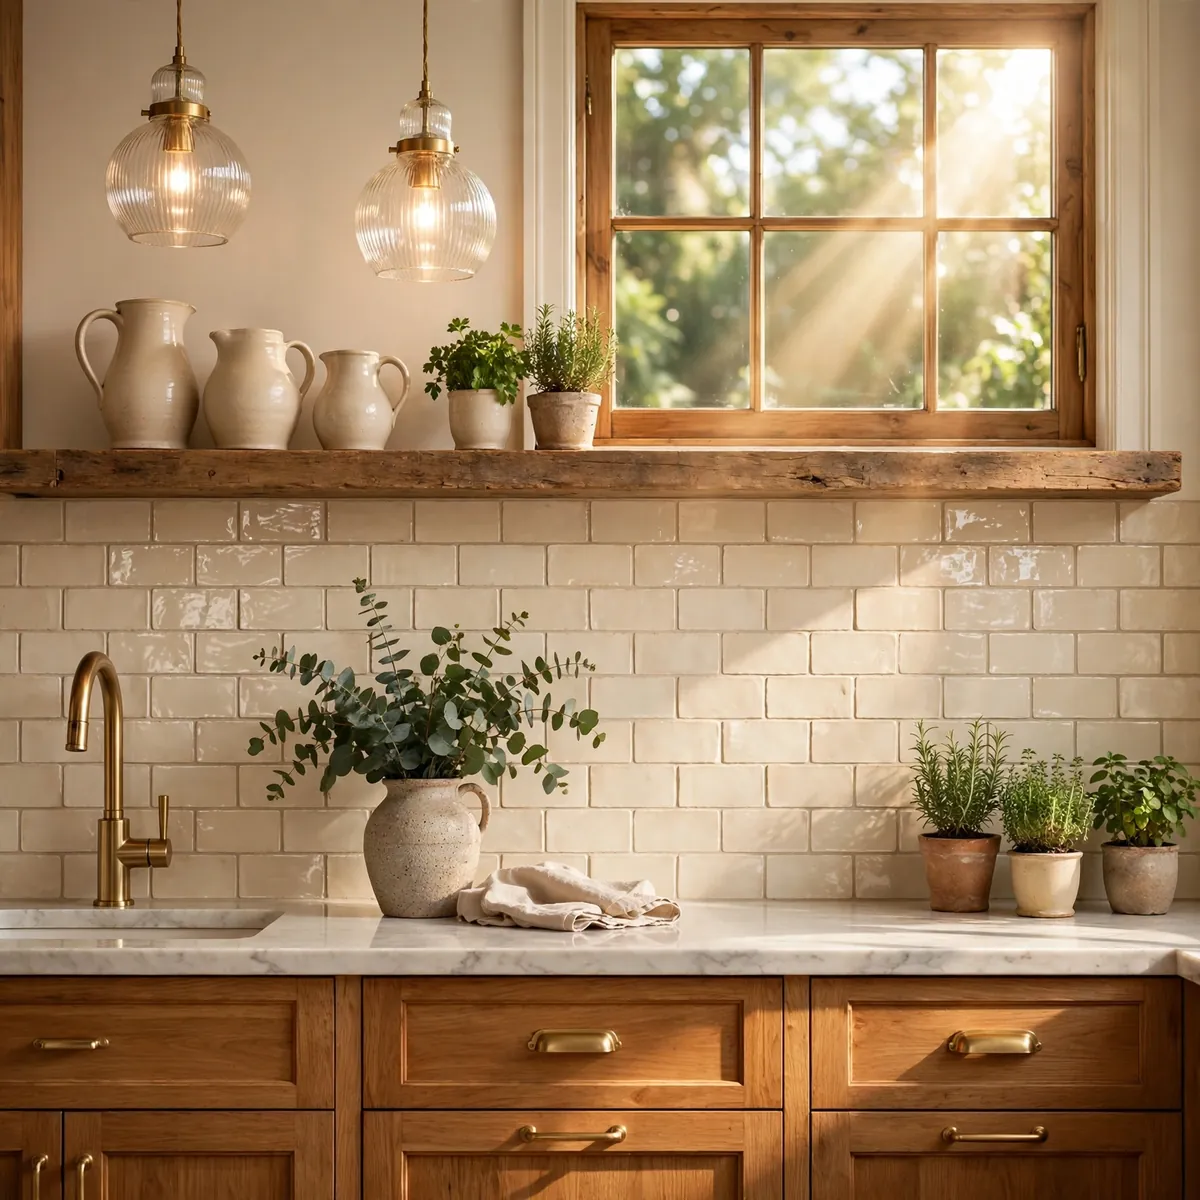
The classic 3×6 subway tile isn’t going anywhere, but the bright-white-with-grey-grout version is giving way to warmer takes. Beveled edges that catch the light, handmade glazes with soft color variation, and creamy ivory or warm off-white tones make the same familiar shape feel current. Colored subway tiles in sage green or dusty blue work just as well for anyone who wants a little more personality.
Quick tips:
- Choose warm-toned grout instead of dark grey — it keeps the handmade look soft.
- Elongated 2×8 or 2×10 formats read more modern than the standard 3×6.
- Ceramic subway is one of the most affordable tiled options per square foot.
2. Glossy Zellige in Sage Green
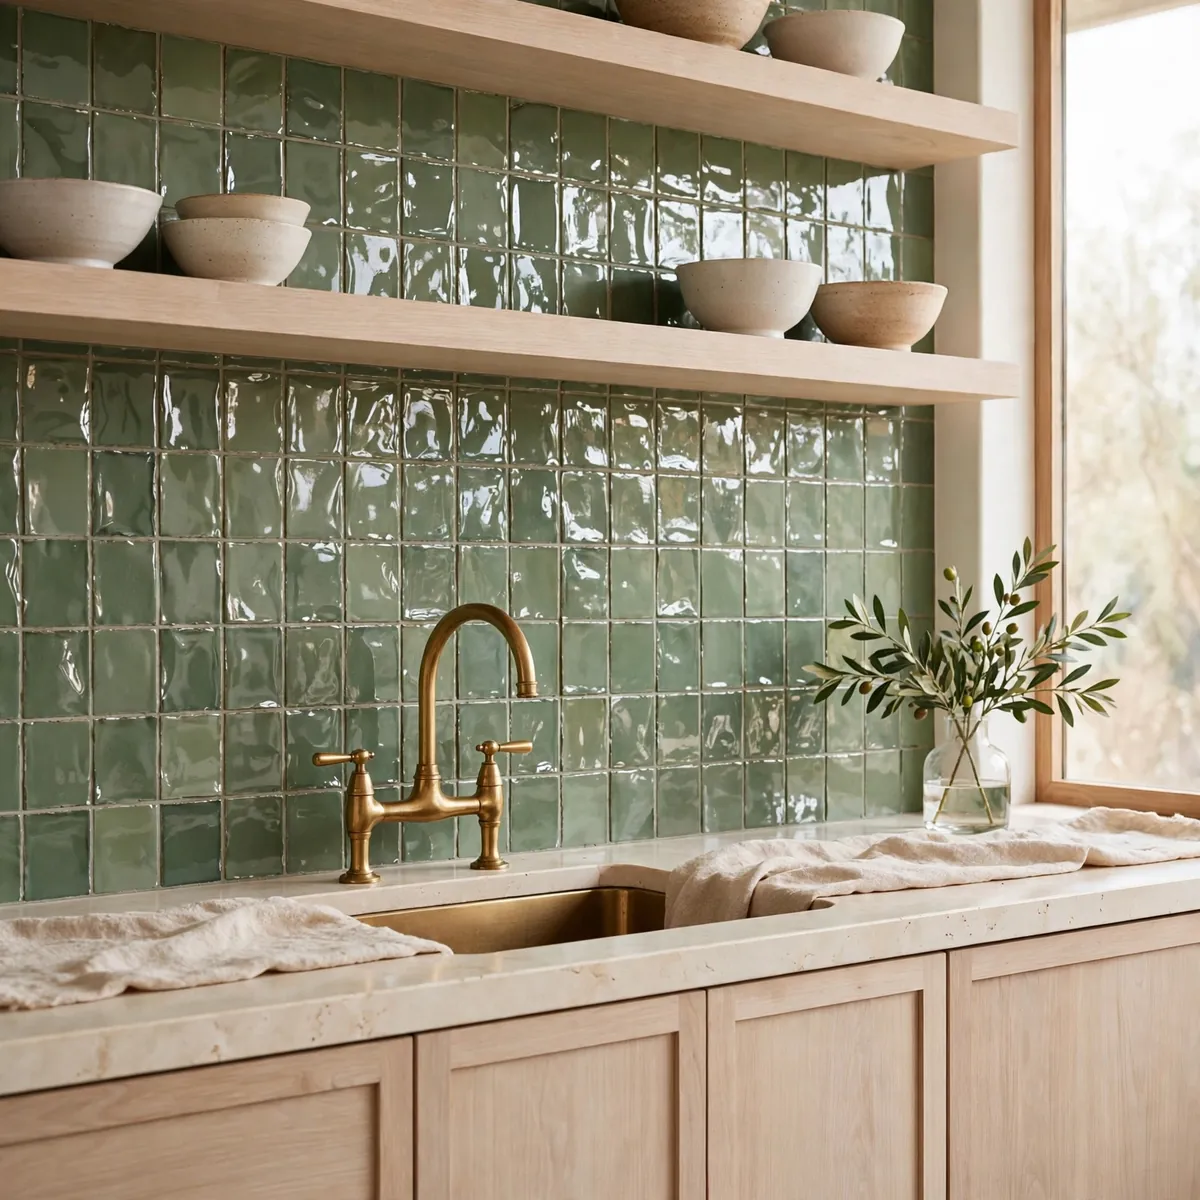
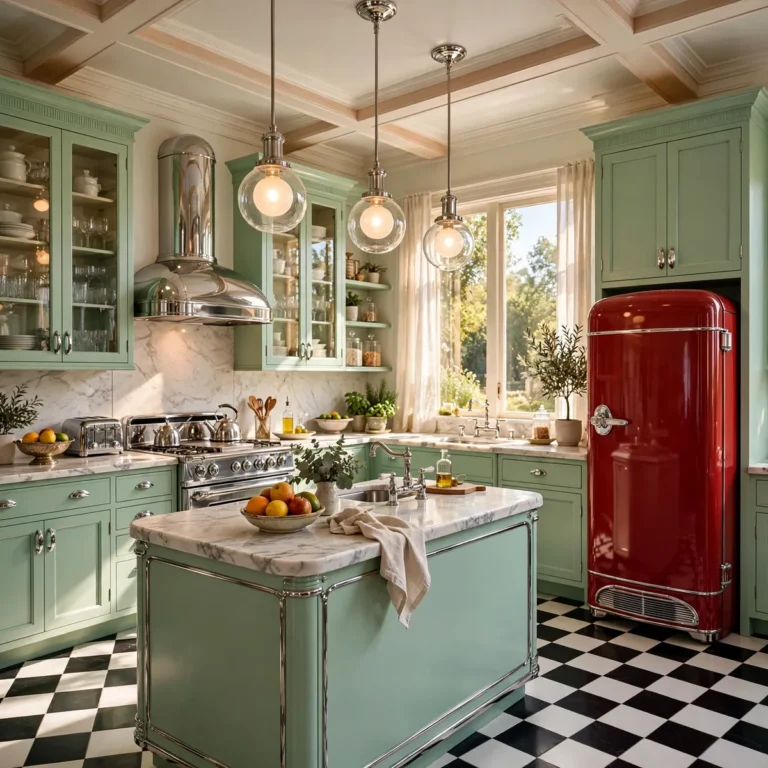
Zellige — the handmade Moroccan clay tile with a rippled, glassy surface — is the fastest-rising backsplash trend, and sage green is its signature color. No two tiles are alike, so the wall shimmers with subtle variation that flat manufactured tile can’t copy. It brings warmth and artisan character to plain cabinetry without any pattern at all.
Authentic zellige is porous and needs a penetrating sealer plus gentle, pH-neutral cleaning. If that sounds like too much upkeep, porcelain zellige-look tiles give you the same rippled gloss with no sealing and far easier care.
Quick tips:
- Sage green pairs beautifully with white oak, cream cabinets, and unlacquered brass.
- Order 10–15% extra — handmade tiles have more variation and breakage.
- Hire an installer experienced with handmade tile; the uneven edges need a skilled hand.
3. Full-Height Marble Slab
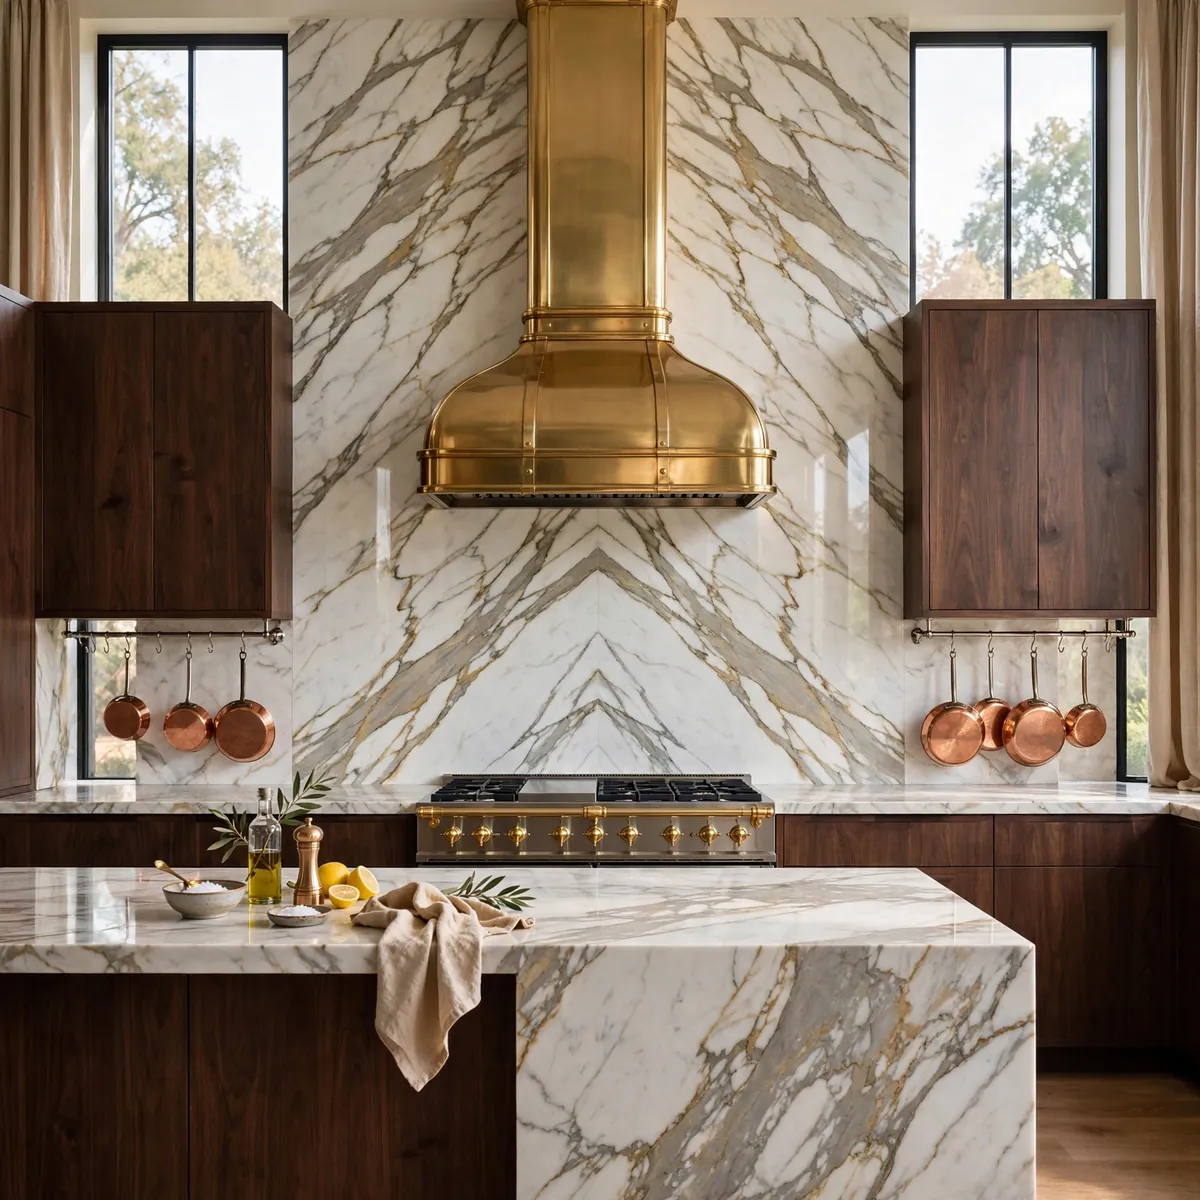
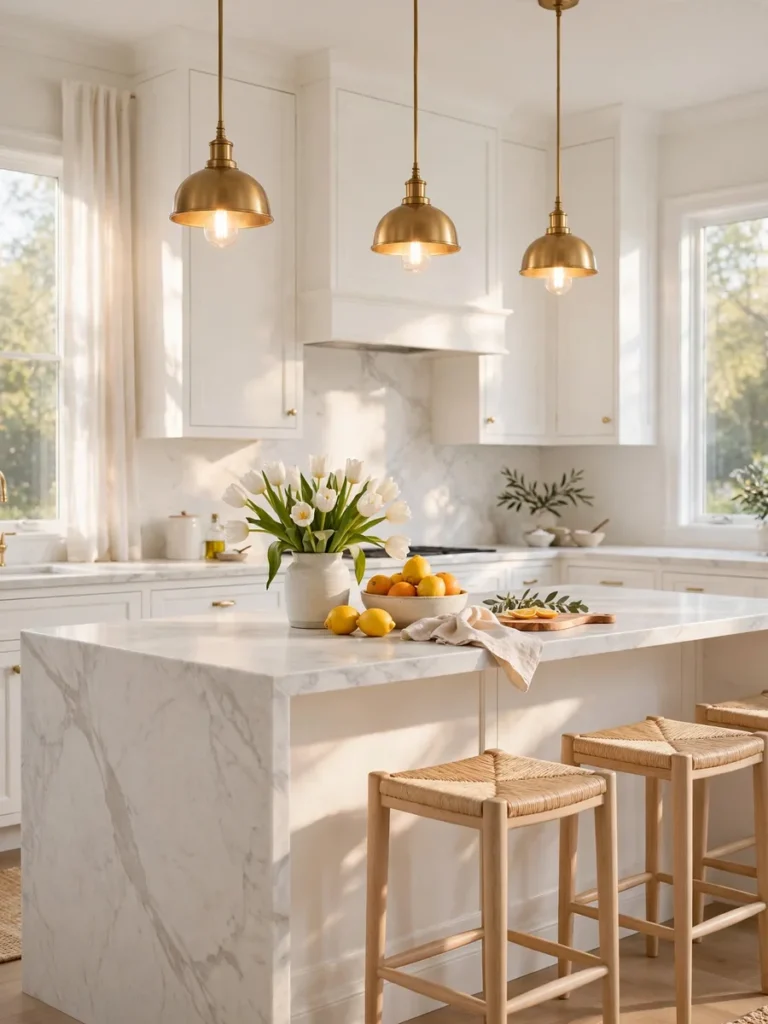
A full-height slab — sometimes called a countersplash — runs the same stone as your countertop straight up the wall to the cabinets or ceiling, with no grout lines at all. It reads calm, seamless, and undeniably luxurious, and it’s one of the easiest backsplashes to wipe down because there’s simply less to trap grease. Bookmatched marble, where two slabs mirror each other like an open book, turns the wall behind the range into genuine art. The honest trade-off is maintenance: marble is porous and can etch from acidic splatter like tomato sauce or lemon juice even when sealed, so it suits cooks who wipe up as they go or who don’t mind a lived-in patina developing over the years. Honed (matte) marble hides etching far better than polished, and quartzite gives a similar veined look with much tougher, less fussy stone. Expect slab to cost several times more than tile, both in material and in the skilled installation it demands — this is the splurge option, and it shows.
Quick tips:
- Take the slab all the way to the ceiling behind the range for maximum drama.
- Honed finishes hide etching and fingerprints better than polished stone.
- Slab works best when the rest of the kitchen is quiet — let the stone be the star.
4. Herringbone in Deep Navy
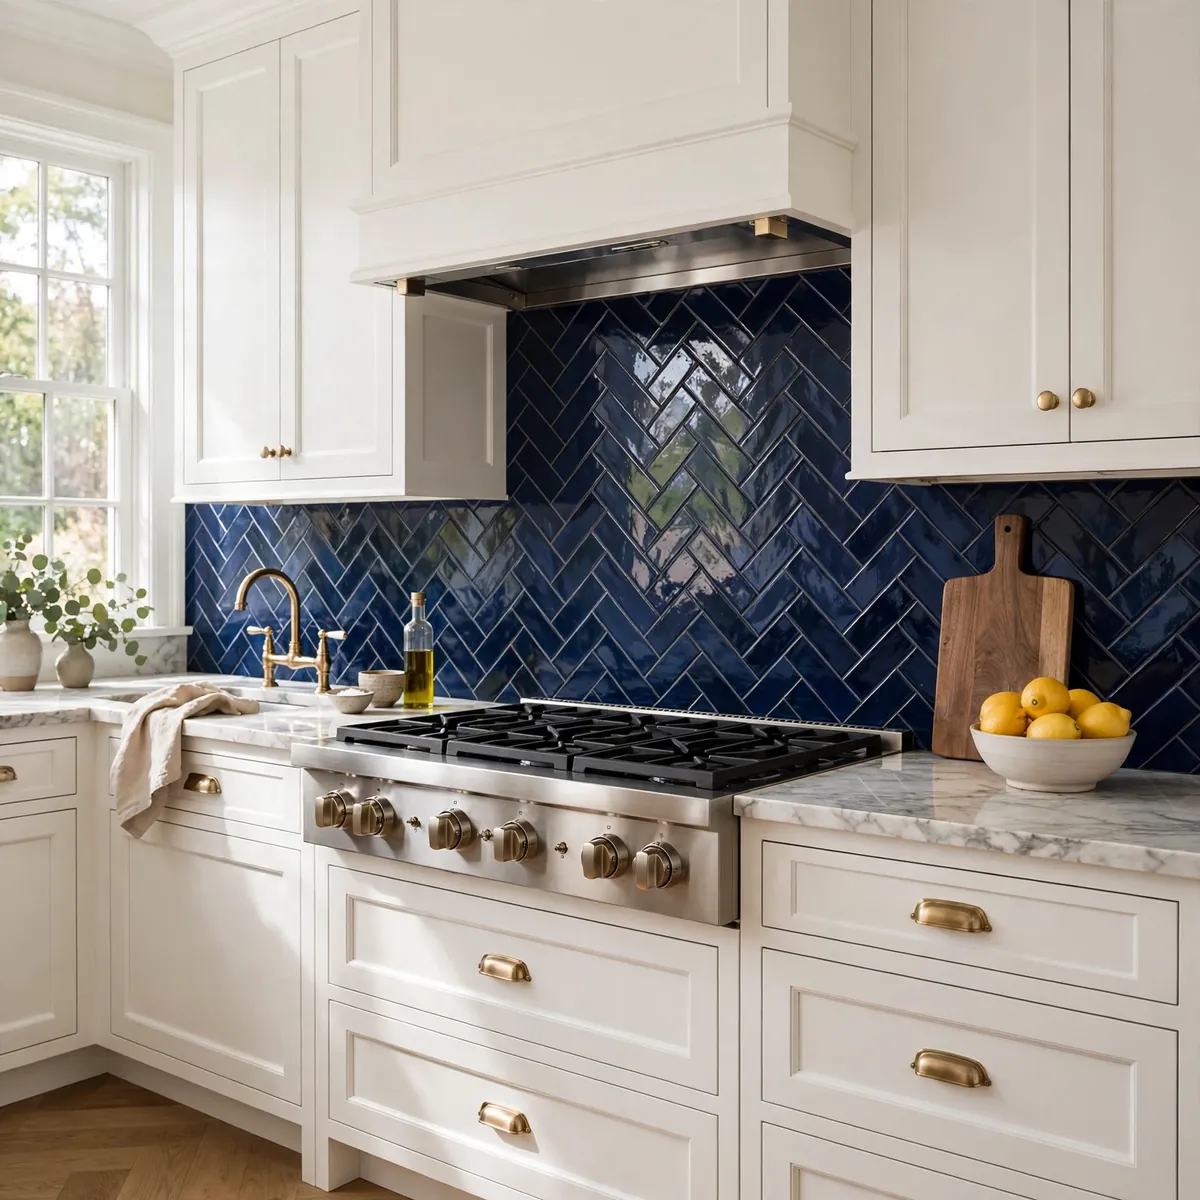
Sometimes the pattern matters more than the material. Laying simple rectangular tile in a herringbone pattern instantly makes a backsplash feel architectural and custom, even with budget-friendly ceramic. Deep navy is the color that keeps winning here — rich and classic against white cabinets, dramatic enough to carry the room, and surprisingly forgiving of everyday splatter between cleanings. Chevron, its close cousin, gives a similar zigzag with a cleaner continuous V.
Quick tips:
- Herringbone needs more cuts and more tile — budget about 15% extra material.
- Brass hardware and white counters are navy’s most reliable partners.
- Keep the grout close to the tile color for a seamless look, or contrast it for graphic punch.
5. Terracotta Tile
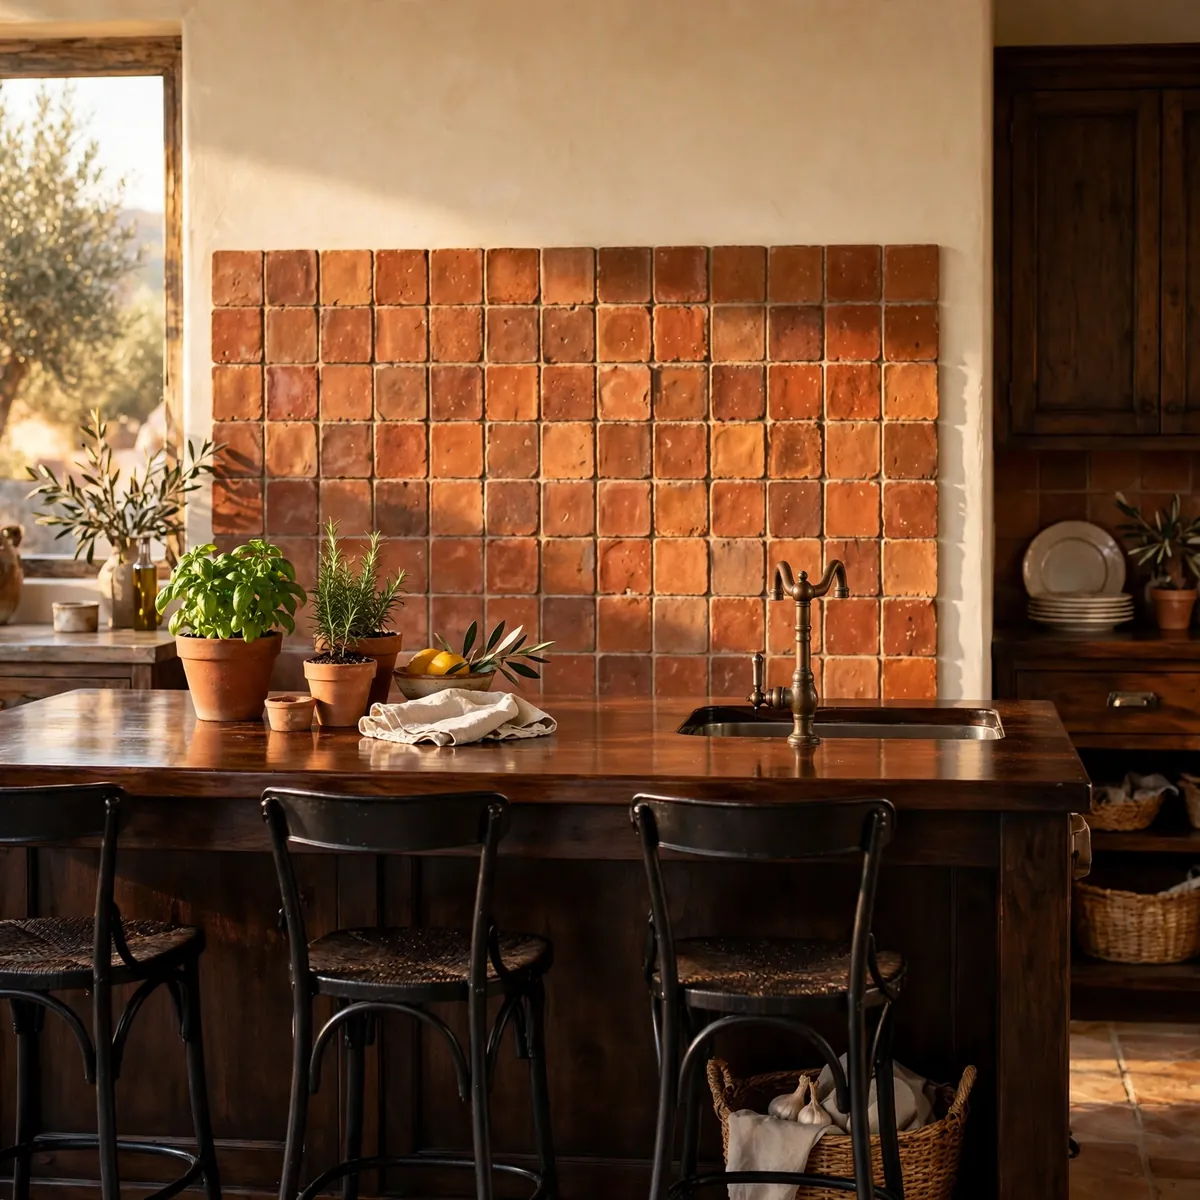
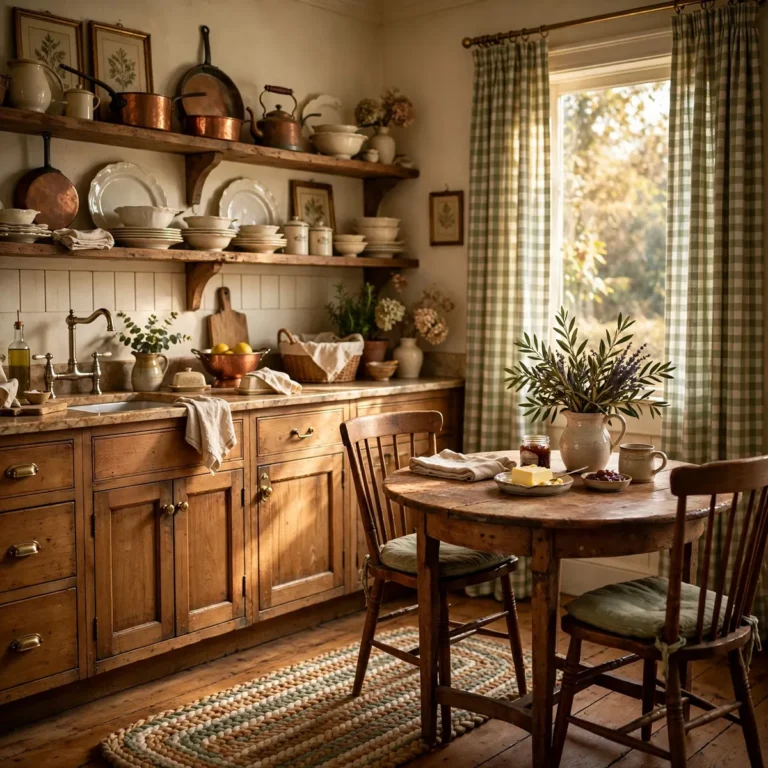
Nothing warms a kitchen like real clay. Handmade terracotta tiles in sunbaked rust, clay, and soft orange tones bring Mediterranean ease and a lived-in feel that suits wood cabinetry beautifully. The matte, slightly irregular surface is the opposite of sterile — it glows in warm light and only gets better-looking as it ages. Terracotta is porous, so it needs sealing before grouting and periodic resealing, but sealed well it’s a perfectly practical kitchen wall.
Quick tips:
- Seal before grouting — unsealed terracotta drinks up grout pigment and stains.
- Pair with cream plaster walls and dark wood for a cohesive warm palette.
- Square handmade formats in a simple grid show off the color variation best.
6. Matte Black Penny Round
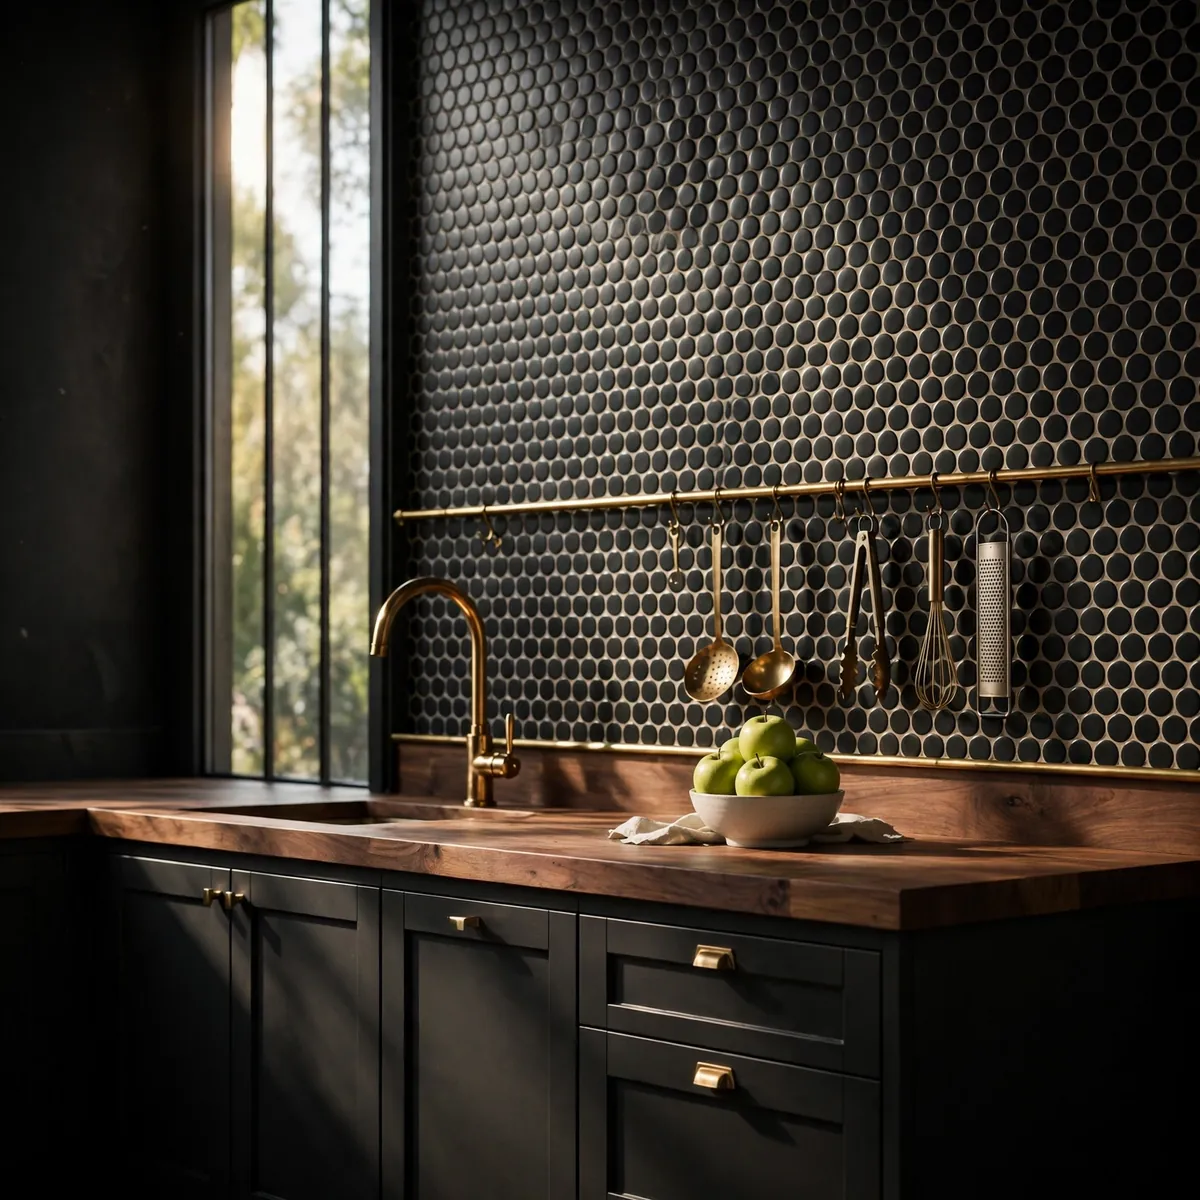
Penny round tile brings instant texture through its dotted pattern, and matte black turns it into a moody, modern statement. The trick is the grout: light warm-grey grout makes each penny pop, while black grout melts them into one dark field. Either way, balance the darkness with warm elements — brass fixtures, wood counters, or oak shelving — so the kitchen feels sophisticated rather than heavy.
Quick tips:
- Light grout shows off the penny pattern; dark grout creates a seamless dark wall.
- Small tiles mean more grout lines — seal them to resist grease near the range.
- Matte black hides water spots better than glossy black tile.
7. Shimmering Glass Mosaic
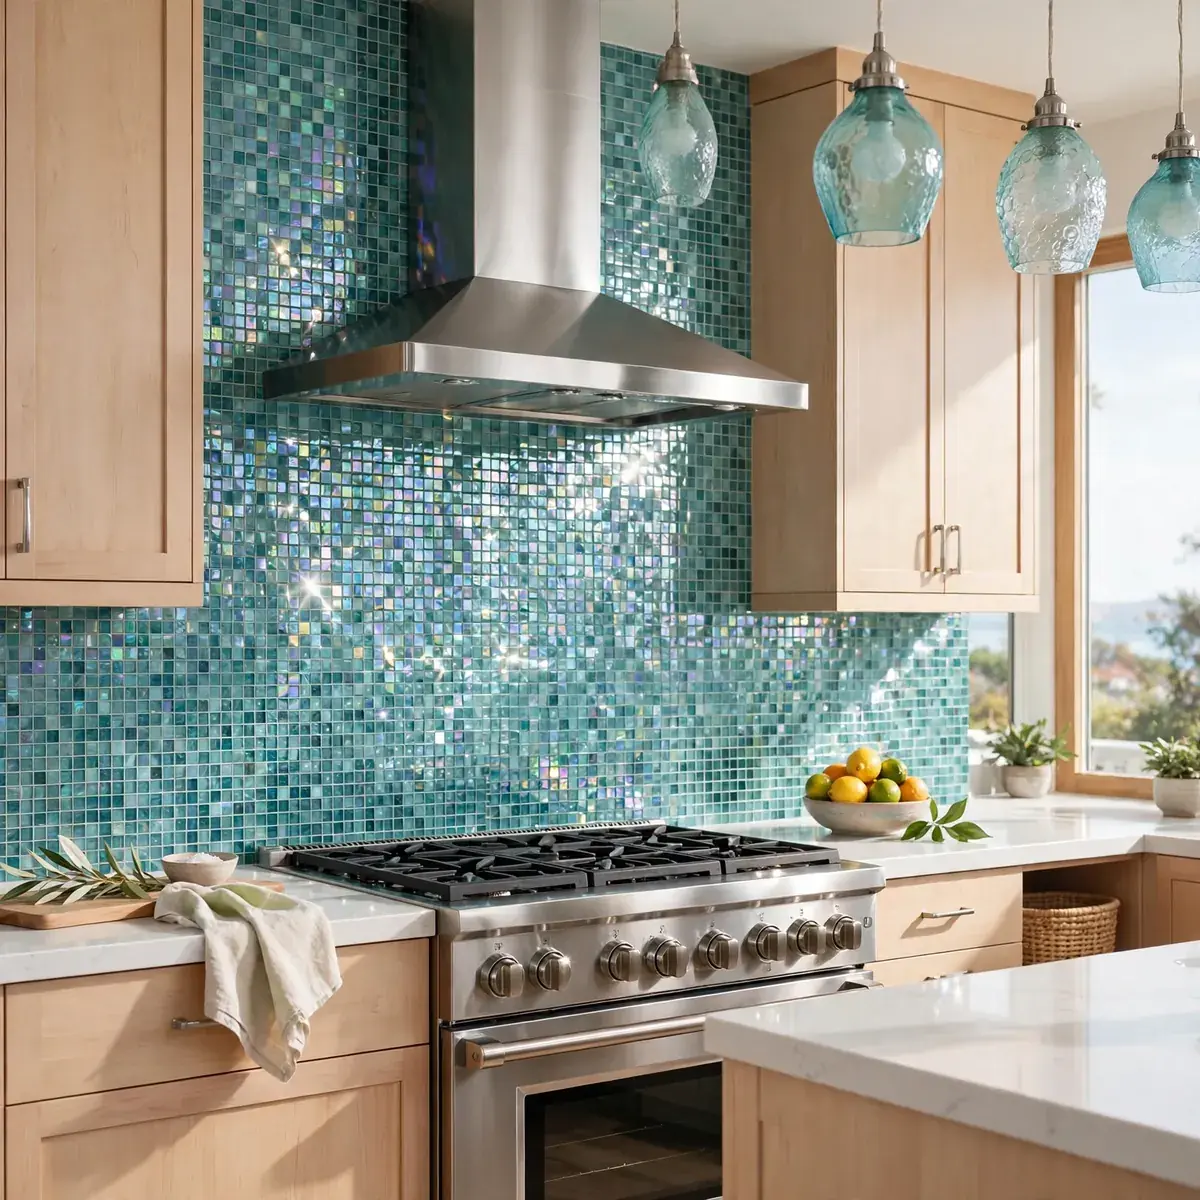
Glass tile earns its place behind the range and in darker kitchens: its reflective surface bounces light around the room and wipes clean with a damp cloth. An iridescent teal or aqua mosaic adds color and movement without the visual busyness of multi-stone mosaic sheets, which now read as dated. Stick to a tight, tonal color range and the shimmer does all the talking.
Quick tips:
- Glass tile brightens small or north-facing kitchens better than any matte material.
- Use white thinset behind translucent glass — grey thinset dulls the color.
- Epoxy grout resists stains far better than cement grout on mosaic’s many joints.
8. Vertical-Stacked Tile for Small Kitchens
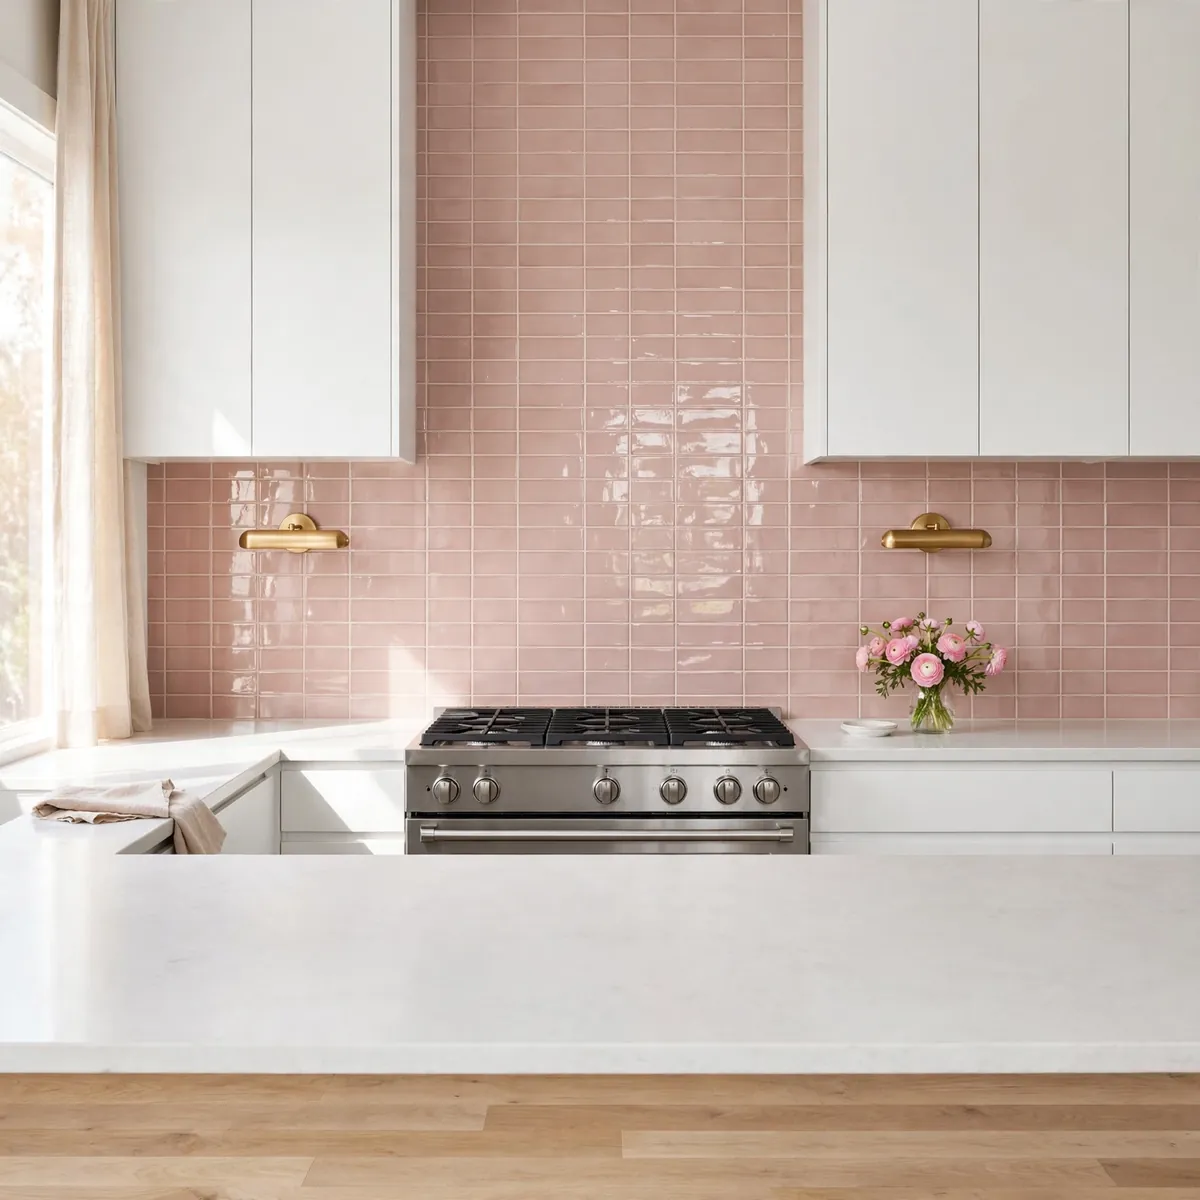
Turn subway tile on its end and the whole room changes. Vertical stacking draws the eye upward, making ceilings feel taller and small kitchens feel larger — a genuine visual trick, not just a style preference. Dusty blush pink, soft sage, or warm cream in a vertical stack feels fresh and contemporary, and the straight grout lines are simpler for installers than herringbone. In a compact kitchen, run the tile all the way to the ceiling to stretch the height even further.
Quick tips:
- Vertical layouts visually add height — ideal for kitchens with low ceilings.
- A soft color keeps the tall lines gentle; bold color makes them dramatic.
- Align the stack with open shelving edges for a crisp, intentional look.
9. Bold Patterned Cement Tile
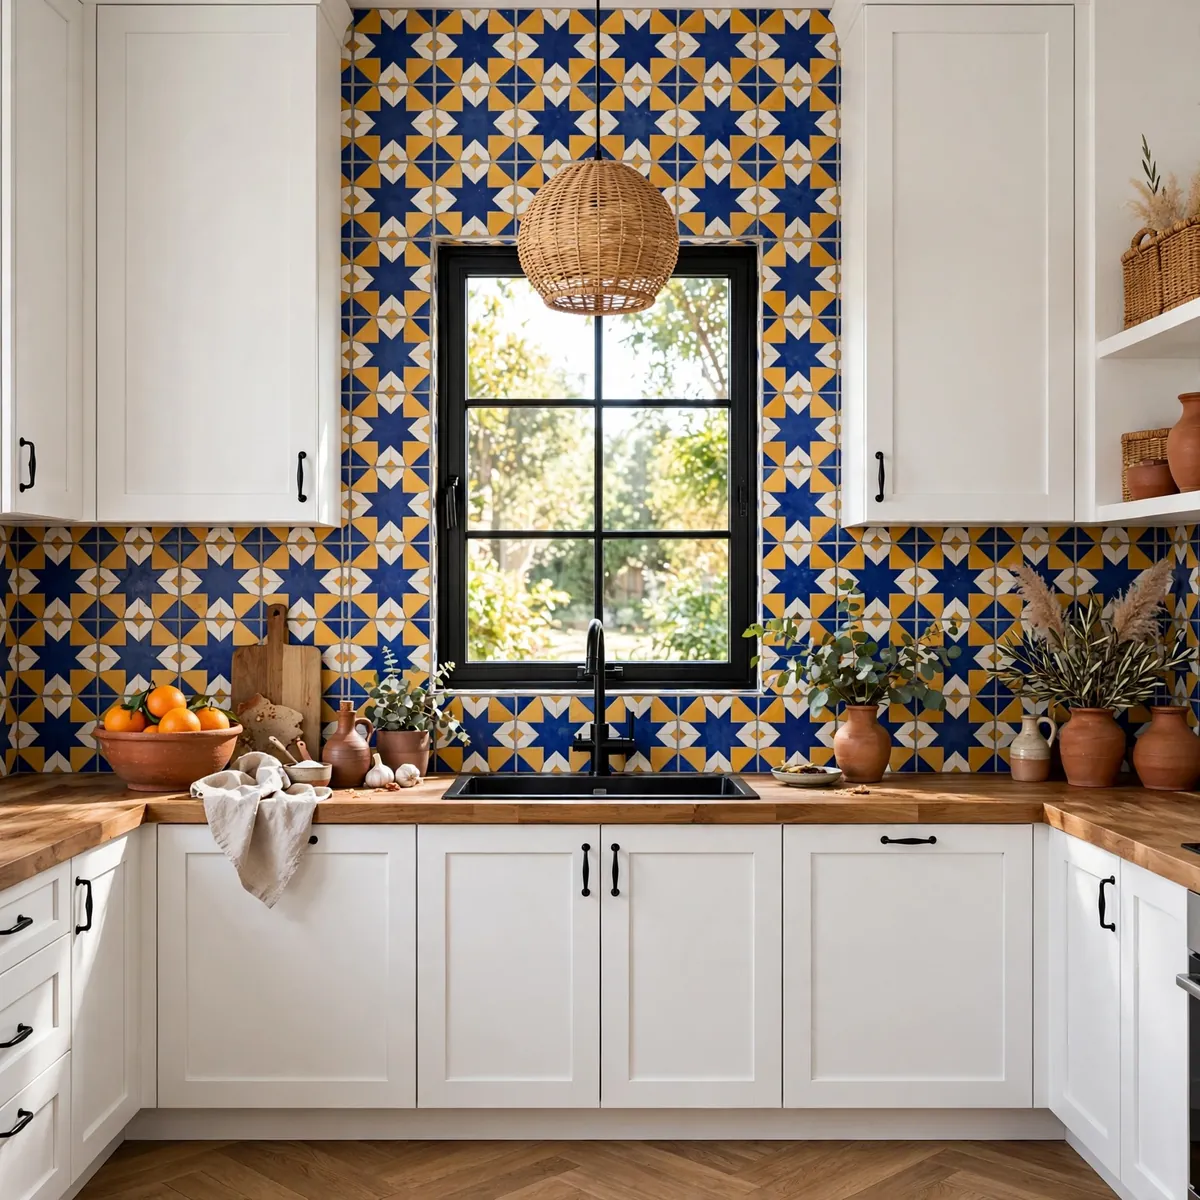
If your kitchen needs one moment of joy, patterned tile delivers it. Encaustic-look cement tiles in cobalt, mustard, or terracotta motifs turn the backsplash into the room’s artwork. The golden rule: if the tile is busy, keep the countertop calm — a heavily veined counter next to a bold pattern creates visual chaos. Real cement tile is porous and needs sealing; porcelain versions print the same patterns with zero maintenance, which is what most busy households should choose.
Quick tips:
- Let the pattern be the only statement — keep counters and cabinets quiet.
- Porcelain patterned tile gives the look with far less sealing and upkeep.
- Try the pattern just behind the range first if a full wall feels like too much.
10. Rustic Brick or Stacked Stone
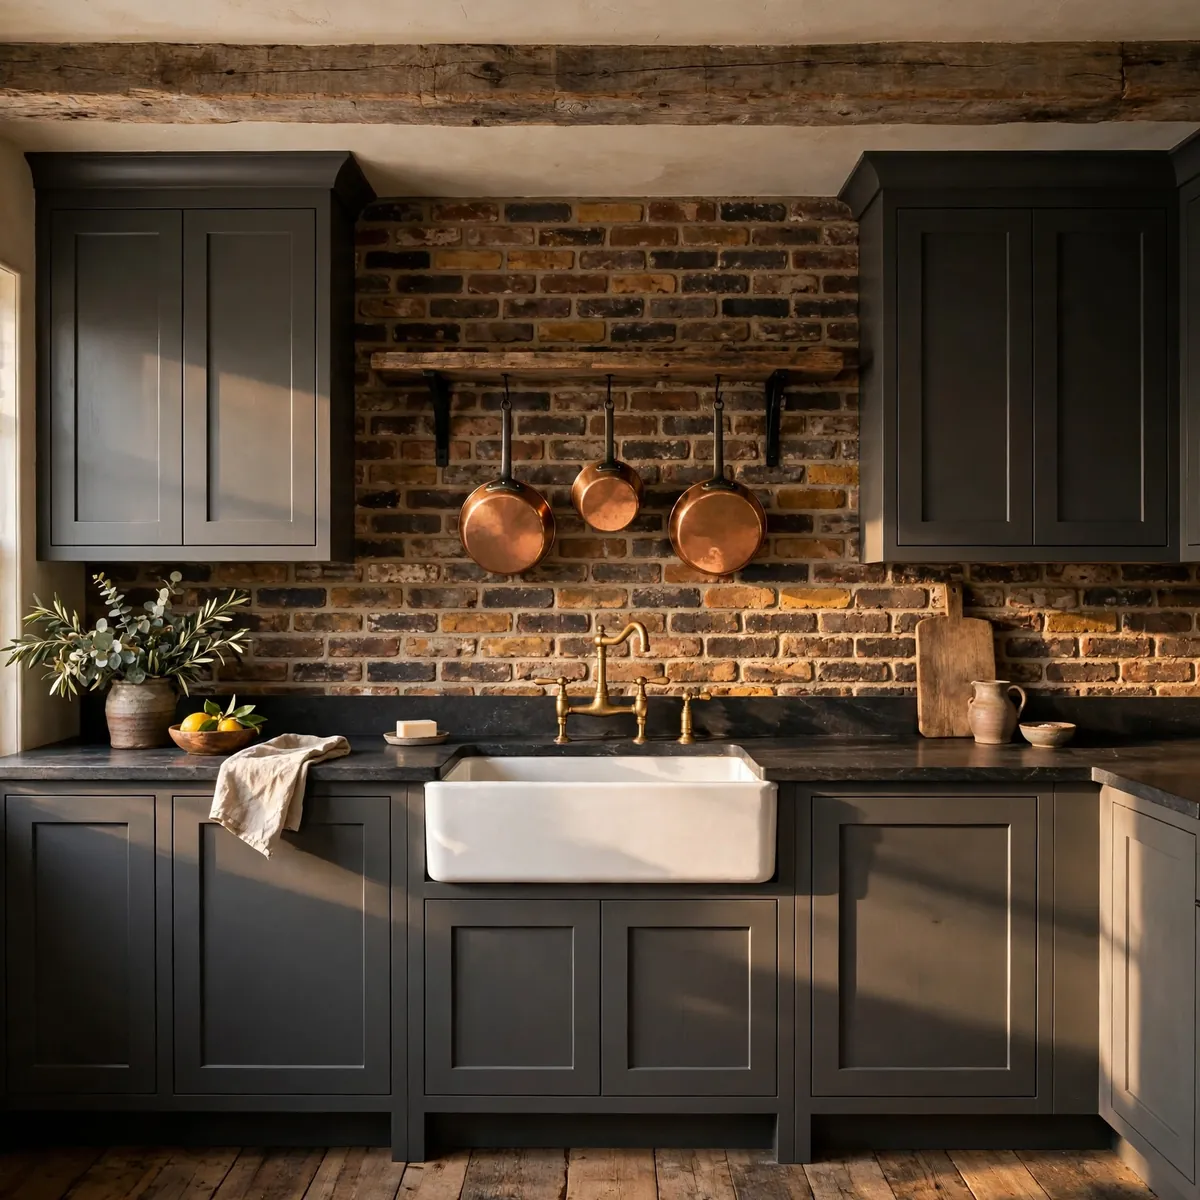
Thin brick veneer or stacked stone brings farmhouse and industrial character that tile can’t imitate. The rough texture and varied red-brown tones add instant history to new construction, and it pairs naturally with charcoal cabinets, wood beams, and black iron details. Because brick is porous and textured, it needs a good masonry sealer to stand up to kitchen grease — and it’s best kept a little distance from the heaviest splatter zones or sealed thoroughly behind the range.
Quick tips:
- Seal brick veneer with a penetrating masonry sealer before it sees any grease.
- German schmear (a thin mortar wash) softens brick for a lighter farmhouse look.
- Pair rough brick with one refined material, like honed stone counters, for balance.
11. Mixed Materials With a Range Niche
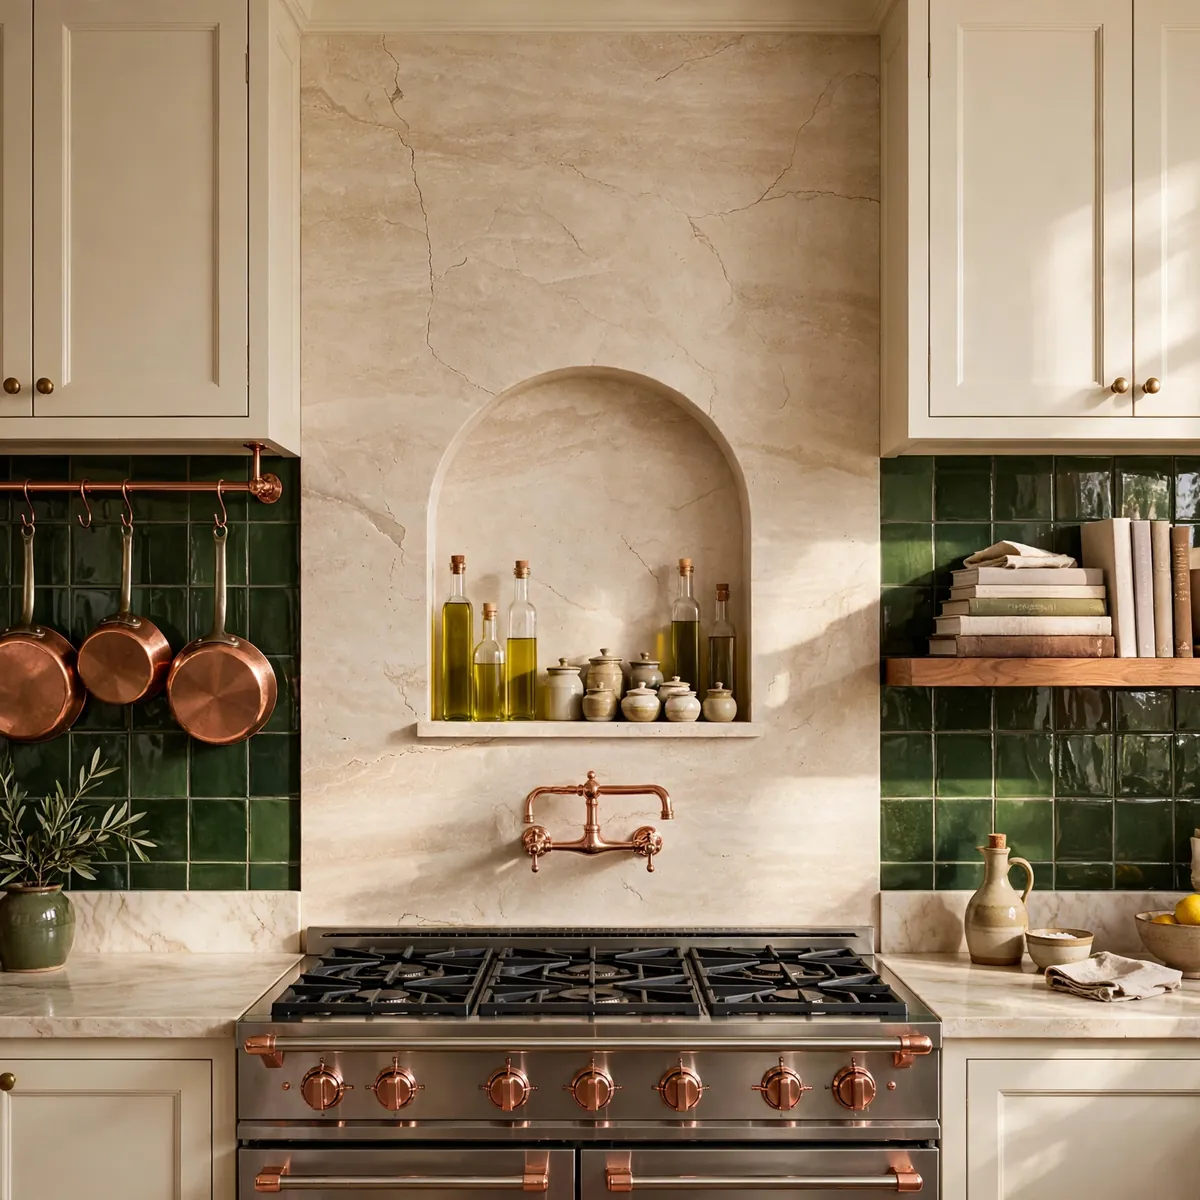
The most interesting kitchens rarely use one material everywhere. A current favorite formula: a calm stone slab behind the range — where splatter is worst and cleaning matters most — with handmade tile on the surrounding walls for warmth and texture. Adding a recessed niche in the slab, an arched or rectangular shelf for olive oil and daily spices, turns the backsplash into functional storage. Plan the niche before tiling, not after: it needs framing, waterproofing, and precise tile cuts that are far harder to add later.
- Decide the niche size and position during the design phase, before any tile is ordered.
- Put the slab behind the range and tile on the perimeter walls for the easiest cleaning where it counts.
- Keep the niche for daily-use oils and spices, and let bulk ingredients live behind cabinet doors — a bit of smart pantry organization is what keeps a display niche styled instead of cluttered.
Quick tips:
- Line the niche with the slab material for a seamless, easy-clean interior.
- Under-cabinet lighting aimed at the niche makes it glow like a display shelf.
- Match the tile and slab undertones (both warm or both cool) so the mix feels intentional.
12. Peel-and-Stick: Kitchen Backsplash Ideas on a Budget
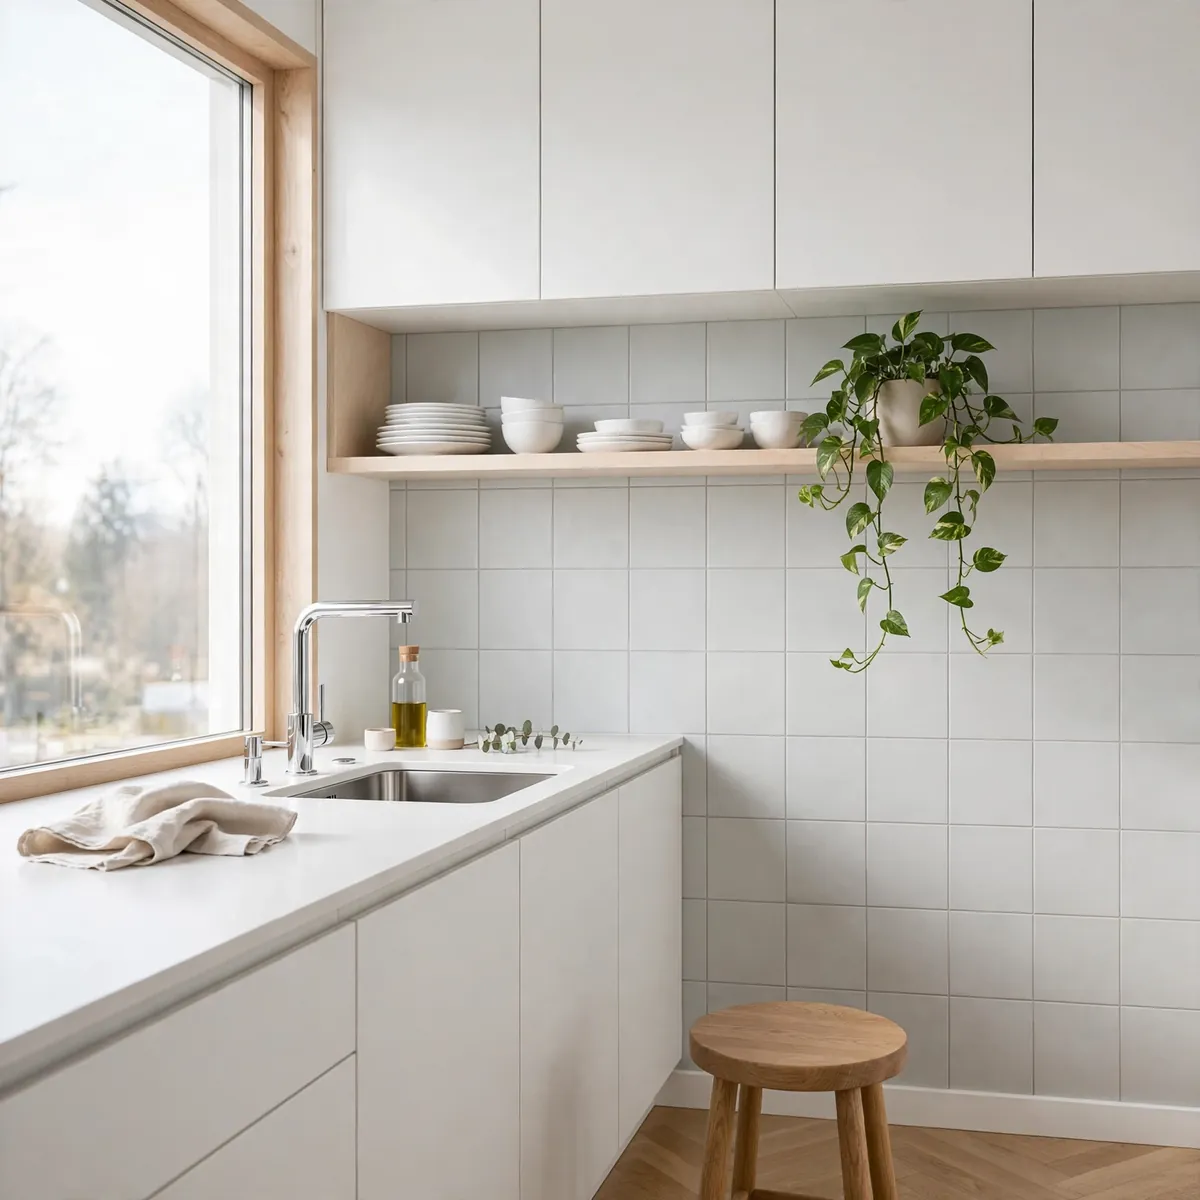
A full tile installation isn’t the only path to a finished kitchen. Peel-and-stick tiles — vinyl or gel-based panels that mimic subway, zellige, or large-format looks — are renter-friendly, genuinely affordable, and install in an afternoon with no wet saw. The honest limits: they shouldn’t sit directly behind high-heat gas ranges for long-term use, and they won’t fool anyone up close. But for a rental refresh or a placeholder while you save for the real thing, they’re remarkably effective.
If you own the kitchen and want budget-friendly permanence instead, consider these options:
- Large-format porcelain: fewer grout lines, tile-look stone patterns, moderate cost.
- Standard ceramic subway: the lowest-cost real tile, endlessly versatile.
- Beadboard or painted panels: classic cottage look for the price of paint and trim.
Quick tips:
- Clean and degrease the wall thoroughly — adhesion is everything with peel-and-stick.
- Avoid direct high-heat zones; keep peel-and-stick to perimeter walls.
- Large-format looks with minimal grout lines read the most realistic.
FAQs
What is the most popular kitchen backsplash right now?
Updated subway tile is still the most common choice, but in warmer forms — handmade-look glazes, cream and ivory tones, and vertical or stacked layouts rather than the old bright-white grid. Zellige and full-height stone slabs are the fastest-rising alternatives for anyone wanting something more distinctive.
Which backsplash material is easiest to clean?
Full slabs and large-format porcelain are the easiest: they’re non-porous and have few or no grout lines, so grease wipes straight off. Glossy ceramic and glass also clean easily. The hardest to maintain are small mosaics with lots of grout lines and porous natural materials like unsealed terracotta or tumbled stone.
Should the backsplash match the countertops?
It doesn’t have to, and often shouldn’t. The most useful rule: if your countertop is busy, keep the backsplash calm; if the countertop is quiet, the backsplash can be the statement. Always hold tile samples against your actual countertop in the kitchen’s real lighting before committing — colors shift between daylight and warm bulbs.
Is zellige tile hard to maintain?
Authentic zellige needs a penetrating sealer and gentle, pH-neutral cleaners, and its uneven surface takes a skilled installer — it’s a commitment. Porcelain zellige-look tile gives you the same rippled gloss with no sealing and strong resistance to heat, stains, and moisture, which suits most households better.
Will a bold backsplash hurt my home’s resale value?
A warm-neutral, low-contrast backsplash is the safest choice for resale — classic subway, restrained stone, or soft handmade tile. A bold color or pattern can still add value when the rest of the kitchen is quiet and well executed, but it’s more personal, so keep the statement gentle if you plan to sell soon.
Conclusion
The best of these kitchen backsplash ideas share a simple formula: choose a material you can live with maintaining, pick a color that warms the room rather than cooling it, and let either the countertop or the backsplash be the star — never both at once. Get those three decisions right and the pattern almost chooses itself.
Start with samples in your own light, confirm the maintenance you’re willing to do, and don’t rush the choice. The backsplash is the one surface you’ll look at every single day — make it one you love looking at.